Engaging your website visitors is more crucial than ever. Did you know 38% of visitors will stop engaging with a website if the design doesn't appeal to them?
In today's digital landscape, creating an inviting and user-friendly website is easier than ever, thanks to no-code website tools. A simple yet effective way to enhance your webpage's appeal is by adding animations. STUDIO is one such no-code web designing tool we're excited to discuss in this blog. Here, we'll explore how to make your website interactive by adding Lottie animations in STUDIO.
How to embed Lottie animations to STUDIO
1) Prepare your Lottie animation and save to your workspace
- Either create your own animation using tools like Adobe After Effects, Figma to Lottie, Creator, or convert your static SVG to a Lottie.
- Alternatively, choose a ready-to-use animation from LottieFiles’ extensive free collection.
- Save your selected animation to your LottieFiles workspace.
2) Obtain embed asset link
- From your dashboard, open the animation.
- Click on 'Handoff & Embed'.
- Enable 'Asset Link' and set your Asset link format to the desired format. Copy the link.
3) Embed Lottie to STUDIO editor
- In your STUDIO editor project, go to the side panel and select Add > Box > Lottie.
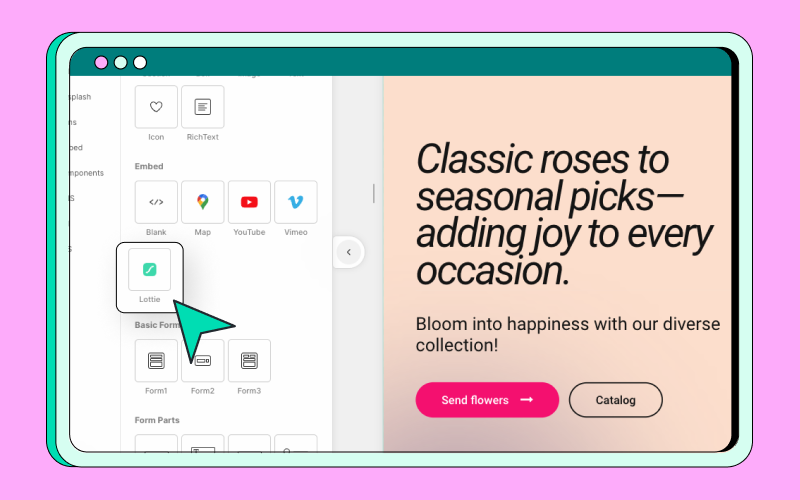
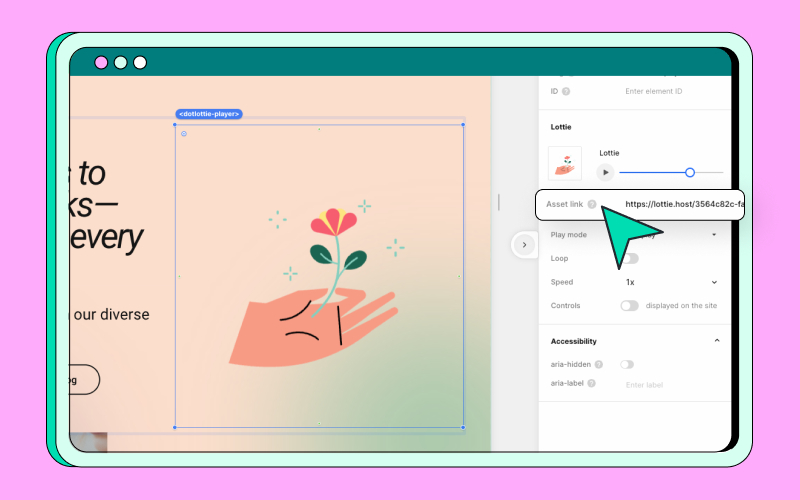
- Paste the Asset link you had copied earlier in the Lottie dashboard to replace the component.
Customize Lottie animation action on STUDIO
There are a few neat tricks you can do to customize your Lottie animation.
Area Specification
One of the nice features available on STUDIO is the ability to set an 'Area Specification' for your Lottie animations. This functionality allows you to define a specific area where the playback conditions, like hover effects, are applied. This means the animation can be triggered not just by interacting with the animation itself, but also by engaging with a designated area on the webpage. Here is a quick example below.
The animation plays when you hover over the “Box” element where the animation is located, rather than when you hover over the specific Lottie. To do so:
- Assign a unique ID to the area where you want the animation effect to apply. For this example, we are going to call it "play-animation".
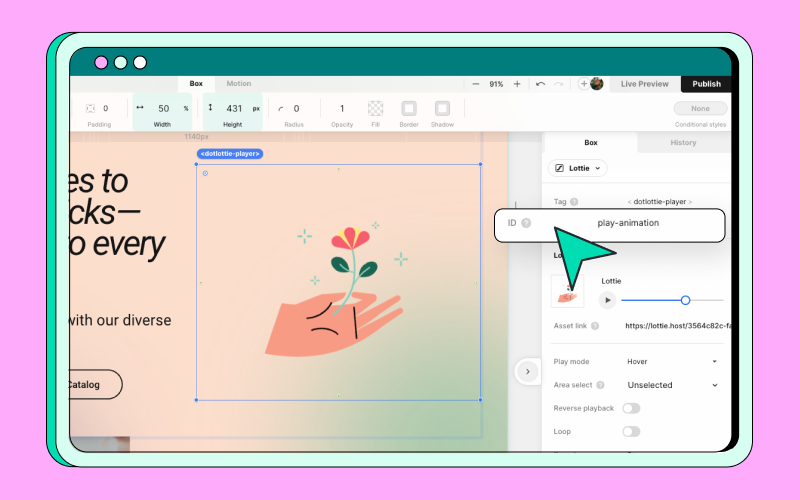
- Select the desired Play mode condition, and based on the option selected, an “Area select” option will be available.
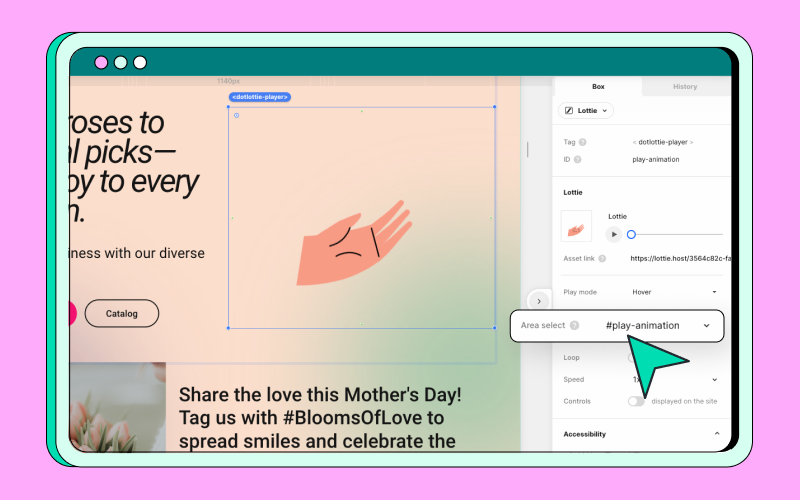
On ‘Area’ select, Choose the ID you you would like to play mode effect to apply.
Note: If you select 'No Specification', the default playback area reverts to the Lottie embed box itself only.
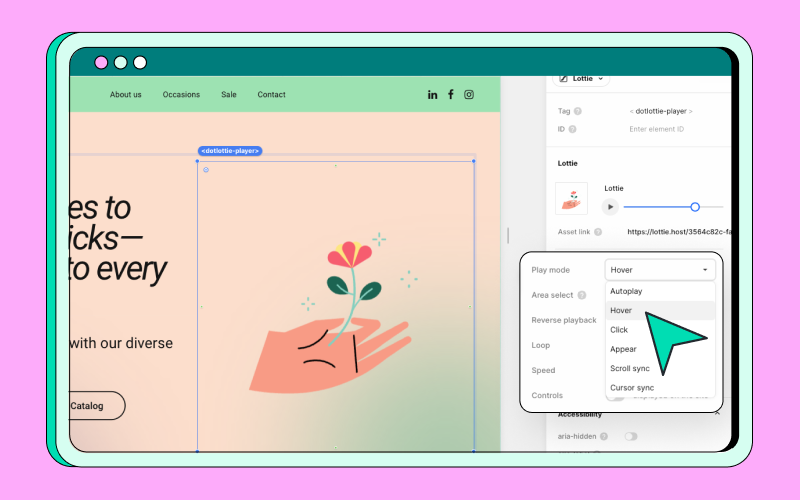
Play modes
Play mode is a nice way of adding an interactive element to your animation. STUDIO has a few play mode conditions available for you to explore such as:
- Auto Play: Plays automatically under default conditions.
- Hover: Activates when the cursor hovers over the box.
- Click: Starts upon clicking the Lottie box.
- Appear: Plays once when the box enters the browser view.
- Scroll Sync: Syncs with browser scrolling.
- Cursor Sync: Moves with the cursor position.
You're all set!
Now that you're all set to embed a Lottie animation on your STUDIO website project, it is time for you to give it a try. We hope this sparks your inspiration to incorporate animations into your websites and explore the possibilities – we can’t wait to see what you come up with!