This blog was originally published on 5 May 2020. It has since been updated as of 23 January 2026.
Rich animations can easily bloat bundle sizes and slow down React apps if they’re not handled properly. That’s why more teams are turning to lightweight, runtime-friendly animation formats, such as Lottie, which are better built for production.
What is a Lottie?
A Lottie is a high-quality JSON-encoded animation compatible with Android, iOS, web browsers, React, and more. You can learn more about what a Lottie is in our guide.
What about dotLottie? A .lottie file is the next evolution—a compressed bundle that reduces file sizes by up to 80% while packaging multiple animations and assets into a single file.
The best way to get to know how to use a Lottie is to embed one. Follow along with this walkthrough to learn how to embed your favorite Lottie into a React App.
1. Choose Your Lottie
Choose an animation, either one of your own or select one from the wide range of free animations on LottieFiles.
Tip: When downloading, select the .lottie format for the best performance and smallest file size. The player also supports classic .json files.
For this walkthrough we are going to use this animation: Kiss of the Heart
2. Set Up Your React Environment
Whether you're on Windows, Mac, or Linux, this walkthrough will work the same. We'll use CodeSandbox as our online development environment so anyone can follow along.
2.1 Start a New React Project
Go to CodeSandbox and start up a new React project. This gets you a boilerplate React project created with the official starter.

Now you have a shiny new React app to start building on.
2.2 Add the dotLottie React Package
Find the "Dependencies" area in the left pane, click on the Search bar and search for @lottiefiles/dotlottie-react. Select it from the results.

That's it for dependencies! Unlike older Lottie libraries, no additional packages are required.
3. Add Your Lottie File
Now you're ready to add your Lottie to the project.
3.1 Upload to the Public Folder
Place your downloaded .json file into the public folder of your project.

4. Display Your Lottie
Final step! Edit your App.js file to display the animation.
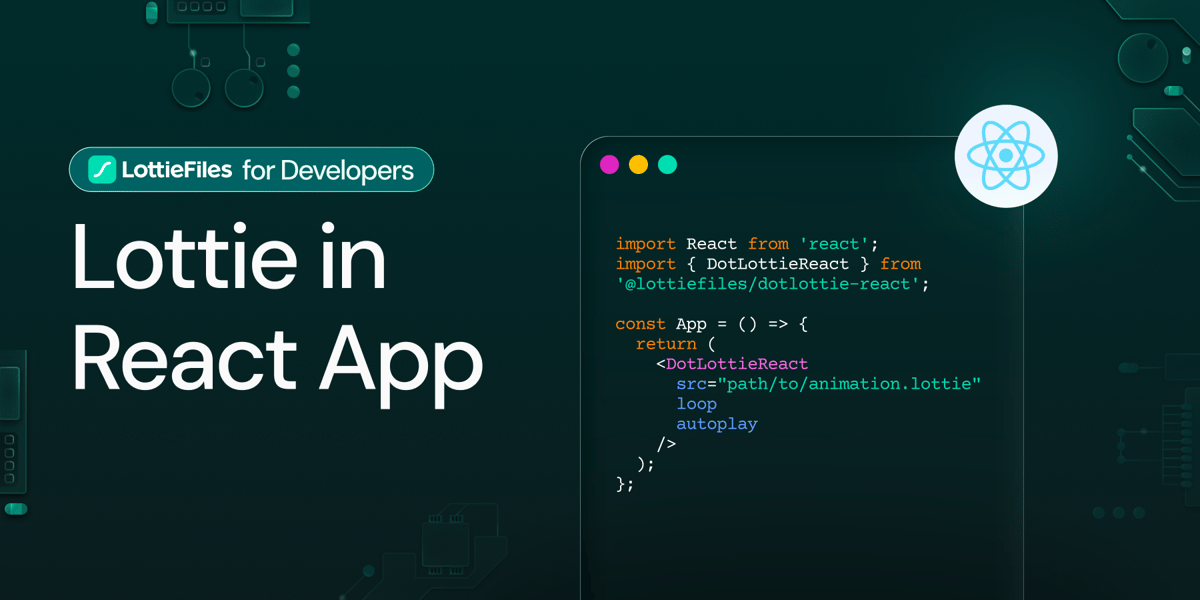
4.1 Import the Component
Add this import at the top of your App.js:
import { DotLottieReact } from '@lottiefiles/dotlottie-react';4.2 Add the Player
Replace your App component with:
import "./styles.css";
import { DotLottieReact } from "@lottiefiles/dotlottie-react";


export default function App() {
 return (
   <div className="App">
     <DotLottieReact src="/lotties/Kiss of the heart.json" autoplay loop />
   </div>
 );
}

4.3 Using a URL Instead
If you prefer not to host the file, point directly to a LottieFiles URL:
<DotLottieReact
  src="https://lottie.host/4db68bbd-31f6-4cd8-84eb-189571e2dccc/5u2xmKkpCI.lottie"
  loop
  autoplay
/>
5. See It in Action
Your animation should now be playing in the preview pane!

Why Use dotLottie React?
The @lottiefiles/dotlottie-react library offers major advantages over legacy solutions:
- Tiny Bundle: Built on an optimized WebAssembly runtime
- Smaller Files: The .lottie format reduces file sizes by up to 80%
- Better Performance: Uses less CPU and memory than JavaScript-based renderers
- Simple API: No complex configuration objects
- Dual Format Support: Works with both .lottie and .json files