
How to Develop and Publish a Plugin for Lottie Creator

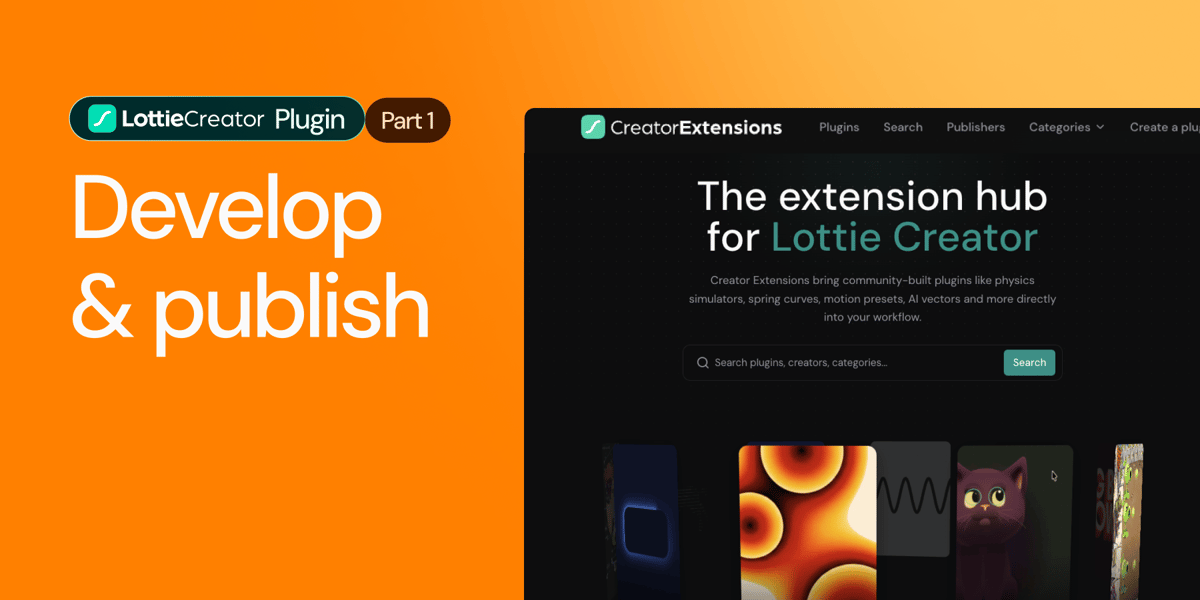
Lottie Creator plugins let you extend Lottie Creator with your own tools, workflows, and functionality.
In this tutorial, we'll walk through the complete plugin workflow at a high level—from creating a new plugin project and running it locally to building, packaging, and submitting it to the Creator Extensions.
By the end, you'll understand:
- Where Creator plugins live
- How to create a new plugin project
- The main files you'll work with
- How to develop with code or an AI coding agent
- How to test a plugin locally in Lottie Creator
- How to build and package a plugin
- How to submit a plugin to the Creator Extensions
1. Find Plugins in Lottie Creator
Open Lottie Creator and select the Plugins option from the side menu.
This opens the Plugins panel, where you can access plugins that are currently available for Creator.
Our goal is to extend Creator by developing and adding a plugin of our own.

2. Open the Creator Extensions
Plugin development starts with the Creator Extensions, the marketplace for Lottie Creator plugins.
From Extensions, you can:
- Create and manage plugins
- Publish plugin releases
- Access plugin development documentation
Navigate to Create a Plugin to access the available development resources.
These include:
- Getting Started
- Plugin Basics
- Development guides
- API references

3. Create a New Creator Plugin Project
The Creator plugin documentation provides a shell command for creating a new plugin project.
Copy that command.
Next, create a folder on your computer where you want to develop the plugin. For this example, we'll call it:
Creator Plugin
Open Terminal and navigate to that folder.
Paste and run the plugin creation command you copied from the documentation.

The setup process will ask you for a few details, including:
- The package name
- The name of your plugin
- Whether you want to install dependencies using npm
- Whether you want to install skills for coding agents
Complete the prompts to create the project.
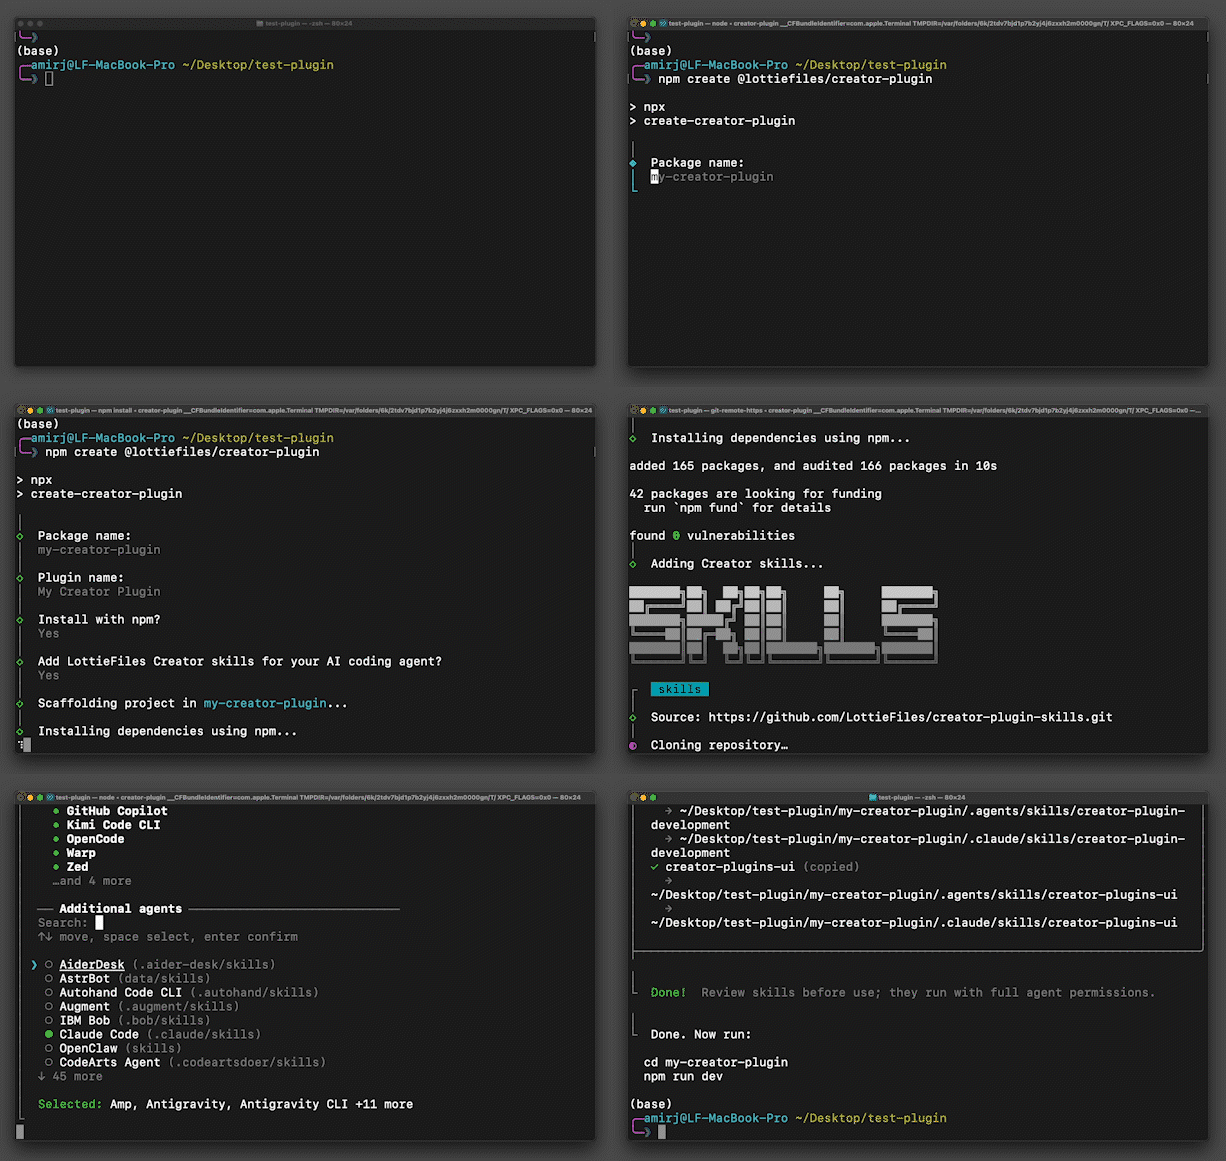
Once the setup finishes, all of the files required to start developing your plugin will be added to the project folder.
4. Choose How You Want to Develop the Plugin
At this point, you can develop your plugin in two main ways.
Option 1: Develop the Plugin Manually
If you want to write the code yourself, open the project folder in an editor such as Visual Studio Code.
Although the generated project contains several files, two of the most important files for basic plugin development are:
app.tsx
plugin.ts
app.tsx
This is where you work on the plugin's user interface and user interactions.
plugin.ts
This is where you implement the plugin logic that interacts with Lottie Creator.

Option 2: Develop with a Coding Agent
You can also use an AI coding agent such as Claude Code or another compatible coding agent.
From Terminal, launch your coding agent inside the plugin project.
You can then describe the plugin you want to build and ask the agent to develop it using the Creator plugin skills installed with the project.
This provides an agentic workflow where you can move from an idea to working plugin code primarily through prompts.
We'll explore this workflow in more detail in another part of this tutorial series.

5. Run the Plugin Locally
Before publishing anything, you'll want to run and test your plugin inside Creator.
From Terminal, make sure you're inside the plugin project folder and run:
npm run dev
This starts the local development server and gives you a local URL for the plugin.
Copy that URL.

6. Load the Local Plugin in Lottie Creator
Return to Lottie Creator.
Open the Plugins panel and use the + button to add a local plugin.
Paste the local URL generated by npm run dev.
Creator will load the plugin directly from your development environment.

If you've just created the project, you'll initially see the default starter plugin.
It doesn't do much yet—but as you modify your source code, this is where you'll be able to test your plugin directly inside Creator.
At this point, the development workflow looks like this:
Develop Plugin
      ↓
npm run dev
      ↓
Local URL
      ↓
Load in Creator
      ↓
Test Plugin
Publishing a Lottie Creator Plugin
Once your plugin is finished and tested, the next step is preparing it for distribution.
7. Build the Plugin
Return to Terminal and run:
npm run build
This creates the production version of your plugin.
The generated distribution files are placed inside the:
dist
folder.

8. Create the Plugin ZIP File
Inside the dist folder, you'll find the three files required for the plugin distribution.
Select all three files and compress them into a single:
.zip
archive.
This ZIP file is what you'll upload when creating a plugin release.

9. Prepare the Plugin Icons
You'll also need two visual assets:
- Plugin icon
- Sidebar icon
The main plugin icon represents your plugin in places such as its Extensions listing.
The sidebar icon is used if your plugin is selected to appear directly in the Lottie Creator sidebar.

10. Create the Plugin in Extensions
Return to the Creator Extensions and open your dashboard.
Create a new plugin.
You'll be asked to provide information about the plugin, including:
- Plugin name
- Category
- Tags
- Short description
- Main plugin icon
- Sidebar icon
Complete the required information and save your changes.


11. Create a Release
After creating the plugin listing, navigate to the Releases section.
Create a new release and upload the ZIP archive you generated earlier.

You can also provide release information such as:
- Version number
- Release notes
- Changelog
If you're publishing an updated version of an existing plugin, the changelog can explain what has changed since the previous release.
12. Submit the Plugin for Review
Once your plugin details and release are ready:
- Save the release.
- Review the information.
- Submit the plugin for review.
Your plugin has now completed the development and submission workflow.
The Complete Creator Plugin Workflow
The entire process can be summarized as:
Create Plugin Project
        ↓
Develop the Plugin
        ↓
npm run dev
        ↓
Test Locally in Creator
        ↓
npm run build
        ↓
Create ZIP
        ↓
Create Extensions Listing
        ↓
Create Release
        ↓
Submit for Review
Key Files and Commands
Important development files
app.tsx
plugin.ts
Run the plugin locally
npm run dev
Build the production version
npm run build
Distribution output
dist/
What's Next?
This tutorial provides a quick overview of the complete Lottie Creator plugin development and publishing process.
In the next parts of the series, we'll go deeper into actually building plugins, working with the Creator API, creating plugin interfaces, and using coding agents to develop more advanced functionality.
Once you understand the basic workflow, the process is straightforward:
Create → Develop → Test → Build → Package → Publish.
You may also like

How to Create Animations with AI Using Lottie Creator WebMCP
Guide to creating and refining animations with AI using Lottie Creator WebMCP.

Lottie/dotLottie vs. GIF: Choosing the Right Animation for You
The two most popular web animation formats, Lottie and GIF, collide head-on. This blog will focus on the 5 most important parameters to tell you who's the boss!
Introducing Motion Copilot 2.0 in Lottie Creator
Motion Copilot is no longer just a keyframing helper; it's a full animation assistant.
Lottie Creator 2.0: A Powerful Web-Based Lottie Animation Tool
Reimagine animation creation with Lottie Creator