
How to Build a Lottie Creator Plugin with a Coding Agent

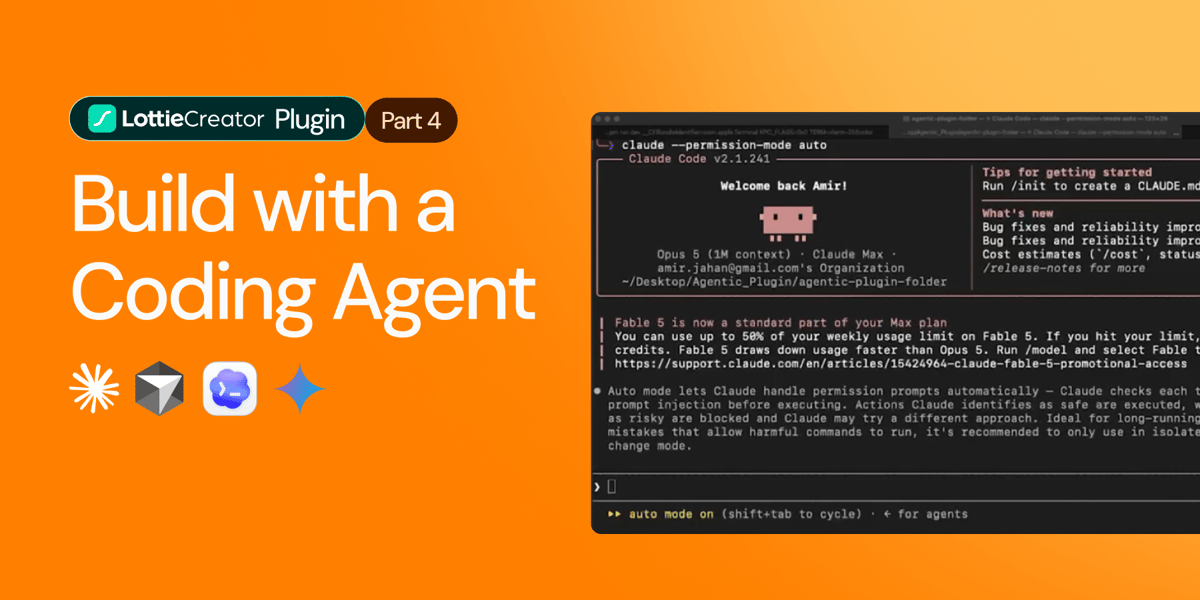
In this tutorial, we’ll build a Lottie Creator plugin using an AI coding agent instead of writing the plugin manually.
If you’ve already followed the earlier parts of this series, you can reuse the plugin project you already created. Otherwise, we’ll start from scratch.
By the end of this tutorial, you’ll know how to:
- Create a new Creator plugin project
- Run and test it locally
- Install the Creator AI Agent Skills
- Use a coding agent to build a plugin
- Prompt the agent with a clear plugin specification
- Test the generated plugin inside Lottie Creator
- Iterate on the plugin with follow-up prompts
For this example, we’ll build a Bouncing Ball plugin with several user-configurable controls.
1. Create a New Plugin Project
If you already have a working Creator plugin project, you can skip this step.
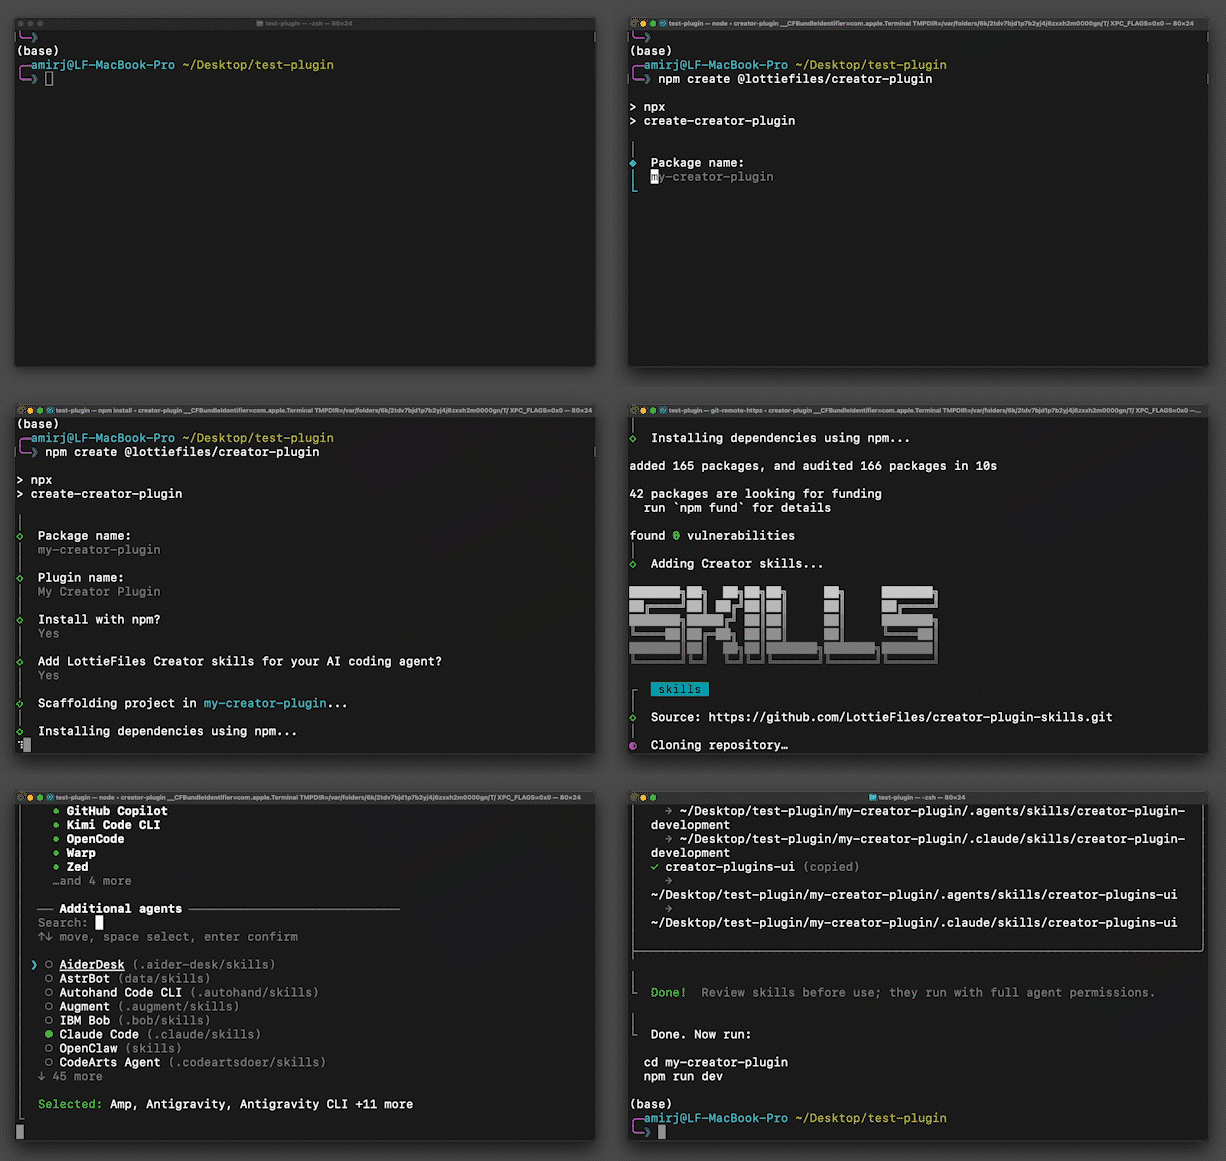
Otherwise, open Terminal and run:
npm create @lottiefiles/creator-plugin
Answer the setup questions to create a new plugin project.
Once the installation finishes, you’ll have a complete starter project ready for development.
2. Run the Starter Plugin
Before asking an agent to modify anything, it’s useful to confirm that the project works correctly.
Navigate into the new plugin directory:
cd your-plugin-folder
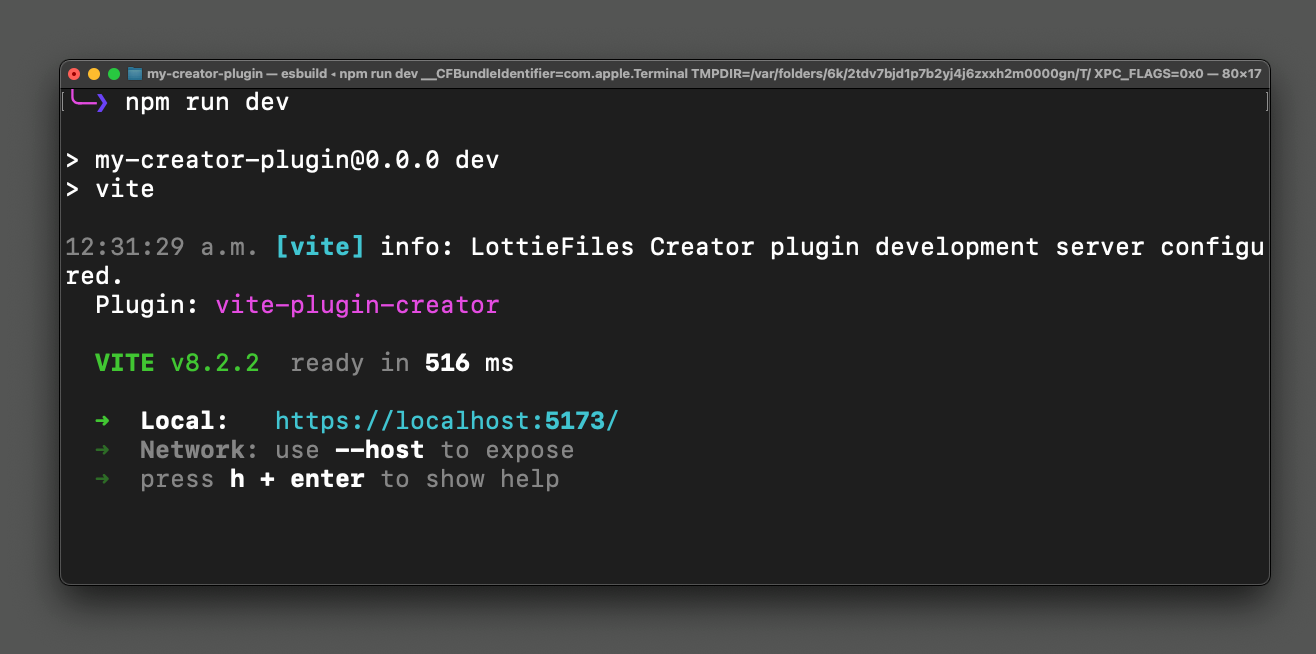
Then start the development server:
npm run dev
Copy the local URL returned by the development server.
3. Load the Plugin in Lottie Creator
Open Lottie Creator and go to the Plugins catalog.
Click the + button and paste the local plugin URL.
The starter plugin should load inside Creator.
At this point, we know the project itself is working correctly.
Now we can move on to agentic development.
4. Open the AI Agent Skills Documentation
Go to the Creator developer portal and open:
Getting Started → AI Agent Skills
These skills are a set of instructions that help supported coding agents understand:
- Creator plugin architecture
- Available APIs
- UI patterns
- Recommended development conventions
You may already have installed these skills during the initial plugin setup.
If not, you can install them manually.
5. Install the Creator Agent Skills
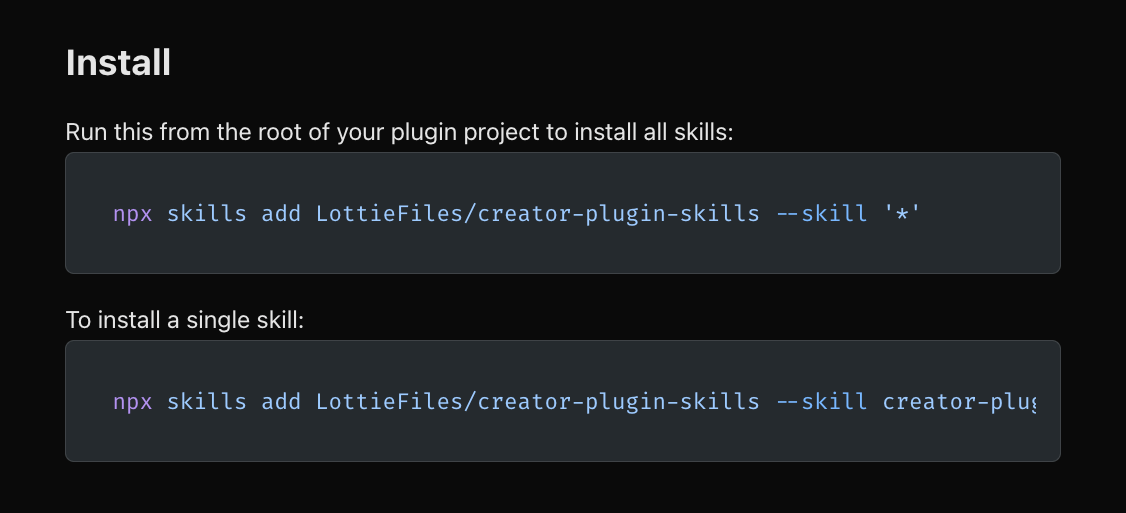
If the skills are not already installed, return to Terminal and install them from your plugin project.
Use the installation command provided in the documentation.
Once installed, your coding agent has additional context specifically designed for developing Lottie Creator plugins.
6. Launch Your Coding Agent
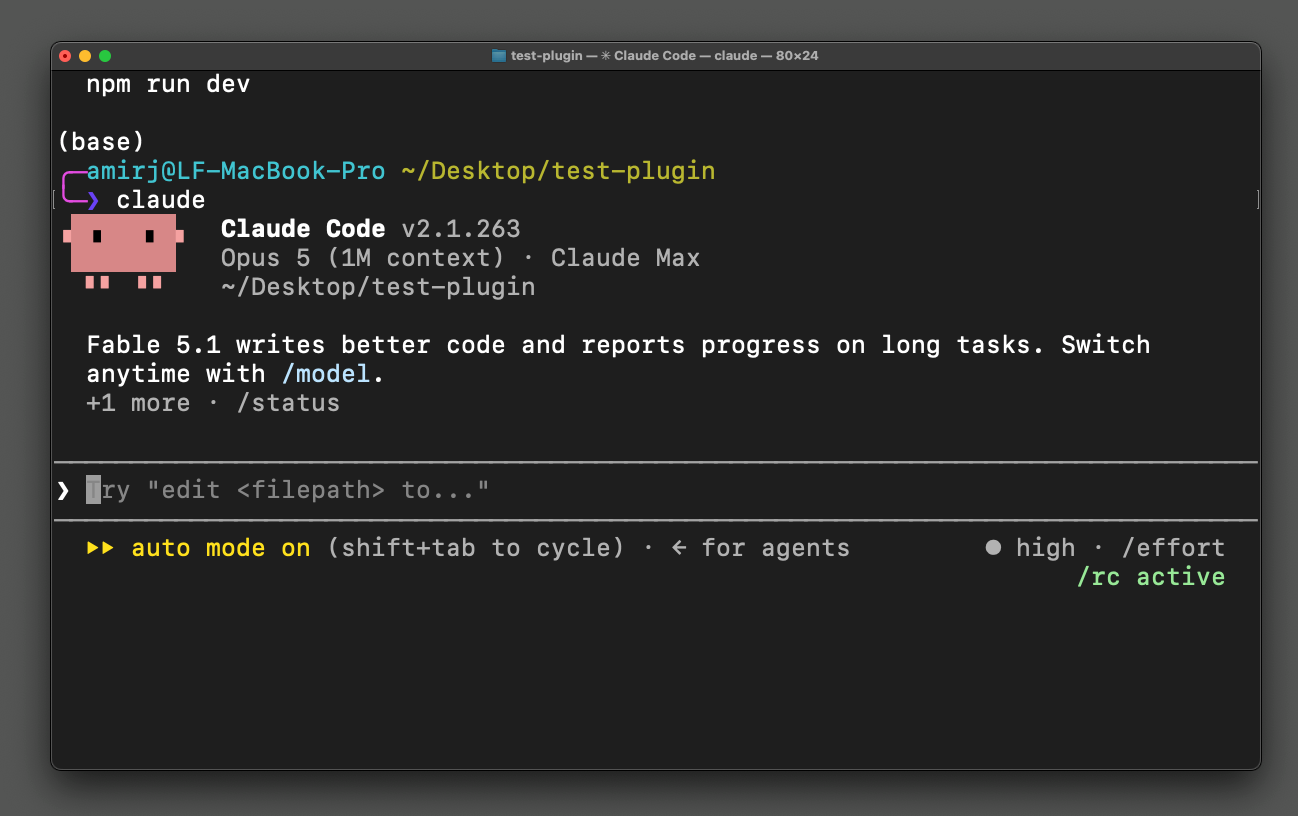
For this example, we’ll use Claude Code in Auto Mode.
From inside the plugin project, launch your preferred coding agent.
The agent should now have access to:
- Your existing plugin project
- The current source files
- The installed Creator plugin skills
At this point, the development workflow becomes primarily prompt-driven.
7. Describe the Plugin You Want to Build
The quality of agentic development depends heavily on the quality of the prompt.
For this tutorial, we want to build a Bouncing Ball plugin.
The plugin should let the user control:
- Ball color
- Ball radius
- Bounce direction
- Number of bounces
- Other animation settings
The bounce direction should support:
- Vertical only
- Horizontal and vertical
When the user presses Create, the plugin should generate the bouncing ball animation inside the current Creator scene.
8. Give the Agent a Clear Prompt
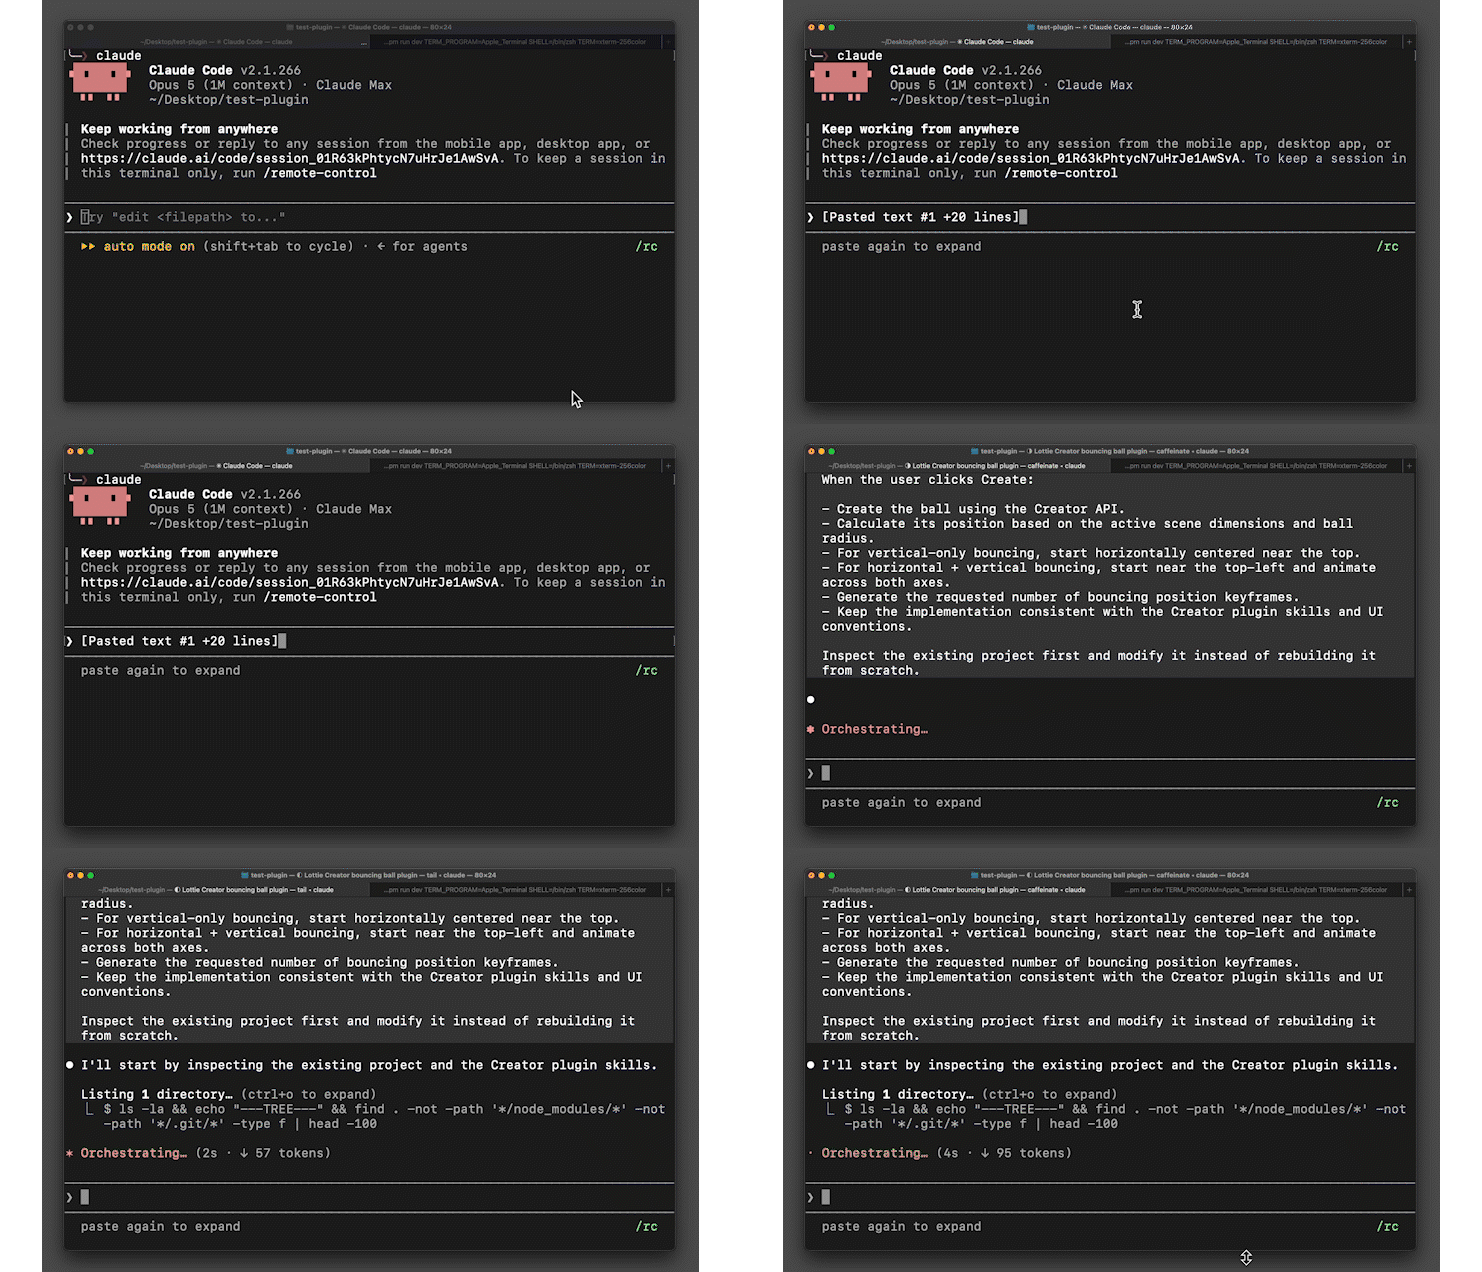
We can provide the coding agent with a prompt like this:
Using the provided Creator plugin skills as your guide, build a Lottie Creator plugin that generates a bouncing ball animation.

The plugin should let the user configure:

- Ball color
- Ball radius
- Bounce direction:
  - Vertical only
  - Horizontal + vertical
- Number of bounces

When the user clicks Create:

- Create the ball using the Creator API.
- Calculate its position based on the active scene dimensions and ball radius.
- For vertical-only bouncing, start horizontally centered near the top.
- For horizontal + vertical bouncing, start near the top-left and animate across both axes.
- Generate the requested number of bouncing position keyframes.
- Keep the implementation consistent with the Creator plugin skills and UI conventions.

Inspect the existing project first and modify it instead of rebuilding it from scratch.
The prompt doesn’t need to be extremely long.
What matters is that it clearly communicates:
- What the plugin does
- What controls it needs
- How the animation should behave
- What APIs and conventions the agent should follow
9. Let the Agent Build the Plugin
Submit the prompt.
The coding agent will inspect the project and begin creating the functionality.
Depending on the scope, it may:
- Update
app.tsx - Update
plugin.ts - Add UI controls
- Add message handling
- Use the Creator API
- Generate animation keyframes
- Add styling and validation
Once the agent finishes, the plugin is ready to test.
10. Run the Generated Plugin
Return to Terminal and run:
npm run dev
Copy the local URL if needed.
Then return to Lottie Creator and load the plugin.
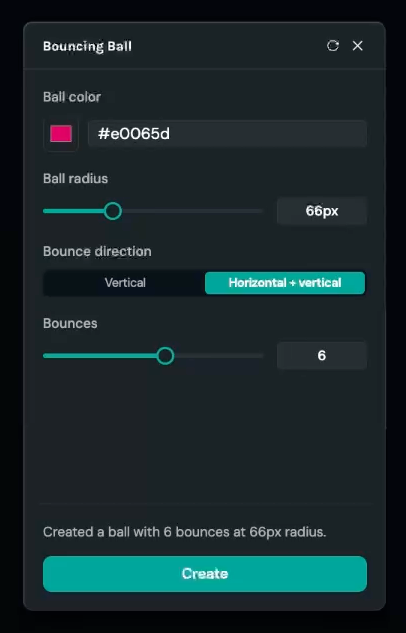
You should now see the interface generated by the agent, including the controls requested in the prompt.
11. Test the Bouncing Ball Plugin
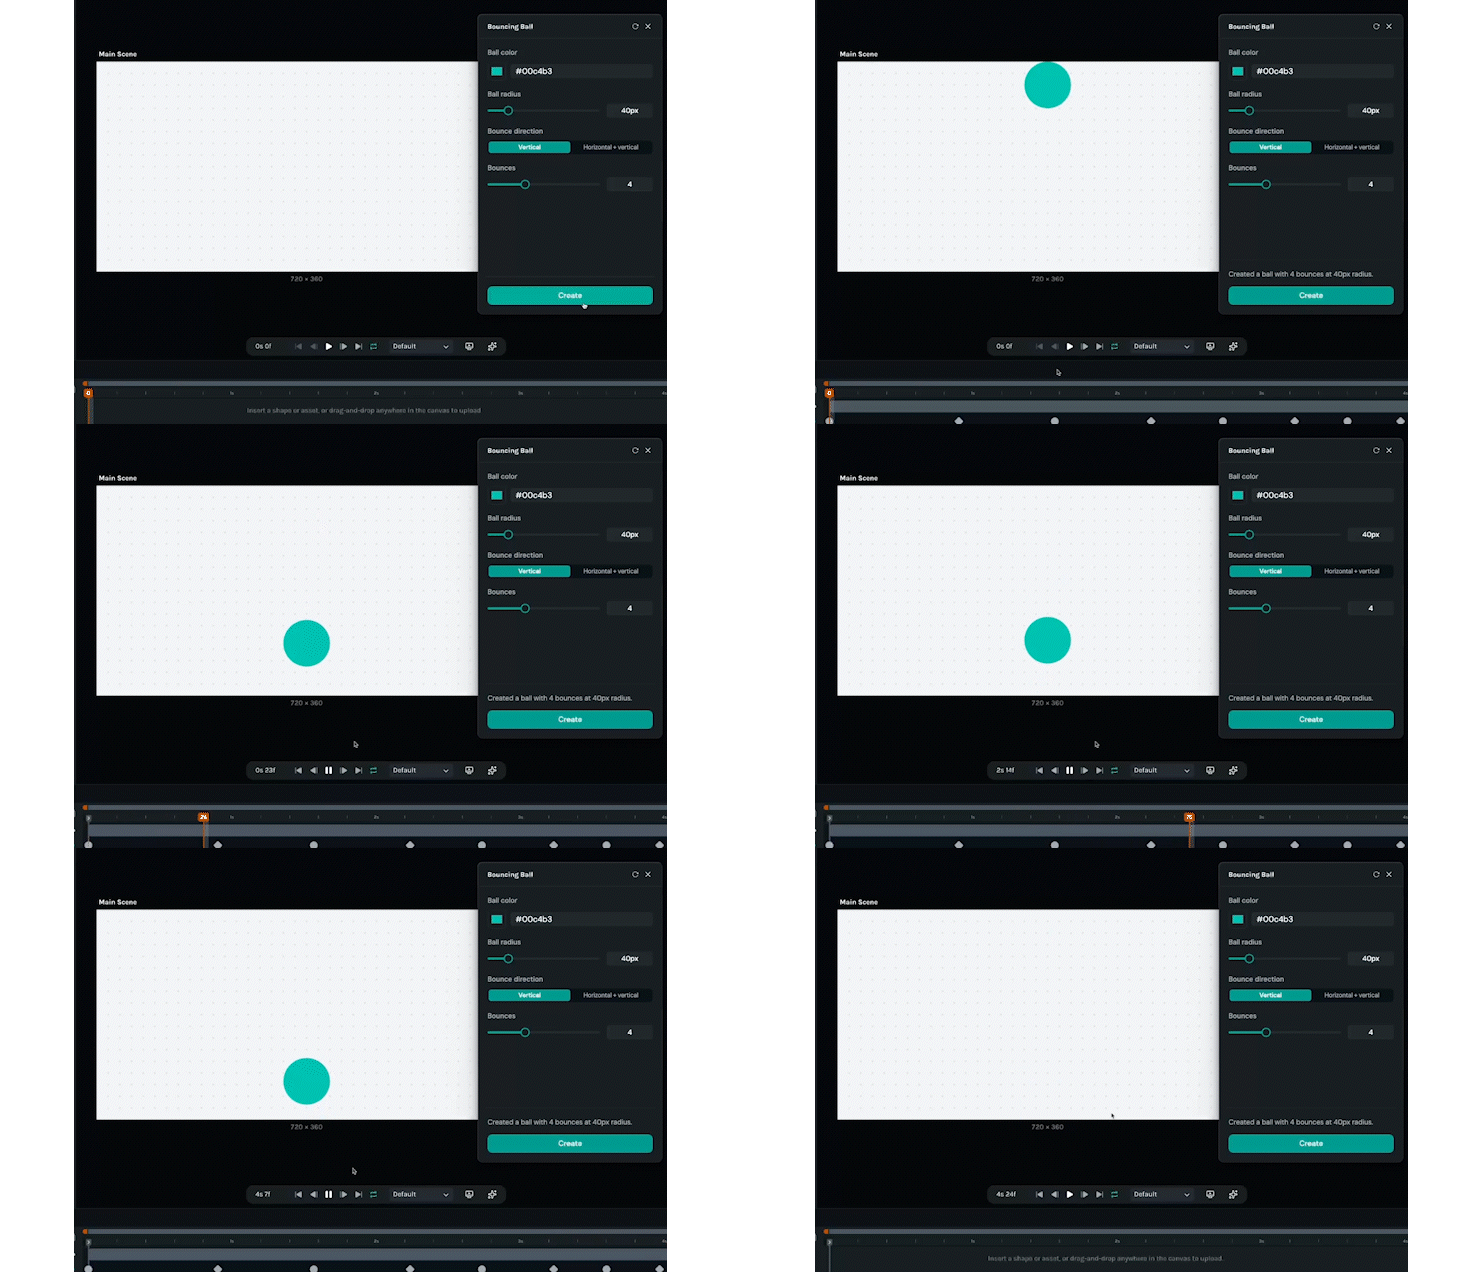
Configure the plugin using a set of values.
For example:
Color: Teal
Radius: 40
Direction: Vertical
Bounces: 4
Press:
Create
The plugin should generate a bouncing ball animation in the Creator scene.
12. Try Different Settings
One of the benefits of building the plugin with configurable controls is that the same tool can produce many different animations.
Try another configuration, such as:
Color: Blue
Radius: 25
Direction: Horizontal + Vertical
Bounces: 6
Run the plugin again.
A new animation should be generated based on the updated settings.
13. Iterate with Follow-Up Prompts
The first result does not have to be the final version.
You can return to the coding agent and request changes or improvements.
For example:
Add more control over the easing of each bounce.
or:
Let the user control how quickly the bounce height decreases.
or:
Add a control for the horizontal travel distance.
The agent can inspect its existing implementation and modify the plugin accordingly.
This creates an iterative development loop:
Describe feature
      ↓
Agent modifies plugin
      ↓
Run plugin
      ↓
Test in Creator
      ↓
Request improvements
      ↓
Repeat
Why Agentic Plugin Development Is Useful
Traditional plugin development requires you to understand and implement:
- React UI
- TypeScript
- Message passing
- Creator API calls
- Scene structures
- Shape properties
- Animation keyframes
With agentic development, you can focus more heavily on:
What should the plugin do?
while allowing the coding agent to help determine:
How should it be implemented?
The Creator AI Agent Skills provide additional guidance so the agent can work with the plugin system more effectively.
This makes it possible to prototype a much wider range of Creator tools without manually writing every implementation detail yourself.
Agentic Development Still Requires Clear Instructions
Coding agents are most effective when the prompt clearly describes the intended behavior.
A useful Creator plugin prompt should usually include:
What the plugin does
For example:
Generate a bouncing ball animation.
What the user can control
For example:
Color
Radius
Direction
Number of bounces
What should happen when the user takes an action
For example:
When Create is pressed, generate the animation in the active scene.
Any important positioning or animation rules
For example:
Keep the ball within the scene dimensions.
The clearer these requirements are, the more likely the agent is to produce a useful first result.
The Agentic Creator Plugin Workflow
The complete workflow looks like this:
Create Plugin Project
        ↓
Install Agent Skills
        ↓
Launch Coding Agent
        ↓
Describe Plugin
        ↓
Agent Edits Project
        ↓
npm run dev
        ↓
Load in Creator
        ↓
Test
        ↓
Prompt Agent Again
This can dramatically shorten the distance between a plugin idea and a working prototype.
What We Built
In this tutorial, we used a coding agent to build a Creator plugin that:
- Generates a bouncing ball
- Lets users choose the ball color
- Lets users control the radius
- Supports different bounce directions
- Supports a configurable number of bounces
- Generates animation directly inside the Creator scene
More importantly, we learned the basic process for developing any Creator plugin agentically.
The Bouncing Ball plugin is simply an example.
The same approach can be used for:
- Motion utilities
- Animation generators
- Layout tools
- Asset importers
- Text tools
- Data-driven animations
- UI animation generators
- Workflow automation
- AI-powered Creator tools
What’s Next?
We’ve now created plugins in two different ways:
Manual Development
        +
Agentic Development
The final step is learning how to distribute what we’ve built.
In the fifth and final part of this series, we’ll look at how to:
- Prepare a plugin for release
- Package the distribution files
- Create a publisher profile
- Create a plugin listing in Extensions
- Upload a release
- Submit the plugin for review
That takes us from a local development project to a plugin that can be shared with other Lottie Creator users.
You may also like

How to Create Animations with AI Using Lottie Creator WebMCP
Guide to creating and refining animations with AI using Lottie Creator WebMCP.
How to Build Your First Lottie Creator Plugin: Create and Animate a Rectangle
Creating a beginner-friendly Lottie Creator plugin using the Creator plugin API.
How to Develop and Publish a Plugin for Lottie Creator
Learn how to create, test and publish a plugin to LottieFiles Extensions.
How to Publish a Lottie Creator Plugin to Extensions
Learn how to prepare, package and publish your Lottie Creator plugin to LottieFiles Extensions.