
How to Publish a Lottie Creator Plugin to Extensions

In this final part of the series, we’ll take the plugin we’ve already built and prepare it for publishing in LottieFiles Extensions.
So far, we’ve focused on development. Now we’ll cover the distribution side:
- Build the plugin
- Create the distribution ZIP
- Prepare the required icons
- Create a plugin listing in Extensions
- Upload a release
- Add version and release information
- Submit the plugin for review
By the end of this tutorial, your plugin will be ready for submission.
What You Need Before Publishing
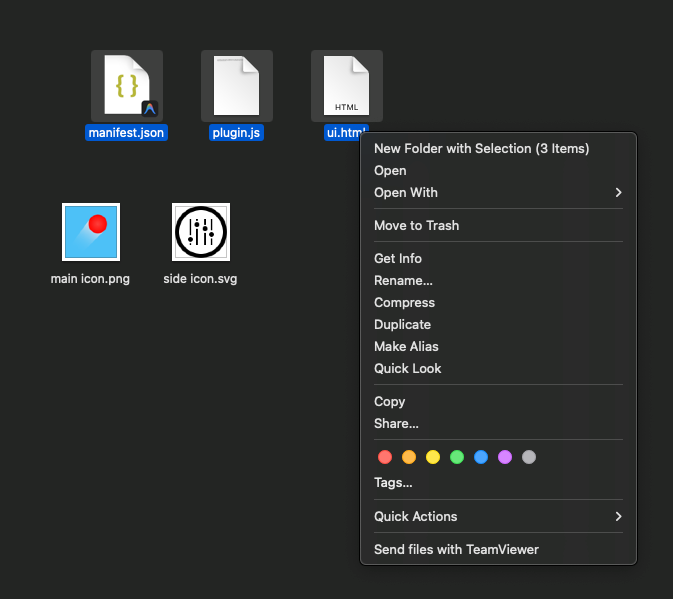
To publish a Creator plugin, prepare these three items:
- Plugin icon
- Sidebar icon
- Plugin distribution ZIP file
The main plugin icon represents your plugin in its listing.
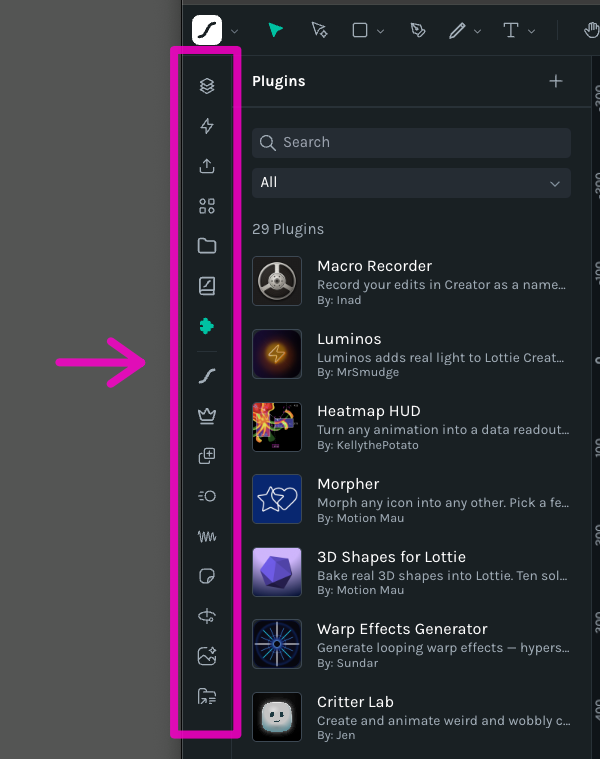
The sidebar icon is used if your plugin is selected to appear directly in the Lottie Creator sidebar.
1. Build the Plugin
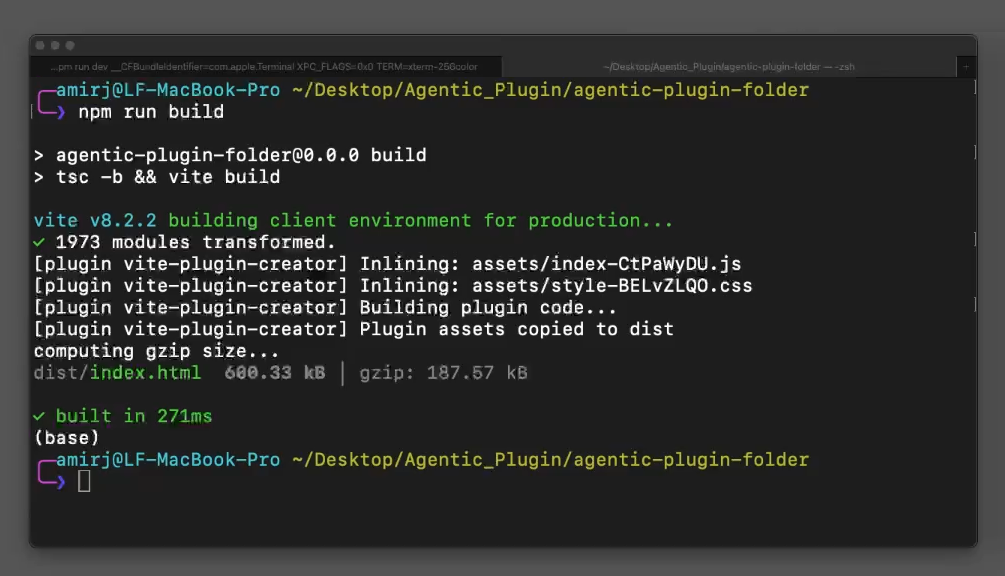
Open Terminal and navigate to your plugin project.
Run:
npm run build
This creates a production build of the plugin.
A new folder called:
dist
will be created inside your project.
2. Find the Distribution Files
Open the:
dist
folder.
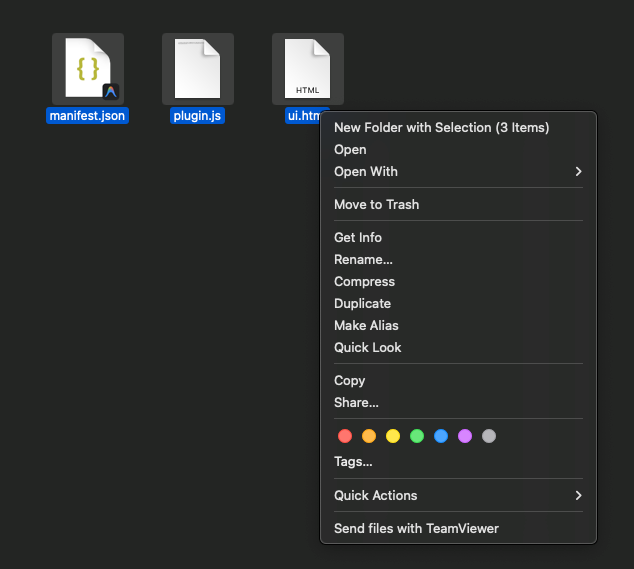
Inside, you’ll find the three distribution files generated by the build process.
These files make up the production version of your plugin.
3. Create the Plugin ZIP File
Select all three distribution files.
Compress them into a single:
.zip
archive.
This ZIP file is the plugin bundle you’ll upload to Extensions.
At this point, one of the three required publishing assets is ready:
Plugin ZIP ✓
4. Prepare the Main Plugin Icon
You’ll also need a main plugin icon.
For this tutorial, the plugin icon is a:
PNG
file.
This is the primary visual identity of your plugin in Extensions and other plugin-related surfaces.

5. Prepare the Sidebar Icon
The second visual asset is the sidebar icon.
For this tutorial, the sidebar icon is an:
SVG
file.
If your plugin is selected to appear directly in Creator’s sidebar, this is the icon that will represent it there.
You should now have everything required for publishing:
Plugin icon ✓
Sidebar icon ✓
Plugin ZIP ✓
Create the Plugin in Extensions
6. Open Your Extensions Dashboard
Go to LottieFiles Extensions.
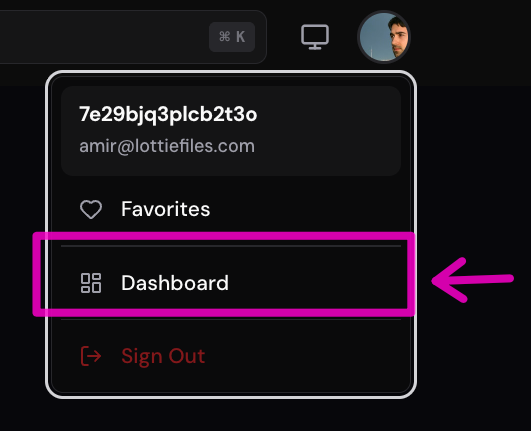
Click your profile button and open the:
Dashboard
From the dashboard, create a new plugin.
7. Add the Plugin Information
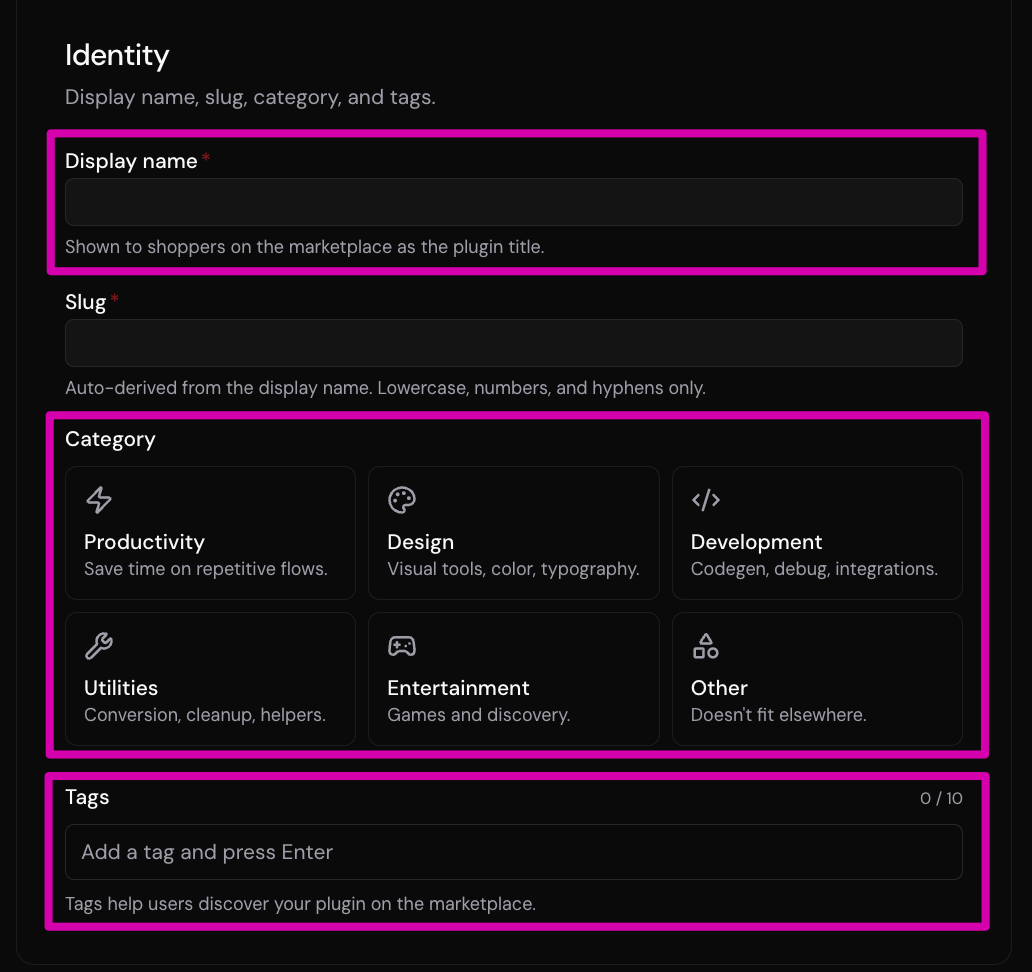
Extensions will ask for basic information about the plugin.
This includes:
- Plugin name
- Category
- Tags
- Short description
- Optional long description
Fill in the required details.
A clear short description should explain the plugin’s core value quickly.
The longer description can provide more detail about:
- What the plugin does
- Who it is for
- Its main controls
- Typical use cases
- What users can create with it
8. Upload the Plugin Icon
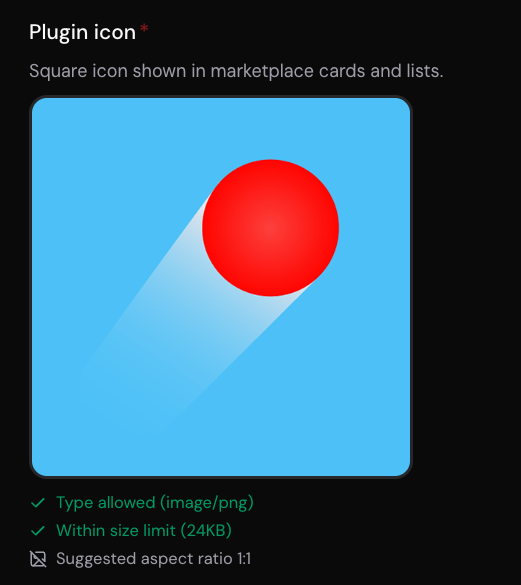
Upload the main plugin icon.
This is the PNG file you prepared earlier.
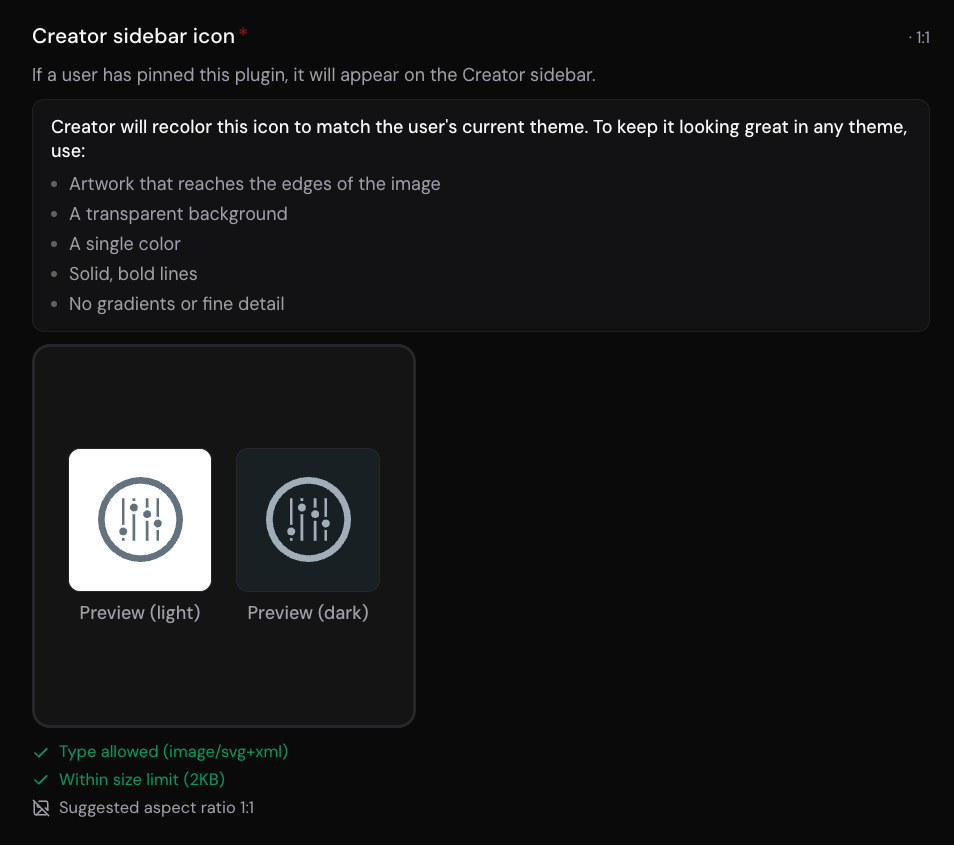
9. Upload the Sidebar Icon
Next, upload the sidebar icon.
This is the SVG file that may be used inside the Creator sidebar.
10. Add Optional Plugin Media
Extensions also allows you to add additional visual material.
Depending on your plugin, you can include:
- Banners
- Screenshots
- Multiple product images
These are useful for showing users what the plugin does before they install or use it.
For a visual or animation-focused plugin, animated GIFs or screenshots of the final output can make the listing much easier to understand.
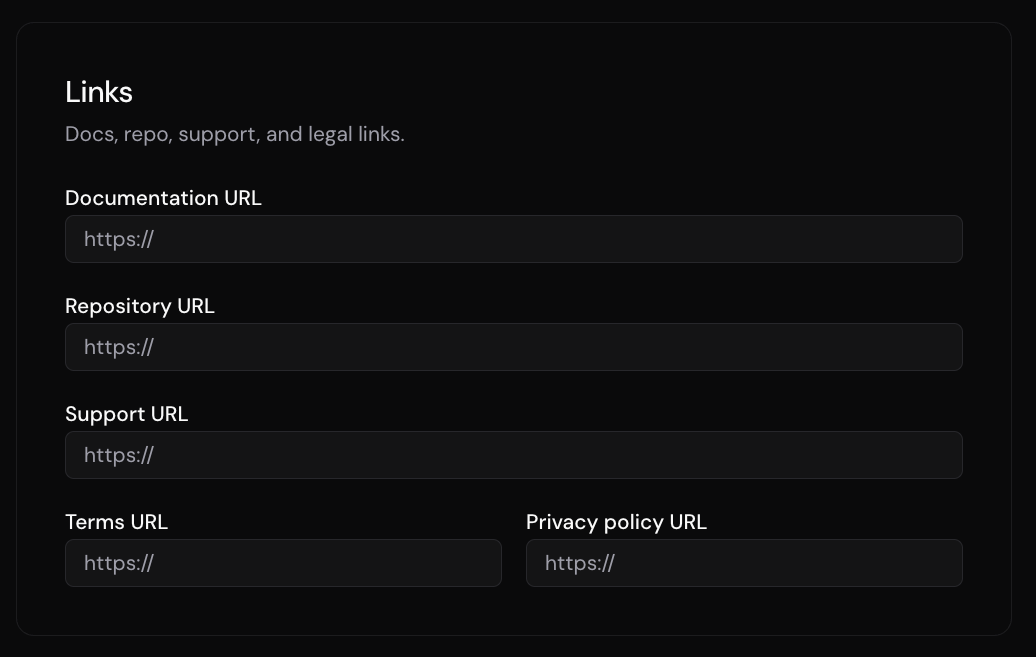
11. Add Additional Links
You can also provide supporting information such as:
- Support URL
- Repository URL
- Documentation URL
These links can help users learn more about the plugin or report issues.
If they are not needed yet, you can leave them out and return to them later.
12. Save the Plugin Listing
Once the basic information is complete, save your changes.
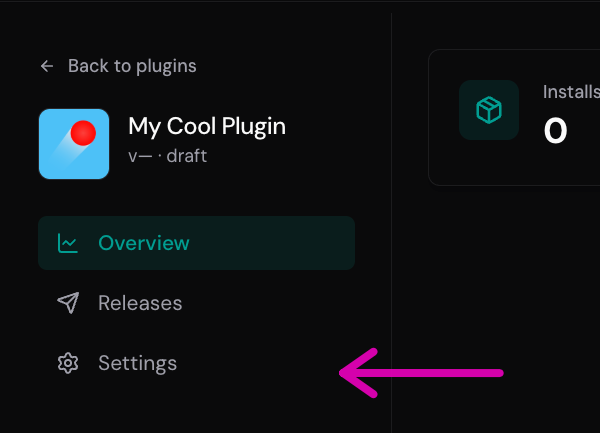
If you need to update anything later, return to the plugin’s:
Settings
section.
This allows you to edit the listing information without recreating the plugin.
Create the First Release
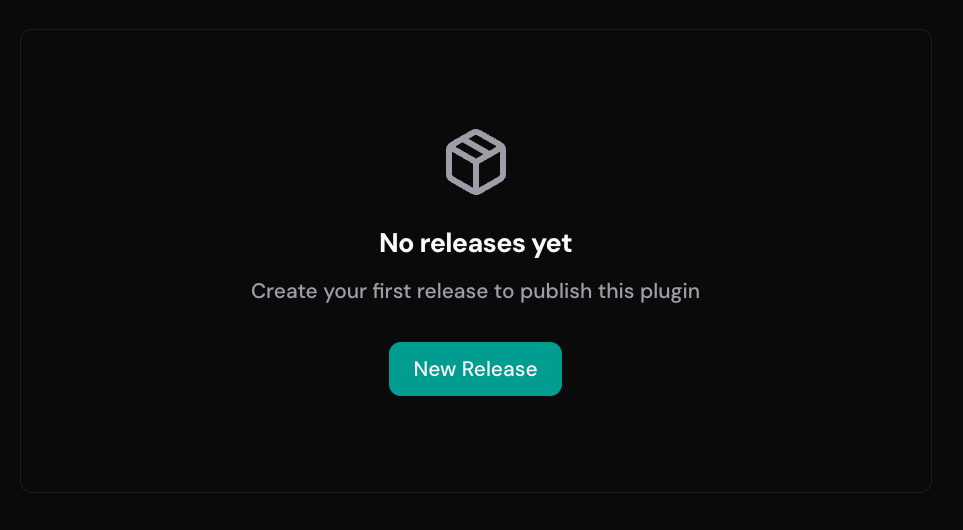
13. Open Releases
Navigate to:
Releases
This is where you manage the distributable versions of your plugin.
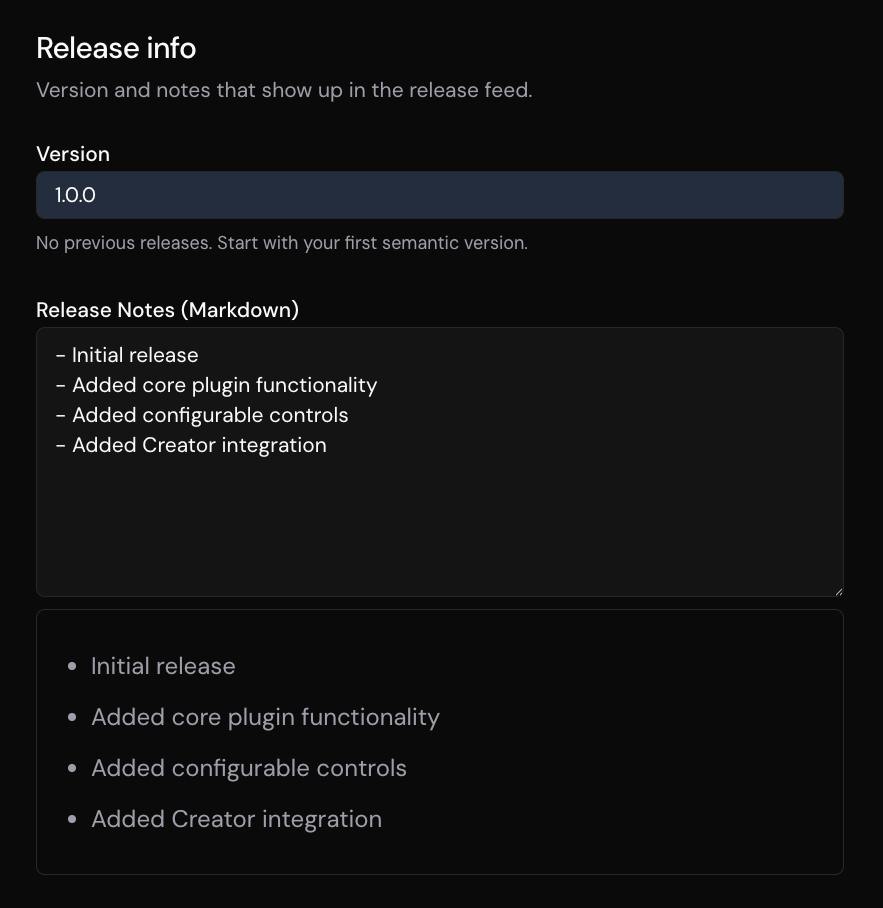
14. Set the Version Number
Because this is our first release, we’ll use:
1.0.0
This indicates the first public version of the plugin.
As the plugin evolves, future versions might look like:
1.0.1
1.1.0
2.0.0
15. Add Release Notes
You can include a short description of what this release contains.
For example:
## v1.0.0

- Initial release
- Added core plugin functionality
- Added configurable controls
- Added Creator integration
Release notes help users understand what is included in a particular version.
16. Upload the Plugin ZIP
Now upload the ZIP archive you created from the dist files.
This is the production plugin bundle that Extensions will use for the release.
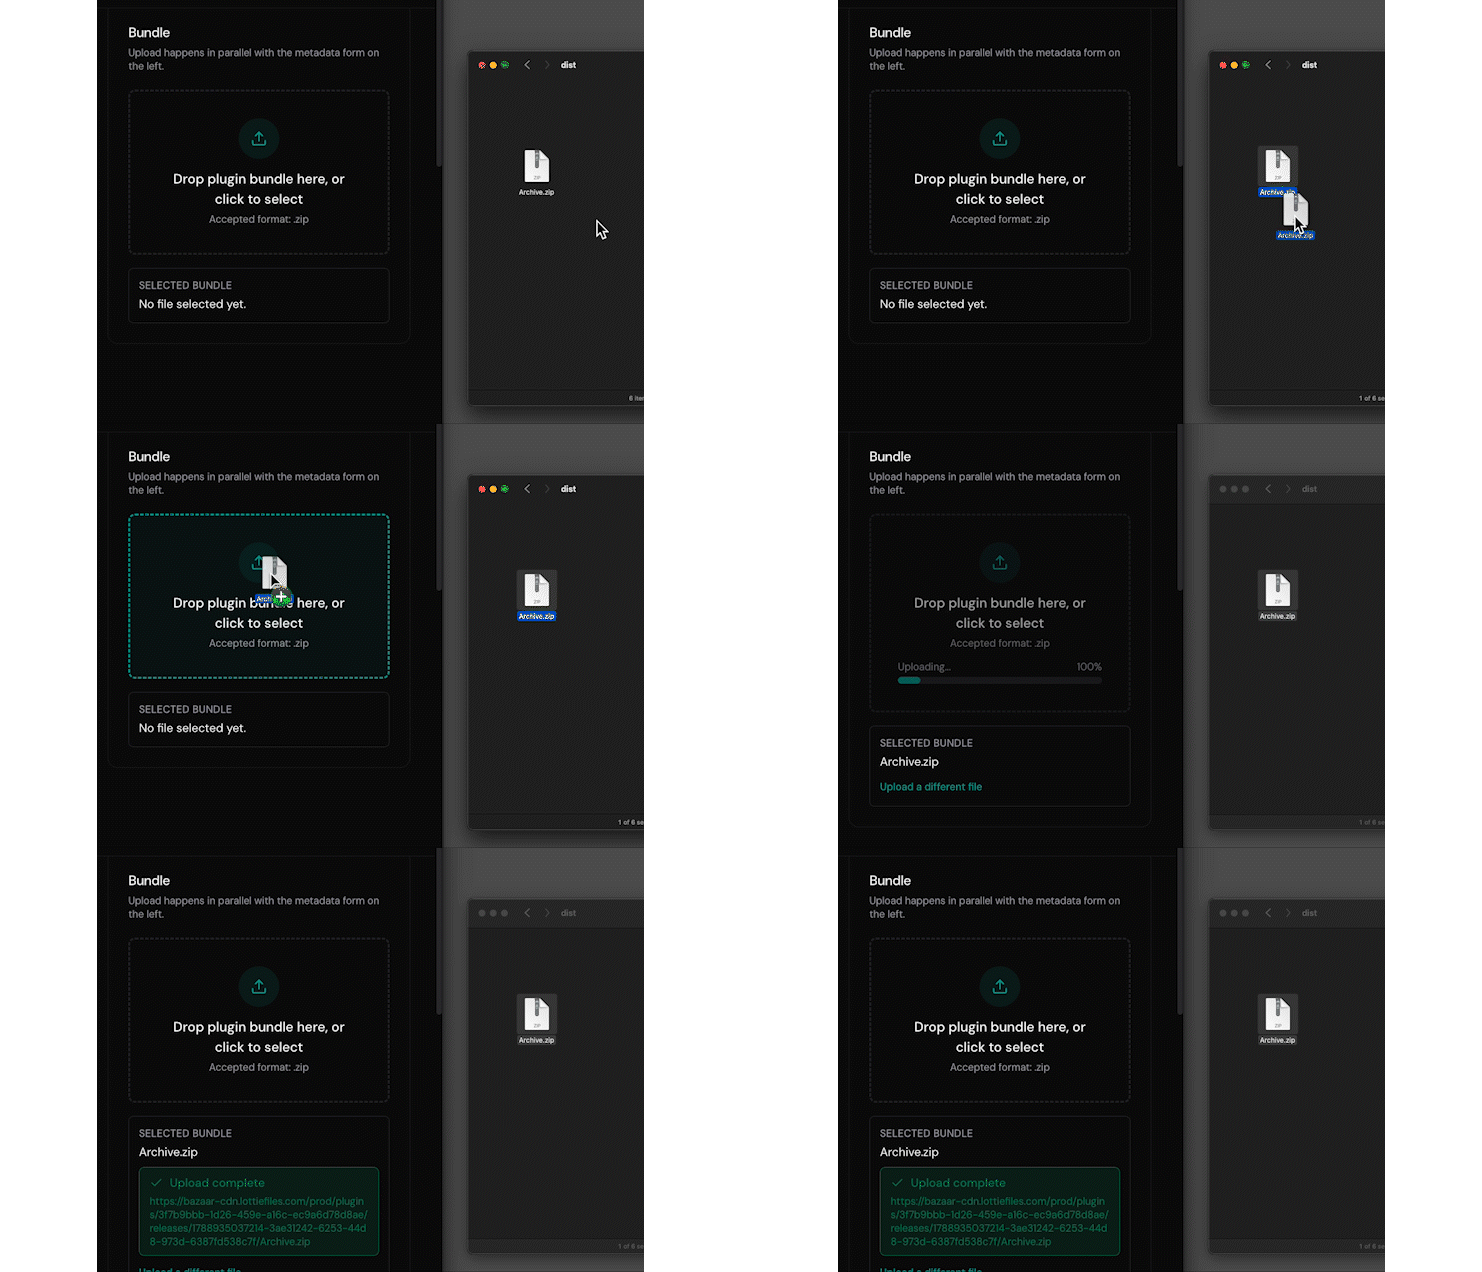
At this stage, the release contains:
Version
+
Release Notes
+
Plugin ZIP
17. Add a Changelog for Future Versions
If this were an updated version of an existing plugin, you could also include a changelog.
For example:
## Changes

- Added easing controls
- Improved UI layout
- Fixed incorrect positioning on small scenes
For the first release, this may not be necessary.
The changelog becomes more useful as your plugin evolves over time.
18. Save the Draft Release
Save the release.
You now have a draft version ready for submission.
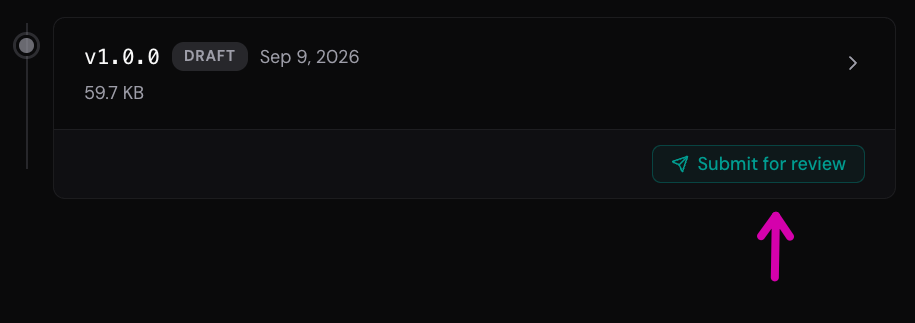
Before submitting, quickly review:
- Version number
- Release notes
- ZIP file
- Plugin details
- Icons
- Screenshots
Submit the Plugin
19. Submit for Review
When everything looks correct, select:
Submit
Confirm the submission when prompted.
Your first Creator plugin has now been submitted for review.
20. Wait for Review and Approval
After submission, the plugin will be reviewed.
Once it is approved, it can be published and made available through the plugin catalog inside Lottie Creator.
The publishing flow is:
Build
   ↓
ZIP
   ↓
Create Listing
   ↓
Create Release
   ↓
Submit
   ↓
Review
   ↓
Approval
   ↓
Plugin Catalog
Complete Publishing Checklist
Before submitting a Creator plugin, make sure you have:
✓ Production build
✓ Distribution ZIP
✓ Plugin icon
✓ Sidebar icon
✓ Plugin name
✓ Category
✓ Tags
✓ Short description
✓ Release version
✓ Release notes
Optional but useful:
✓ Long description
✓ Banner
✓ Screenshots
✓ Support URL
✓ Repository URL
✓ Documentation URL
✓ Changelog
The Complete Creator Plugin Workflow
Across this tutorial series, we’ve now covered the entire plugin lifecycle.
Create Plugin
      ↓
Develop
      ↓
Test Locally
      ↓
Build
      ↓
Package
      ↓
Create Extensions Listing
      ↓
Create Release
      ↓
Submit for Review
      ↓
Publish
Manual or Agentic Development
There are now two main ways you can approach Creator plugin development.
Manual development
Write and control the implementation yourself using:
- TypeScript
- React
- Creator APIs
- Creator Plugins UI components
Agentic development
Describe the plugin you want and use a coding agent together with Creator’s plugin skills to help implement it.
Both approaches ultimately produce the same kind of Creator plugin.
The difference is mainly how you choose to build it.
You’re Ready to Build Creator Plugins
By completing this series, you’ve learned how to:
- Create a plugin project
- Understand
app.tsxandplugin.ts - Send messages between the plugin UI and Creator
- Create shapes
- Add fills
- Animate properties
- Modify selected objects
- Use Creator UI components
- Develop with a coding agent
- Build a production release
- Package a plugin
- Create a Extensions listing
- Submit a plugin for review
You now have the complete workflow needed to start building and publishing your own Lottie Creator plugins.
Whether you prefer to write the code yourself or use an agentic development process, the next step is simply to start experimenting.
We look forward to seeing what you build with Lottie Creator.
You may also like

How to Create Animations with AI Using Lottie Creator WebMCP
Guide to creating and refining animations with AI using Lottie Creator WebMCP.
How to Build Your First Lottie Creator Plugin: Create and Animate a Rectangle
Creating a beginner-friendly Lottie Creator plugin using the Creator plugin API.
How to Develop and Publish a Plugin for Lottie Creator
Learn how to create, test and publish a plugin to LottieFiles Extensions.
How to Build a Lottie Creator Plugin with a Coding Agent
Learn how to build a Lottie Creator plugin with an AI coding agent, from setup and prompting to testing and iteration.