Did you know you can target specific layers of your Lottie animations and customize them using simple CSS? In this blog post, you will learn how to edit your Lottie animations using the Lottie Editor, add class names, and target them via CSS to change their color and customize your animation further. Let’s get started!
Watch the video: Customize Lottie Animations With CSS Classes
If you wish, you can watch the tutorial below or read the written instructions below to learn all about how to customize your Lottie animation using CSS. If you'd like to practice, feel free to make a copy of the design asset from the tutorial.
1. Prepare your Lottie animation
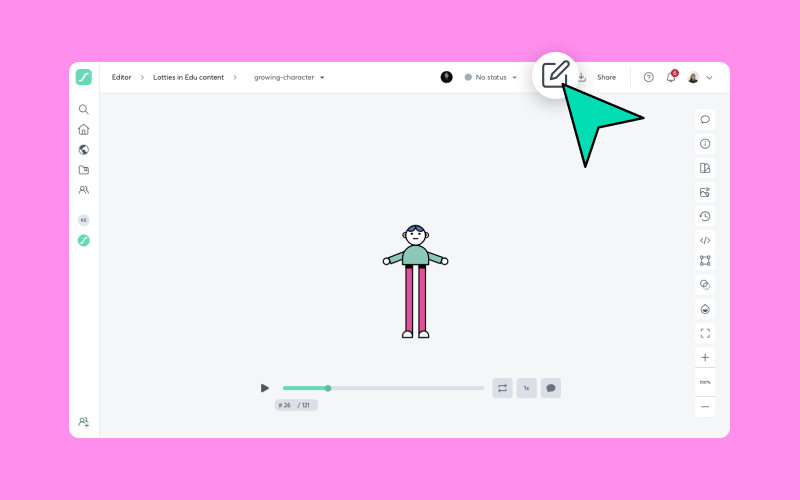
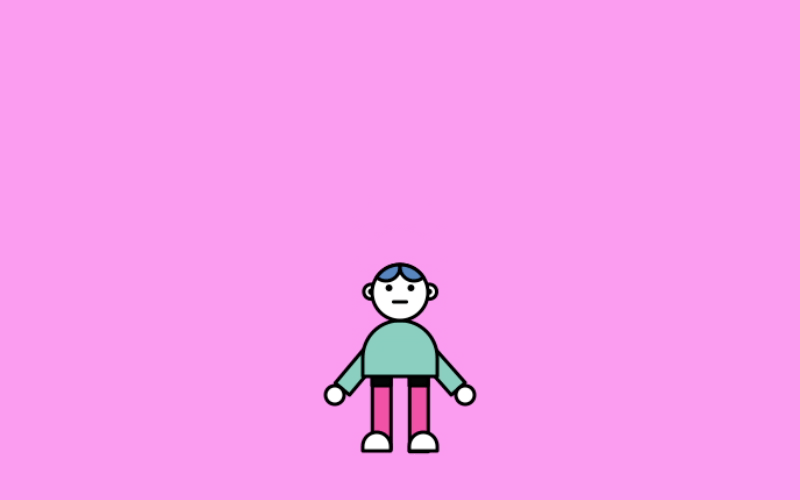
Let’s start off by finding our animation in our LottieFiles Platform and click the ‘Open in Editor’ button.
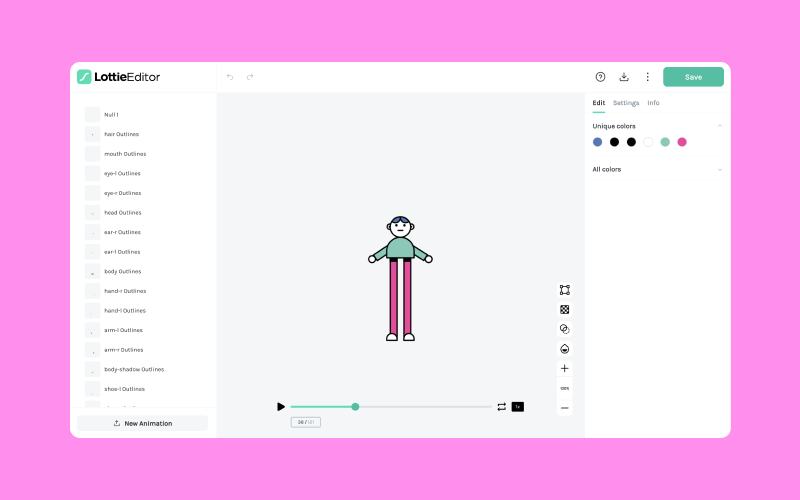
You should now see your animation inside of Lottie Editor:
2. Adding CSS class name
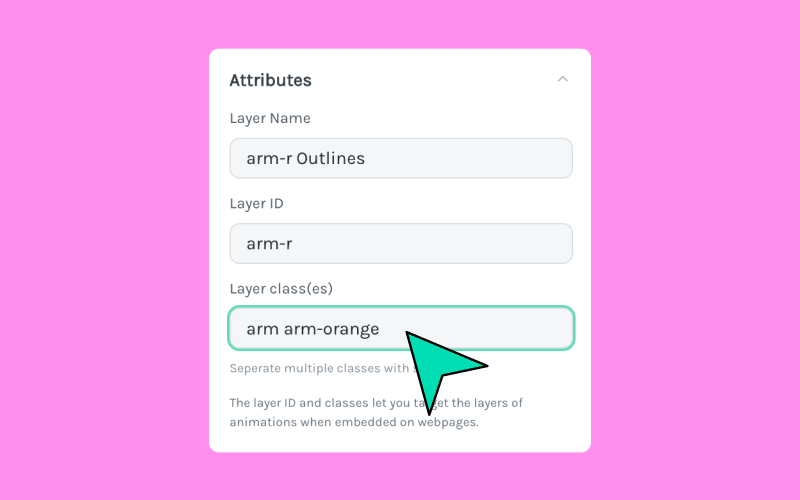
Now we can add CSS class names to the layers we want to customize later. I’m going to be doing the arms and body of my character. Both of the arms will have the ‘arm’ class name as well as a unique id ‘arm-r’ and ‘arm-l’ respectively.
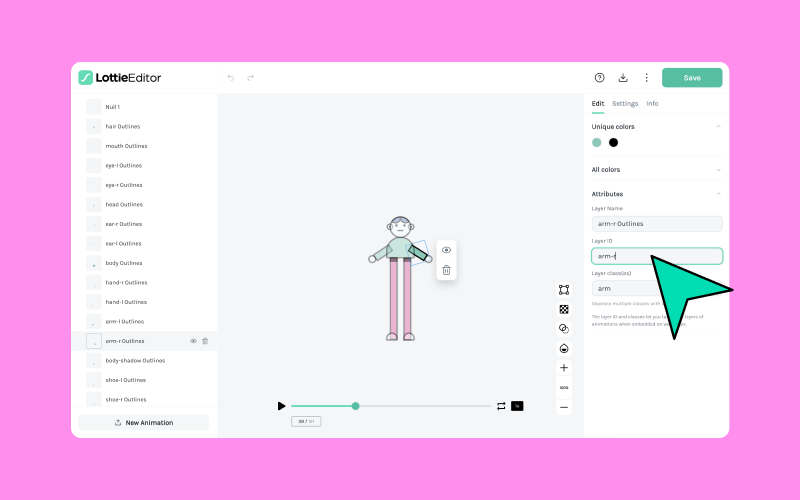
You can add multiple classes if needed, separated by a space.
After adding classes to your layers, go ahead and save your animation to Workflow, either as a new animation or an updated one.

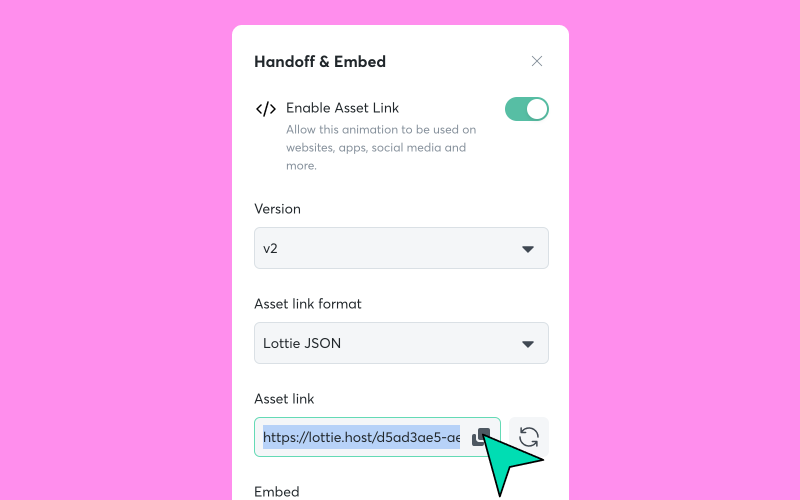
3. Activate Handoff & Embed
After saving back to workflow, I will activate Handoff & Embed and copy the Asset link for using the Lottie Player in the next step.
4. Integration and customizing
Now, let's begin integrating our Lottie animation into our web project and customizing it using CSS classes!
Firstly, we’re going to add the Lottie Player inside of our project:
<head>
	<script src="https://unpkg.com/@lottiefiles/lottie-player@latest/dist/lottie-player.js"></script>
</head>
Next, let’s create a Lottie-Player element, and pass the URL to the player as well as making to use the ‘disableShadowDOM’ prop available in version 1.7.0 of the lottie-player:
<div id="container">
  <lottie-player src="https://lottie.host/4458c0b5-4d8d-43f3-8d42-0739a212a523/L4yrEGvBsO.json" autoplay loop disableShadowDOM/>
</div>
The 'disableShadowDOM’ prop allows us to customize our animation via CSS classes.
I’ve also gone ahead and added a simple container for the animation, as well as setting ‘autoplay’ and ‘loop’ on the player.
With those few lines of code, you should now have your animation looping on screen!
Now for the fun part, let’s see how CSS classes can change our animation!
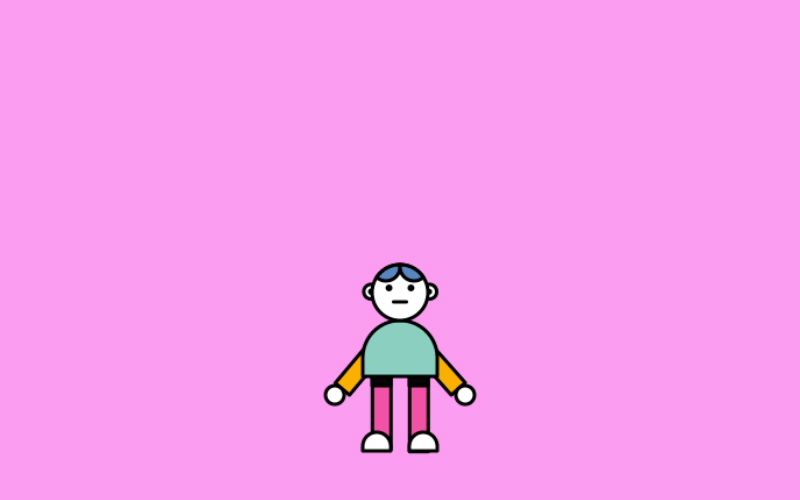
It’s actually very simple. Let’s start off by changing the color of the arms:
.arm path {
	fill: orange;
}
As both of our arms have the ‘arm’ class, they both change color!
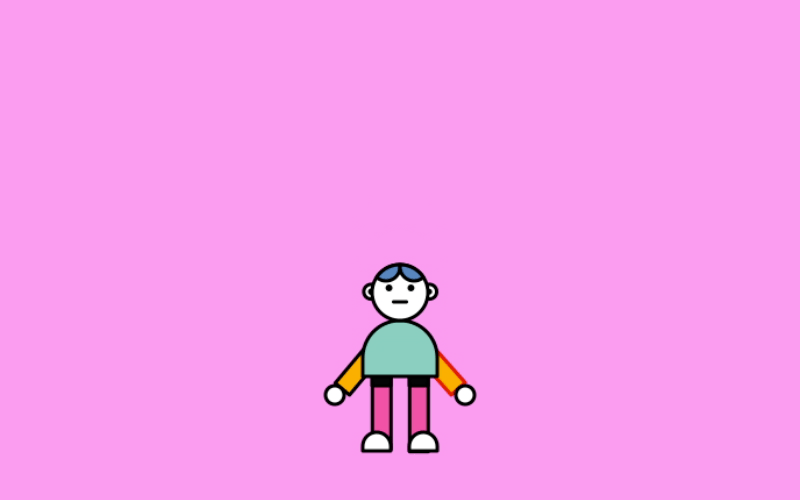
If I want to target a single arm using, we can do so using an id:
#arm-r path {
	stroke: red;
}
You can also use CSS pseudo-selectors to trigger a color on hover, for example:
#arm-r:hover path {
  stroke: red;
}
You can edit the fill color, stroke color and even the stroke width and line cap style:
.arm-r path {
  stroke-width: 8;
  stroke: pink;
  stroke-linecap: round;
}
And that's a wrap! As you can see, it’s super simple to start quickly editing your animation’s colors based on CSS classes.
We hope you're inspired to start editing animations! You can always start experimenting with thousands of free animations on LottieFiles.
Want to know more about Lottie Editor's features? Check out the latest feature of Lottie Editor for seamless and easy edits, and how you can utilize some of the features of our video tutorial available on the LottieFiles YouTube channel!