
How to Add Snow to Your Android App

Can’t believe it’s that time of year again. Christmas is just around the corner! In this post, we are going to show you how to add a snow falling to your Android app.
If you never used Lottie before, I’d recommend you check out this article.
Adding Lottie to your project
From your project structure panel, select your projects build.gradle file and add the following lines inside your dependencies block:
// lottie lib
def lottieVersion = "3.4.4"
implementation "com.airbnb.android:lottie:$lottieVersion"
You can check for the latest version here → https://github.com/airbnb/lottie-android
Adding your SnowFall Overlay
In order to add the snowfall effect to your existing UI, we can start by adding a FrameLayout as a parent view with Base UI and Lottie Animation View added as a child view. Below is the code snippet for reference:
<?xml version="1.0" encoding="utf-8"?>
<layout xmlns:app="http://schemas.android.com/apk/res-auto">

    <androidx.constraintlayout.widget.ConstraintLayout
        xmlns:android="http://schemas.android.com/apk/res/android"
        android:layout_width="match_parent"
        android:layout_height="match_parent"
        android:background="@color/black">

        <FrameLayout
            android:layout_width="0dp"
            android:layout_height="0dp"
            app:layout_constraintStart_toStartOf="parent"
            app:layout_constraintEnd_toEndOf="parent"
            app:layout_constraintTop_toTopOf="parent"
            app:layout_constraintBottom_toBottomOf="parent">

            <androidx.appcompat.widget.AppCompatImageView
                android:id="@+id/ivIcon"
                android:layout_width="wrap_content"
                android:layout_height="wrap_content"
                android:layout_gravity="center"
                android:layout_marginStart="35dp"
                android:layout_marginEnd="35dp"
                app:srcCompat="@drawable/lf_logo"/>

            <com.airbnb.lottie.LottieAnimationView
                android:id="@+id/animationView"
                android:layout_width="match_parent"
                android:layout_height="match_parent"
                android:adjustViewBounds="true"
                android:scaleType="centerCrop"
                app:lottie_autoPlay="true"
                app:lottie_loop="true"
                app:lottie_rawRes="@raw/animation"/>

        </FrameLayout>

    </androidx.constraintlayout.widget.ConstraintLayout>

</layout>
This is how your UI should look like after adding the above code snippet.
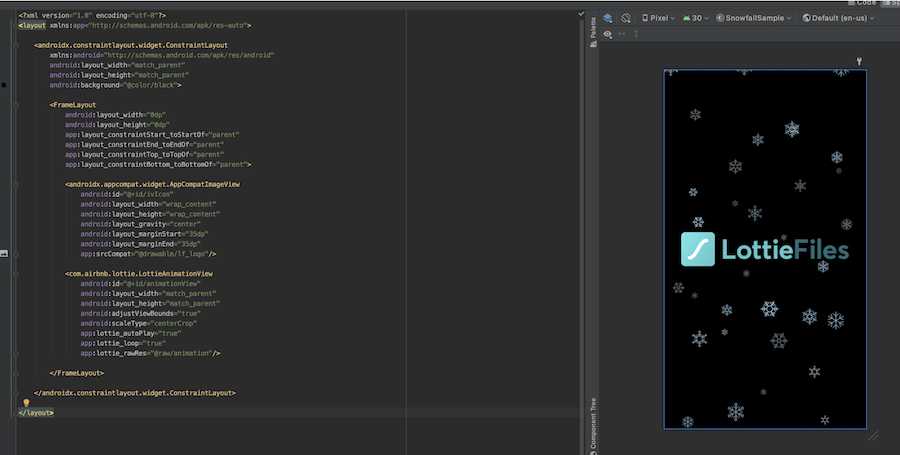
And now we need to add our Animation View inside our Base UI class where the Snowfall effect is needed to be shown in order to play the animation.
class SampleActivity : AppCompatActivity() {

    private lateinit var binding: ActivitySampleBinding

    override fun onCreate(savedInstanceState: Bundle?) {
        super.onCreate(savedInstanceState)
        binding = ActivitySampleBinding.inflate(layoutInflater)
        setContentView(binding.root)

        binding.animationView.playAnimation()

    }
}
In the above example, I have bundled the animation within the app by including them in your projects raw resources.
If your project does not have one, create it by going to File>New>Folder>Raw Resources Folder. If your animation contains images, you can bundle them all together in a .zip with your .json and follow the same procedure.
And voila! There you have it!
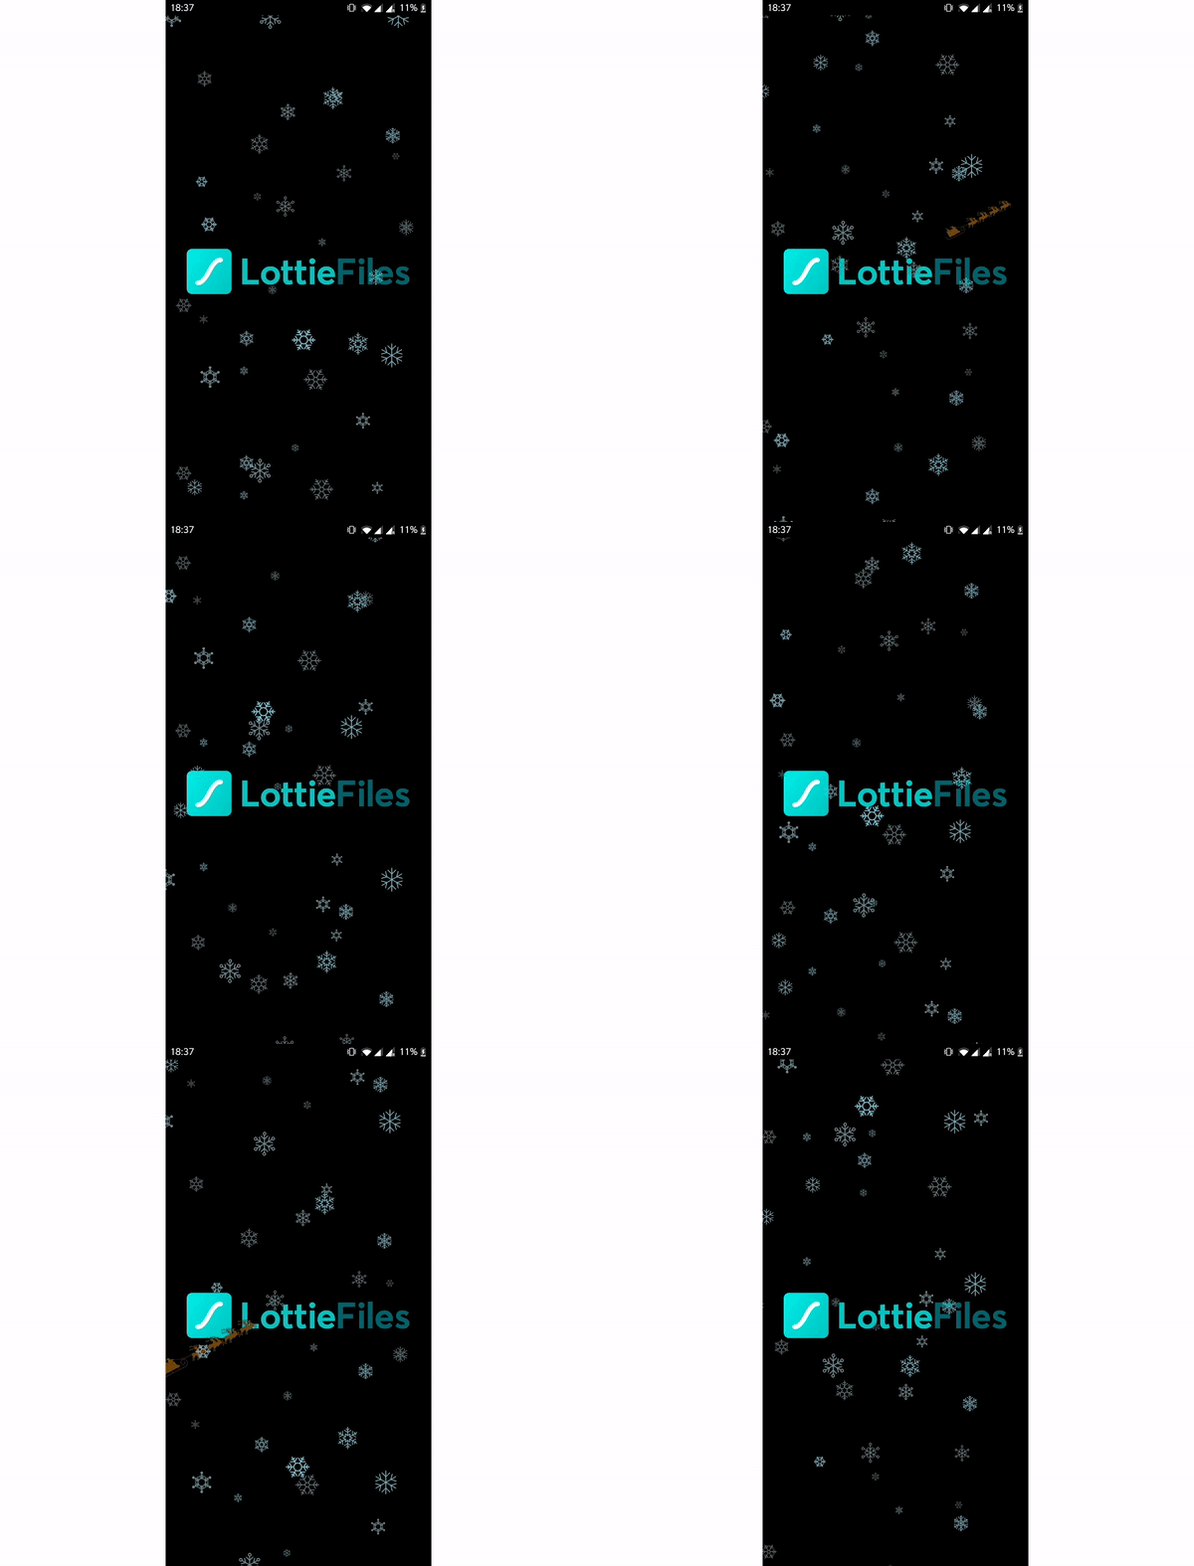
Here is the full code in case you missed something 😁.
Now your app is ready for the festive season. Merry Christmas!!!
You may also like

How to Create Animations with AI Using Lottie Creator WebMCP
Guide to creating and refining animations with AI using Lottie Creator WebMCP.
How to Develop and Publish a Plugin for Lottie Creator
Learn how to create, test and publish a plugin to LottieFiles Extensions.

Lottie/dotLottie vs. GIF: Choosing the Right Animation for You
The two most popular web animation formats, Lottie and GIF, collide head-on. This blog will focus on the 5 most important parameters to tell you who's the boss!
Introducing Motion Copilot 2.0 in Lottie Creator
Motion Copilot is no longer just a keyframing helper; it's a full animation assistant.