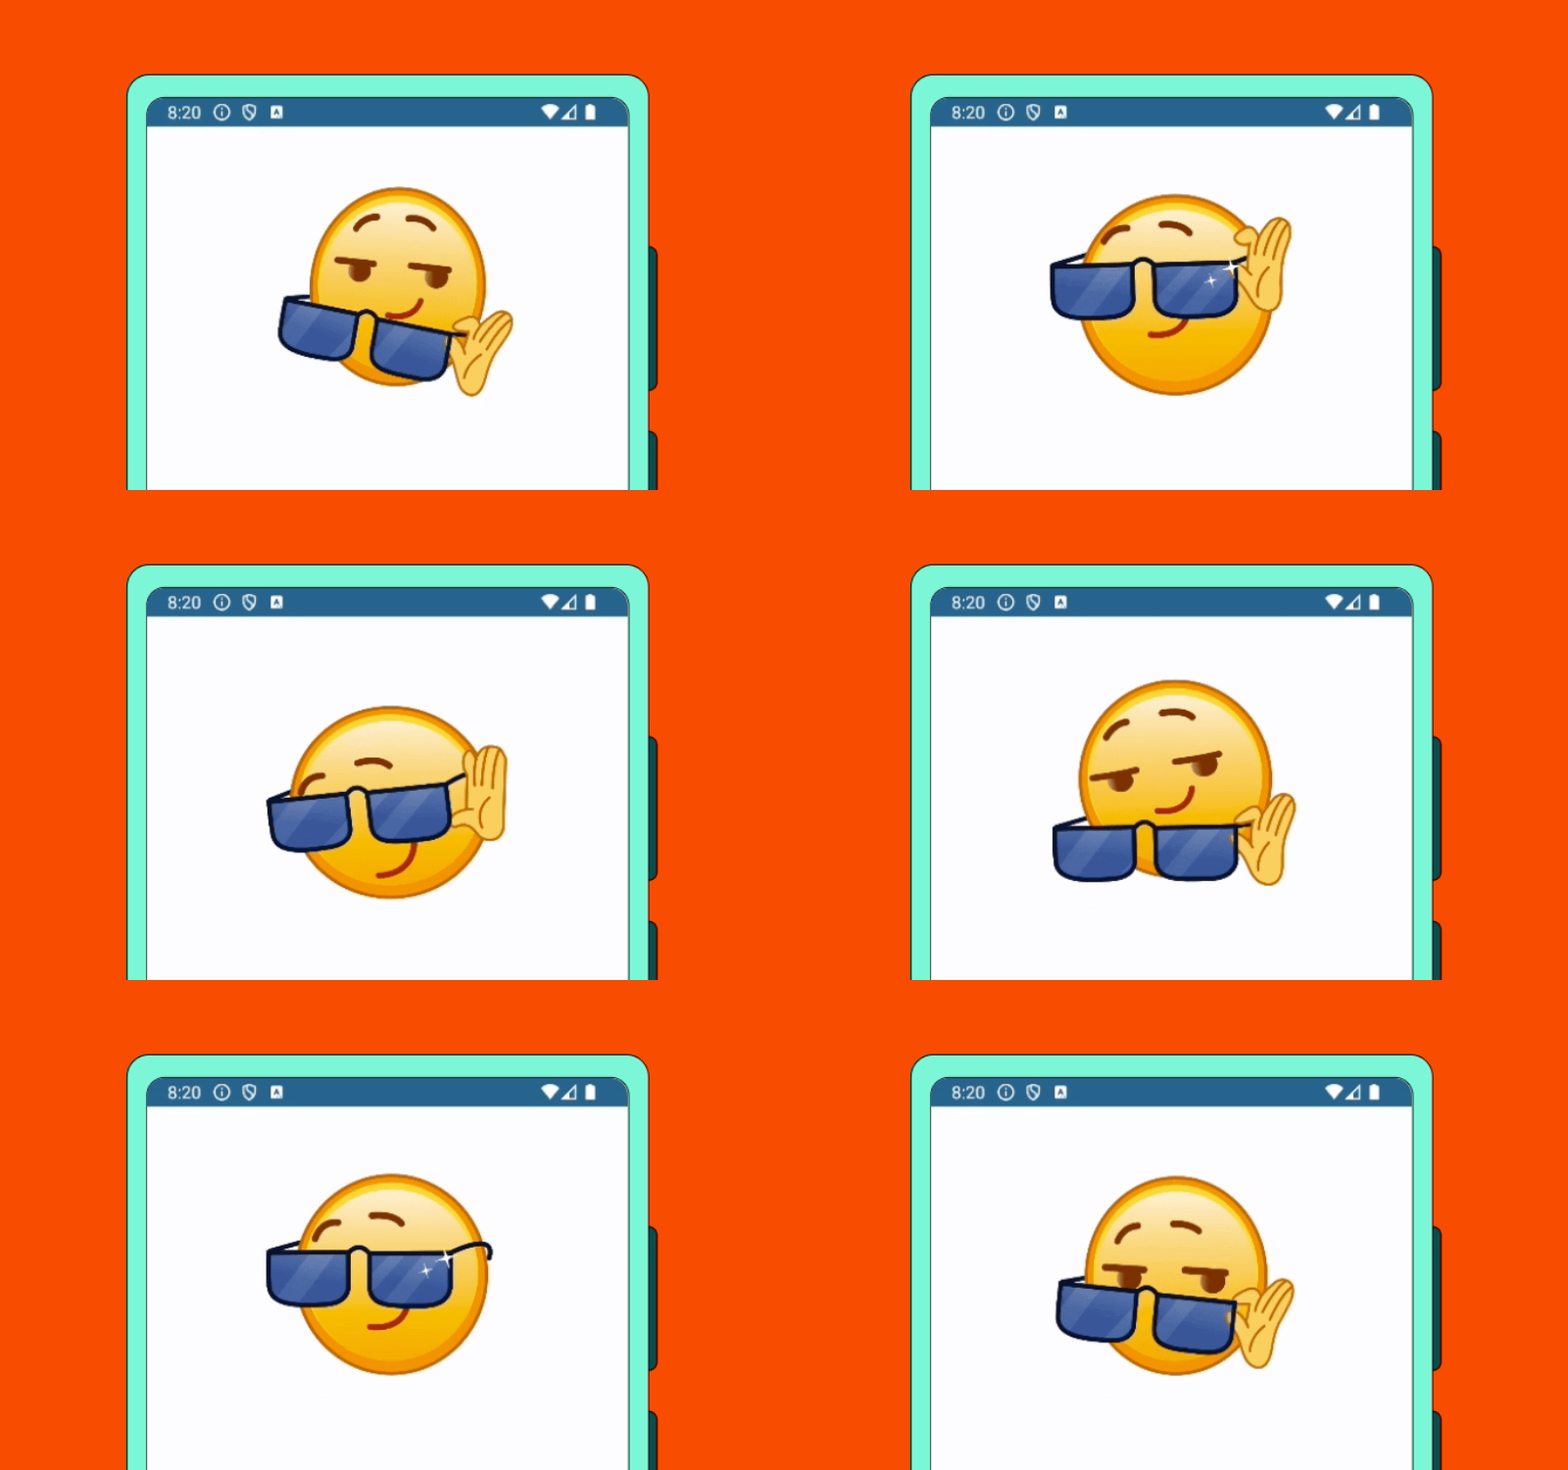
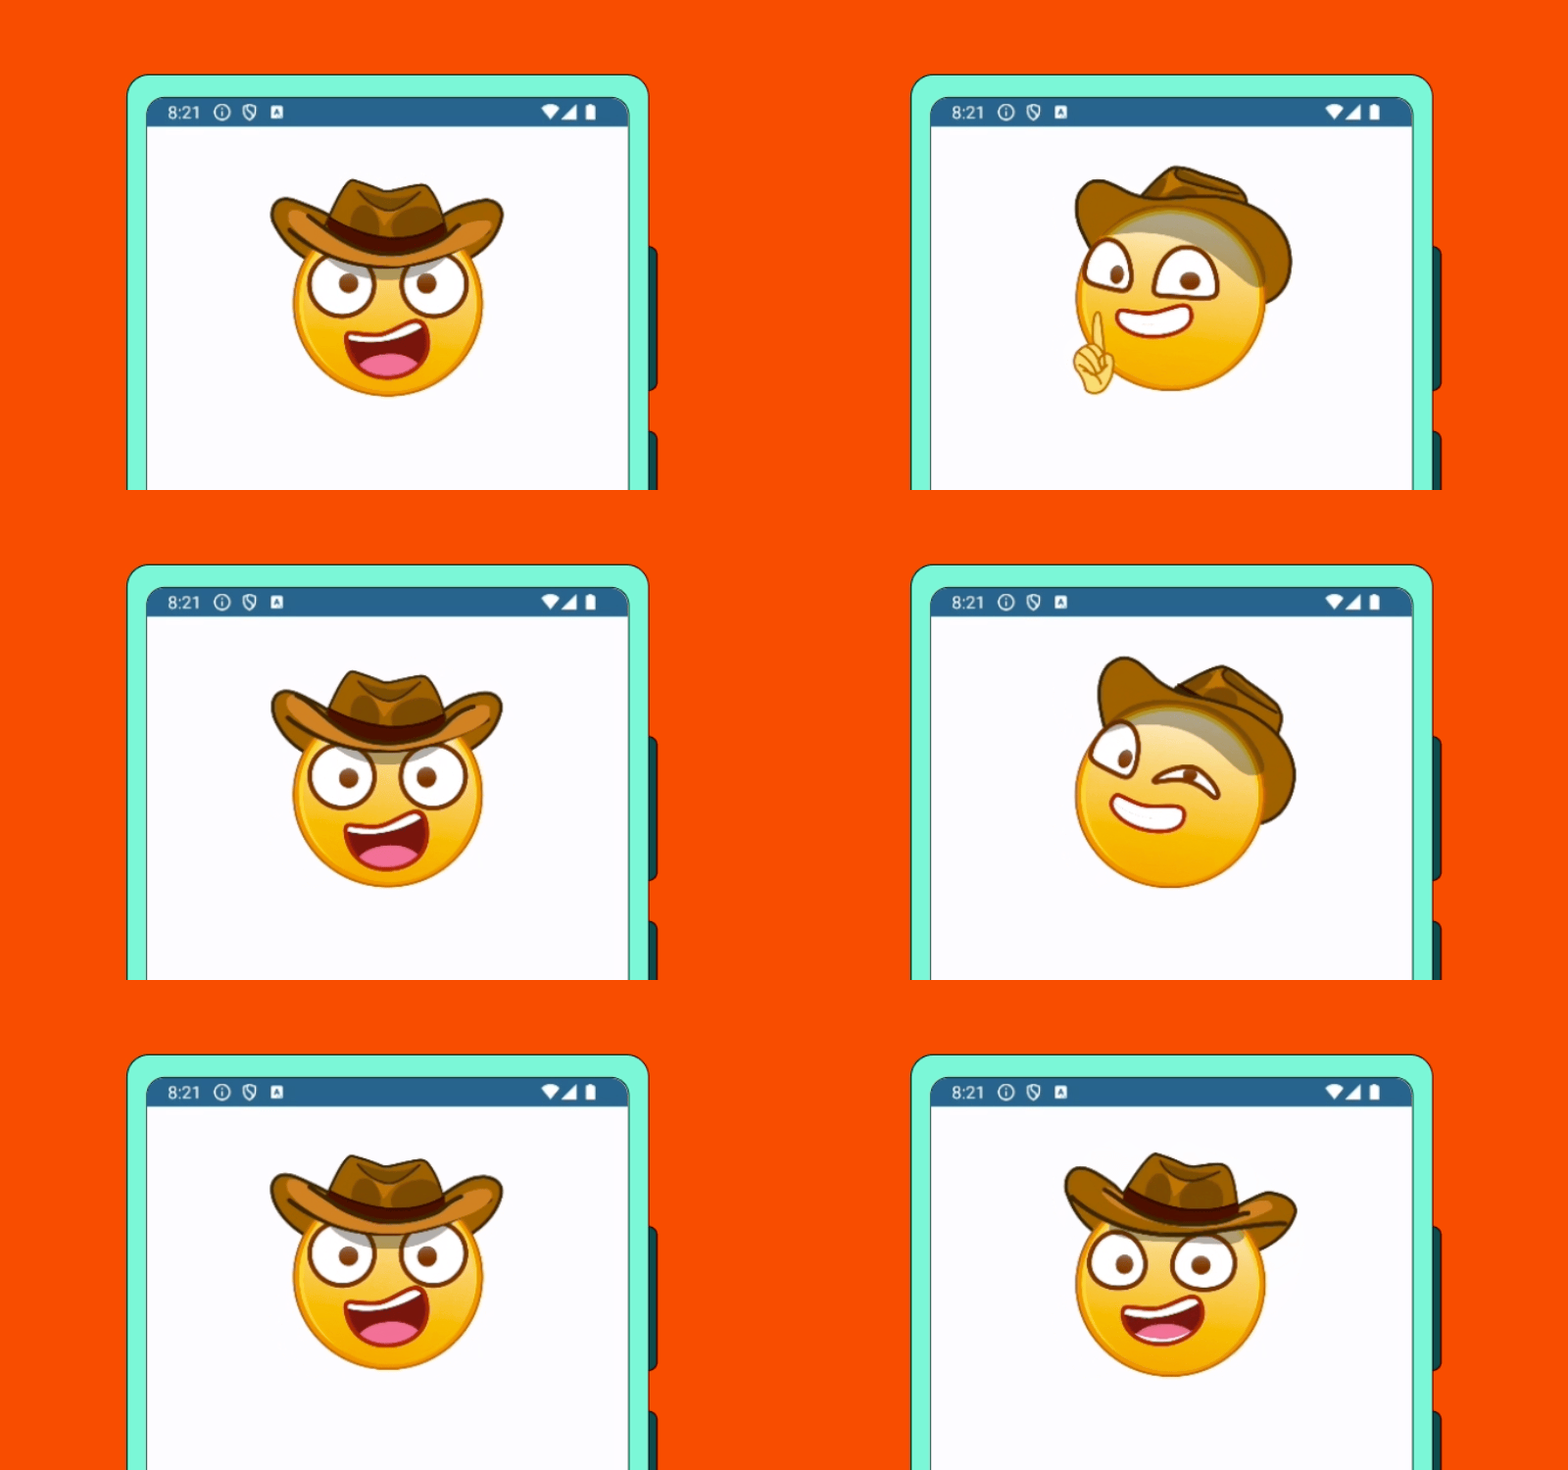
We’re super excited to announce the arrival of our new dotLottie player for Android! The introduction of dotlottie-android brings a fresh approach to playing Lottie animations by leveraging dotlottie-rs, a Rust library designed for rendering dotLottie animations.
This innovative player is built upon ThorVG, a high-performance vector graphics rendering engine, ensuring smooth and efficient animation playback on Android devices.
In this blog post, we will explore the step-by-step process to integrate dotLottie into your Android applications. Let's start!
Step 1: Add the Dependency
First, you need to add the dotLottie Android dependency to your module's gradle file. This can be done by adding the following lines to your build.gradle file:
repositories {
    maven(url = "<https://jitpack.io>")
}
dependencies {
    implementation("com.github.LottieFiles:dotlottie-android:0.0.3")
}
Step 2: Add the DotLottieAnimation to your Layout
The easiest way to add a dotLottie animation to your layout is by using Jetpack Compose. You can add the DotLottieAnimation composable to your layout file and define a set of parameters such as the speed and the JSON animation.
Using Jetpack Compose
You can straight away use the DotLottieAnimation composable in your UI or create a Composable function to use it in your UI.
src/.../DotLottieAnimationExample.kt
import com.lottiefiles.dotlottie.core.compose.ui.DotLottieAnimation

@Composable
fun DotLottieAnimationExample() {
    DotLottieAnimation(
        width = 300u,
        height = 300u,
        autoplay = true,
        loop = true,
        source = DotLottieSource.Url("<https://lottie.host/294b684d-d6b4-4116-ab35-85ef566d4379/VkGHcqcMUI.lottie>"), // url of .json or .lottie
        modifier = Modifier.fillMaxSize(),
    )
}
That's it! Now you use the Composable function DotLottieAnimationExample in your UI.
src/.../MainActivity.kt
class MainActivity : AppCompatActivity() {
    override fun onCreate(savedInstanceState: Bundle?) {
        super.onCreate(savedInstanceState)
        ExampleTheme {
            Surface(color = MaterialTheme.colors.background) {
                DotLottieAnimationExample()
            }
        }
    }
}
There you go! You have successfully added a dotLottie animation to your Android application using Jetpack Compose.

However, if you are not using Jetpack Compose, you can still use the traditional UI approach to add the DotLottieAnimation to your layout.
Using XML Layout
If your Android application is built in XML, you just need to put DotLottieAnimation in your layout file.
First, put your animation in the assets folder in your Android project and add DotLottieAnimation to your XML file:
    <com.lottiefiles.dotlottie.core.widget.DotLottieAnimation
        android:id="@+id/lottie_view"
        android:layout_width="200dp"
        android:layout_height="200dp" />
In your Kotlin code, get access to the component just added in your layout and you can have access to a set of methods that allow you to interact with the animation:
// Get access to the component just added in your layout
val dotLottieAnimationView = findViewById<DotLottieAnimation>(R.id.lottie_view)

// Set up the initial animation configuration
val config = DotLottieConfig.Builder()
    .autoplay(true)
    .speed(1f)
    .loop(true)
    .source(DotLottieSource.Url("<https://lottie.host/294b684d-d6b4-4116-ab35-85ef566d4379/VkGHcqcMUI.lotti>")) // URL of .json or .lottie
    .useInterpolation(true)
    .playMode(Mode.Forward)
    .build()

dotLottieAnimationView.load(config)

Controlling the Animation
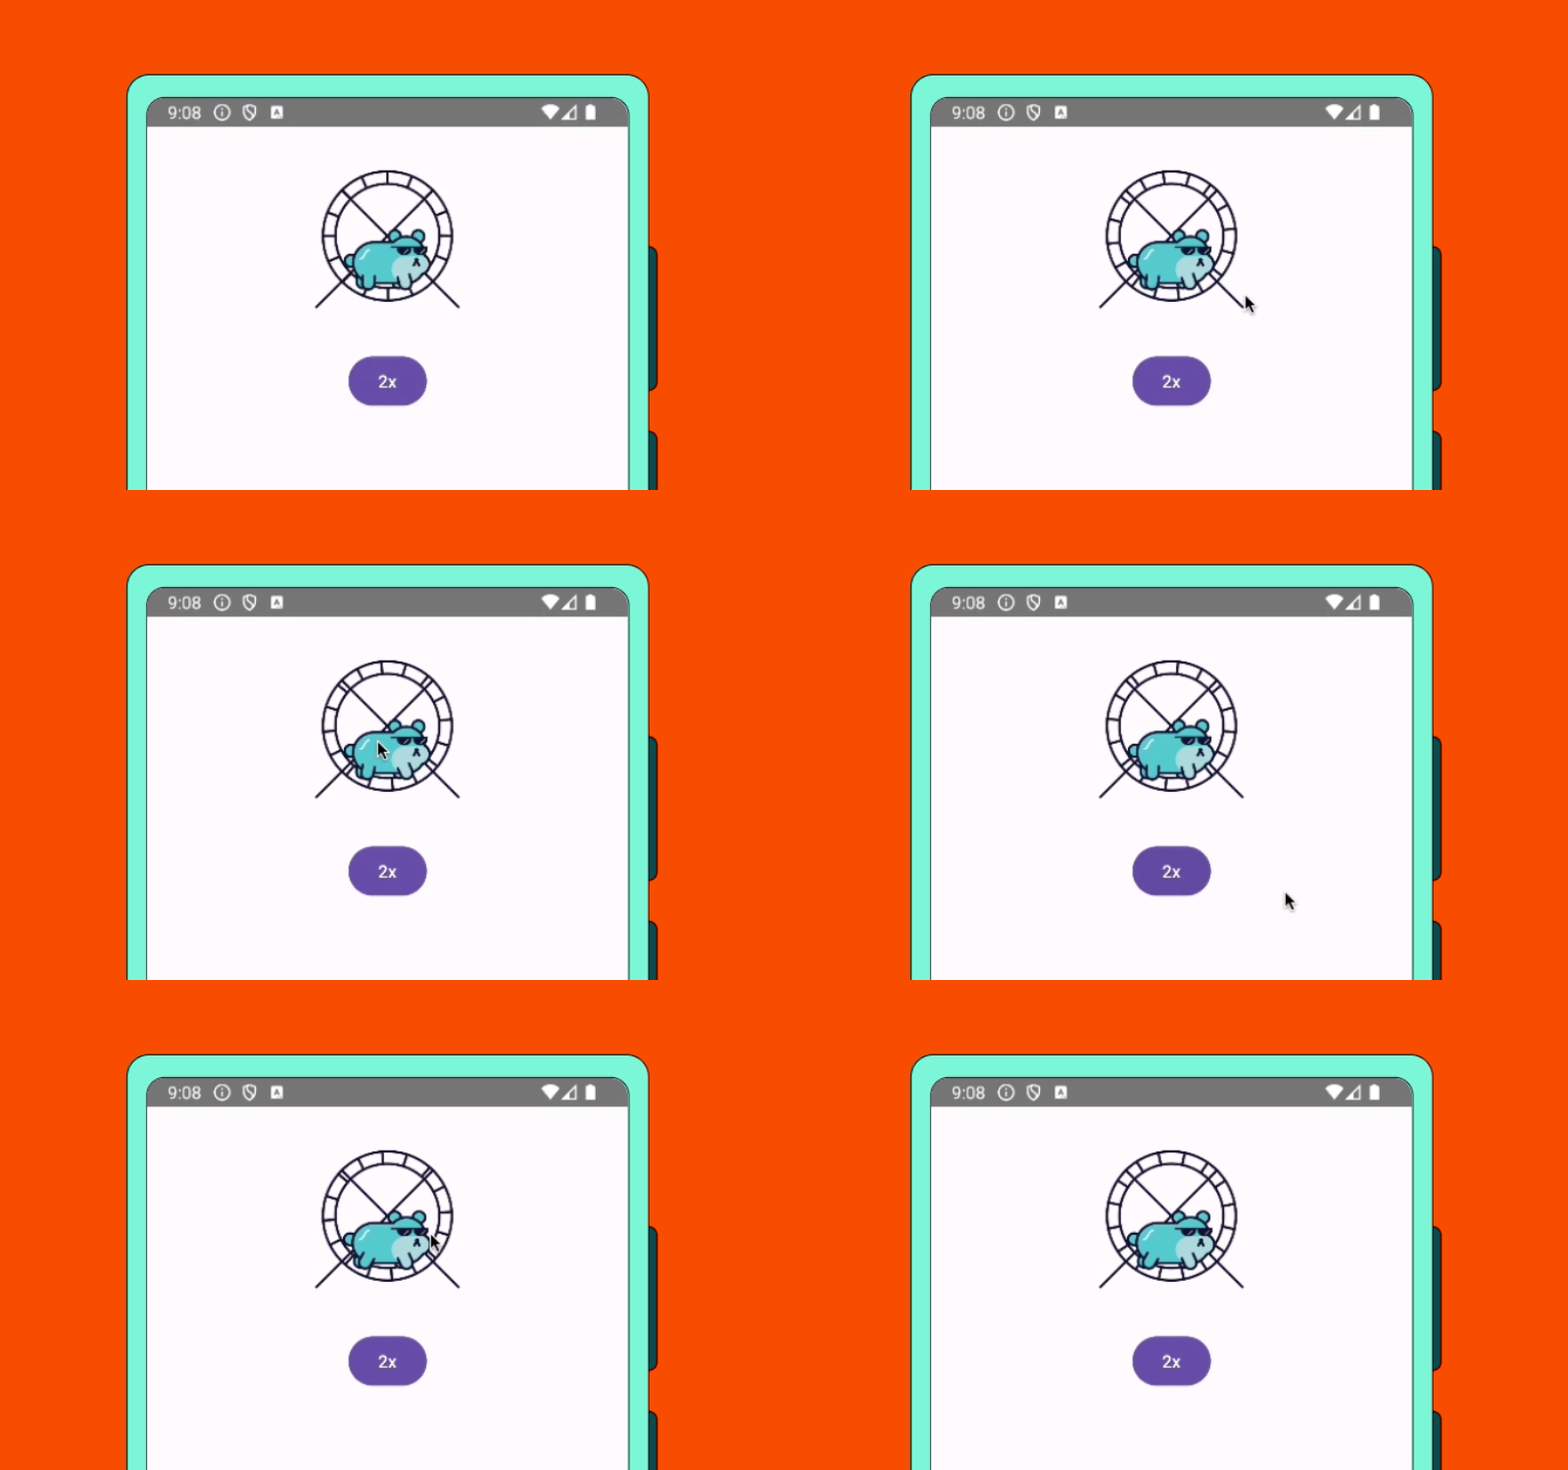
Using Jetpack Compose, you can control the animation using the DotLottieController. For xml layout, you can use the DotLottieAnimation component to control the animation.
@Preview()
@Composable
fun DotLottiePreview() {
    val  controller = remember { DotLottieController() }
    Surface {
        Column(
            horizontalAlignment = Alignment.CenterHorizontally,
            modifier = Modifier.fillMaxSize()
        ) {
            DotLottieAnimation(
                width = 500u,
                height = 500u,
                source = DotLottieSource.Url("<https://lottie.host/98ba5b62-b1bb-4a50-8438-a67ca5b786d9/aBBrpHTcfo.json>"),
                autoplay = false,
                loop = true,
                controller = controller,
                modifier = Modifier.pointerInput(UInt) {
                    detectTapGestures(
                        onPress = {
                            // Play animation when pressing on
                            controller.play()
                            tryAwaitRelease()
                            // Pause when releasing
                            controller.pause()
                        },
                    )
                }
            )
            Button(onClick = {
                controller.setSpeed(2f)
            }) {
                Text(text = "2x")
            }
        }
    }
}

dotLottie features
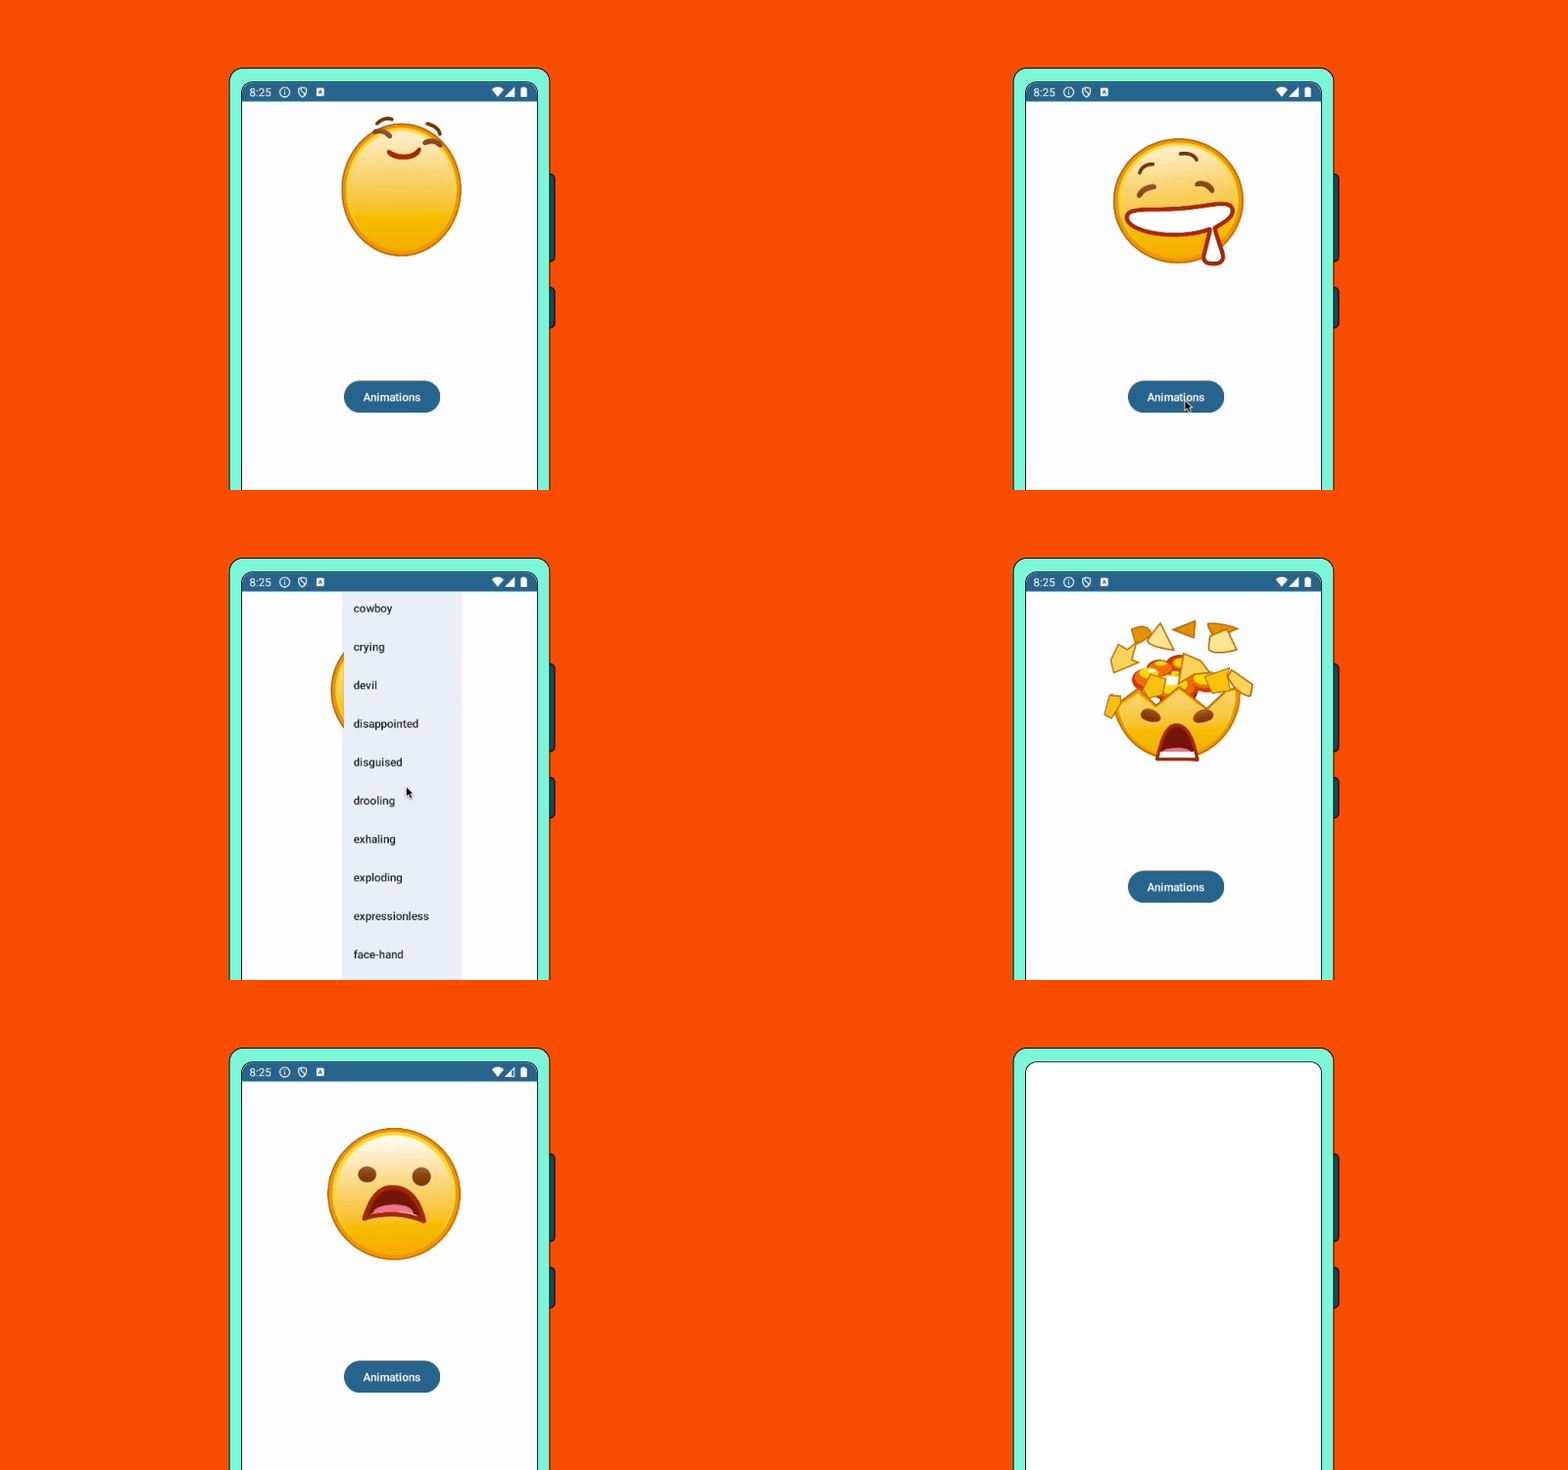
With .lottie files, you'll be able to use the loadAnimation to switch between different animations.
@Preview()
@Composable
fun DotLottiePreview() {
    val dotLottieController = remember { DotLottieController() }
    val dropdownExpand = remember { mutableStateOf(false) }
    val dropdownActive = remember { mutableStateOf("") }

    Column(
        horizontalAlignment = Alignment.CenterHorizontally,
        modifier = Modifier.fillMaxSize().padding(16.dp)
    )  {
        DotLottieAnimation(
            width = 400u,
            height = 400u,
            source = DotLottieSource.Url("<https://lottie.host/294b684d-d6b4-4116-ab35-85ef566d4379/VkGHcqcMUI.lottie>"),
            autoplay = true,
            loop = true,
            controller = dotLottieController
        )
        Column(
            horizontalAlignment = Alignment.CenterHorizontally,
            modifier = Modifier.padding(8.dp).padding(0.dp, 100.dp)) {
            Row(modifier = Modifier.padding(2.dp), verticalAlignment = Alignment.CenterVertically) {
                Button(onClick = { dropdownExpand.value = !dropdownExpand.value }) {
                    Text(text = "Animations")
                }
                DropdownMenu(expanded = dropdownExpand.value, onDismissRequest = {
                    dropdownExpand.value = false
                }) {
                    dotLottieController.manifest()?.animations?.forEach() {
                        DropdownMenuItem(text = { Text(text = it.id) }, onClick = {
                            dropdownActive.value = it.id
                            dropdownExpand.value = false
                            dotLottieController.loadAnimation(it.id)
                        })
                    }

                }
            }
        }
    }
}

More to come
We are dedicated to constantly improving and updating the dotLottie players, with plans to add more sophisticated functionalities in upcoming releases.
For more information on how to use dotLottie Android, please refer to the dotLottie Android documentation.
Happy coding!


