
Lottie Creator Now Speaks MCP

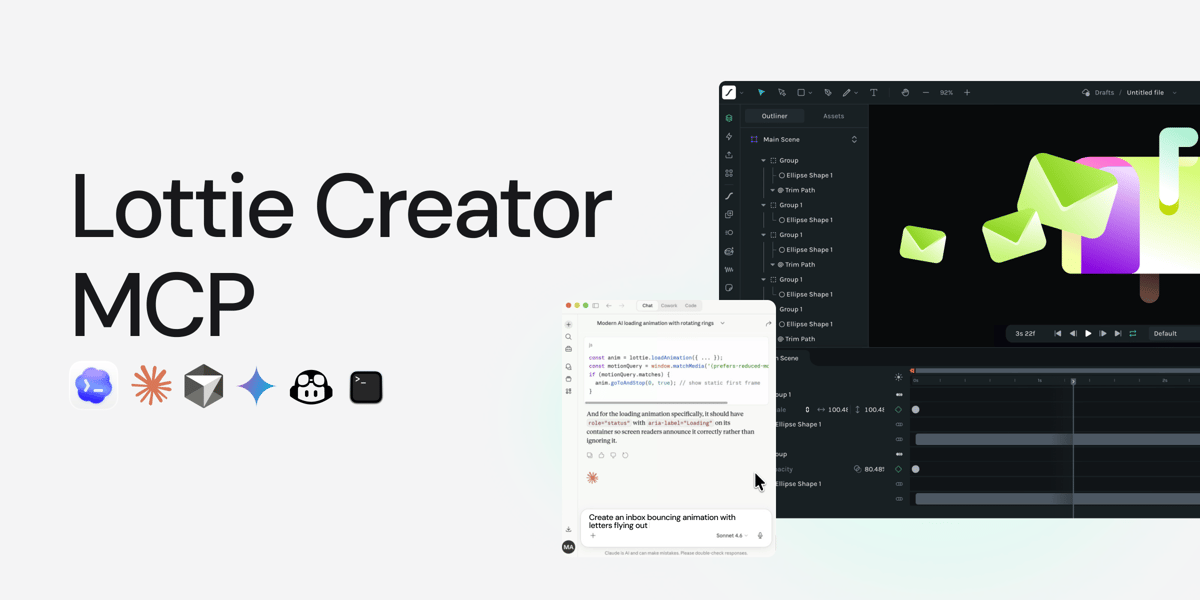
You already have an AI you work with. You've got your setup, your workflow, your prompts that actually work. With the introduction of MCP server now in Lottie Creator you can now connect those AI agents to Lottie creator. It just adds one thing: your AI can now build and edit animations directly inside Lottie Creator.
What exactly is MCP?
MCP, or Model Context Protocol, is an open standard that lets AI agents connect to and control external tools. In this case, Lottie Creator.
Once connected, your AI agent, whether that's Claude, Cursor, Codex, or anything else you're already using, gets direct editing access to Lottie Creator. It can read, modify, and create animations on your behalf, all from within the tool you're already working in.
Not just read access. It can create layers, adjust timing, generate variations, and run accessibility checks, all from a single prompt.
Think of it less as a feature and more as a handoff. You stay in your workflow. Lottie Creator comes to you.

What you can actually do with it
Prompt to asset. Type what you need. "Pastel loading spinner, 200x200, smooth loop." Lottie Creator builds it, and you get a ready-to-use dotlottie file back. The same goes for micro-interactions, characters, icons — anything you'd normally build manually. Anything you'd normally have to construct manually.
Edit by describing. If you already have an animation and something feels off, just tell it. "Make it slower." "More playful." "Loop without a visible jump." Your AI figures out what needs adjusting and updates it directly in Lottie Creator.
Let your AI finish the whole project. The one that gets interesting is when you didn't even think to ask. You're building a page, your AI realizes it needs a loading state, calls Lottie Creator, generates the animation, and drops it into the code. Completely unprompted.
Accessibility before it ships. Ask it to audit before you push. It flags contrast issues, excessive motion, WCAG concerns, and suggests actual fixes. Not vague stuff either. It'll say "shift to deeper, muted tones" and apply the changes directly if you want.
Brand-consistent, every time. If you've got brand guidelines sitting somewhere, hand them over. It'll generate all your animations in one pass, all consistent with your brand guidelines.
See it in action
The fastest way to understand it is to watch it happen. Here's a quick walkthrough of connecting Lottie Creator MCP and making your first animation with it.
What the community have create
Lottie Creator to Claude Code MCP is a game changer.
— Jon Myers (@jonmyers) April 17, 2026
Just describe your animation to Claude and it generates it in Lottie Creator, ships dotLottie.
The @yodlpay splash and processing animations were badly in need of an update. Had job posts up, and difficulty finding people.… pic.twitter.com/PYX4YNJizs
Inspired by @kelly_thepotato's pixel grid: a 12-pad synth soundboard designed in Lottie Creator MCP, synced to a Tone.js loop at 120 BPM. https://t.co/SVOLk5zZ7v pic.twitter.com/b53jEMAnOD
— haris (@iharis) April 16, 2026
this countdown animation would have taken me hours if done manually. Claude did it in 3min using @LottieFiles Creator MCP 🤯https://t.co/8RGSYbue2u pic.twitter.com/JOvnDvWNoc
— Sanjib Paul (@whatswrongbruhh) April 17, 2026
If you've seen the Gondry brothers' video for Chemical Brothers' "Got To Keep On", I tried to recreate the vibe in Lottie.
— haris (@iharis) April 17, 2026
Four dancers, each their own color, grooving under soft drifting spotlights.
Built entirely by prompting @LottieFiles Creator MCP + Claude. No keyframes. pic.twitter.com/N93Ipf9Db1
Gave it the SVG and asked to animate. With a few adjustments, here's the result.
— Nattu (@reallynattu) April 17, 2026
Drop your company logo SVG in the replies. pic.twitter.com/LYH9H4YI4c
Prompt to try out
- Animate the notebook where the page flips, pencil draws 3 lines one by one. Loop, ease-out.
- Animate the mailbox turning from right to left and the letters flying into the mailbox. Make it snappy and fun. Loop.
- Animate the graph chart and the line graph moving upwards. Snappy and ease-out. Loop.
- Create a modern AI loading animation with 3 concentric rings similar to Apple's health rings style, rotating at different speeds.
Best practice
- Install the motion design skill for better quality: The MCP gives your AI the tools. The motion design skill gives it the judgment to use them well — easing curves, timing principles, choreography. One command, significantly better output. Motion design skill can be found here.
- Start with your own SVGs, then animate: AI can be unpredictable when generating illustration shapes from scratch. For the best results, import your existing SVG assets into Creator first, then ask your AI to animate them. This keeps your visual style consistent and lets the AI focus on what it does best — motion, timing, and sequencing.
- Always use the best model available to you: Animation quality scales directly with the model. If you have access to Claude Sonnet or Opus, use it over a smaller model — the difference in how it handles timing, sequencing, and spatial reasoning is noticeable.
- Name your layers before you prompt: The AI reads your layer names to understand your animation's structure. Well-named layers like
left_arm,right_leg,bg_circle, andtext_headlinehelp it target the right elements, avoid mistakes, and stay organized across complex scenes. Generic names likeShape 1orGroup 4make it harder for the AI to build on your work accurately. - Break complex animations into steps: Instead of "build me a full onboarding animation," go scene by scene. Create the scene → add shapes → add keyframes → refine timing. Smaller steps give you more control and make errors easier to catch and correct.
- Be specific about timing and feel: "A smooth fade" is vague. "A 400ms fade-in with ease-out" gives your AI something to work with. The more you describe the feel — snappy, bouncy, slow and cinematic — the closer the first result will be to what you're imagining.
Why we built it this way
People already have AI setups they trust. A workflow they've dialed in, tools they've paid for, models they've trained themselves to work with.
So we opened the door. Bring whatever AI you're already using and let it talk directly to Lottie Creator. Claude, Cursor, whatever you're working in becomes the interface. Lottie Creator becomes a capability your existing tool gains, not a new product you have to learn or pay for on top of everything else.
We also have native AI features built into Lottie Creator (Motion Copilot, Prompt to Themes, Prompt to Vector, Vectorizer) for when you want something purpose-built and ready to go.
Get started
Connecting takes a few minutes. You'll just need to link your AI to Creator in its settings. Then back in Lottie Creator, once the "Local MCP bridge connected" toast shows up, you're in. Follow the instructions available within our MCP Guide to learn more about the connecting process.
You may also like

How to Create Animations with AI Using Lottie Creator WebMCP
Guide to creating and refining animations with AI using Lottie Creator WebMCP.
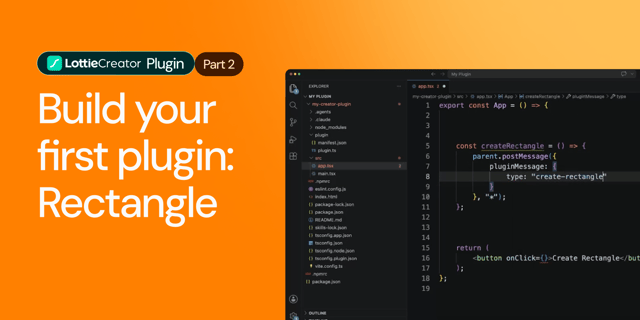
How to Build Your First Lottie Creator Plugin: Create and Animate a Rectangle
Creating a beginner-friendly Lottie Creator plugin using the Creator plugin API.
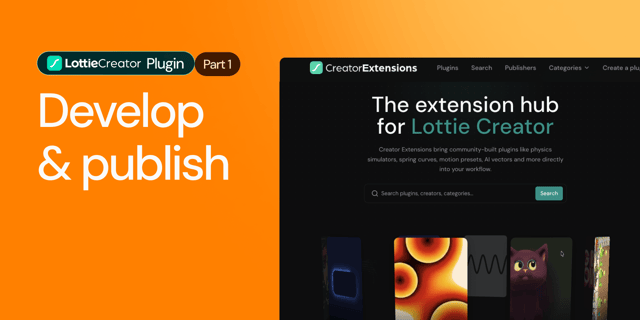
How to Develop and Publish a Plugin for Lottie Creator
Learn how to create, test and publish a plugin to LottieFiles Extensions.
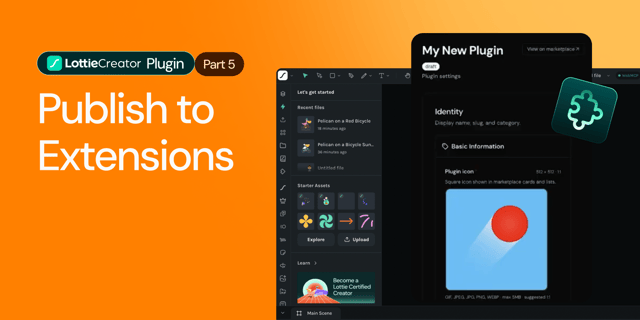
How to Publish a Lottie Creator Plugin to Extensions
Learn how to prepare, package and publish your Lottie Creator plugin to LottieFiles Extensions.