If you work with Figma, you’ll know that it prides itself on bringing together powerful design features and an efficient workflow. At LottieFiles, we share the same sentiment – and that's why we wanted to create a plugin to do just that for Figma users.
The LottieFiles for Figma plugin offers an easy way to add animation or motion design elements to Figma. And as a designer, there are compelling reasons to animate your designs or prototypes:
- Create engaging animated designs - Animation helps create more effective, engaging and emotionally moving designs.
- Create realistic prototypes - If your website or mobile app includes animation, including them in your prototypes means being able to show your stakeholders what the final product will look like.
Ready to get started? Here’s a guide to installing LottieFiles for Figma, how to add and edit animations, and finally, how to use it to create awesome animated prototypes.
How to install LottieFiles for Figma
- Head to LottieFiles for Figma.
- Click Install LottieFiles for Figma.
- In the Figma community page, click Try it out.
- You’ll see a new Figma file open, and an option to run the plugin.
- Click on the kebab menu next to the Run button to save the plugin.
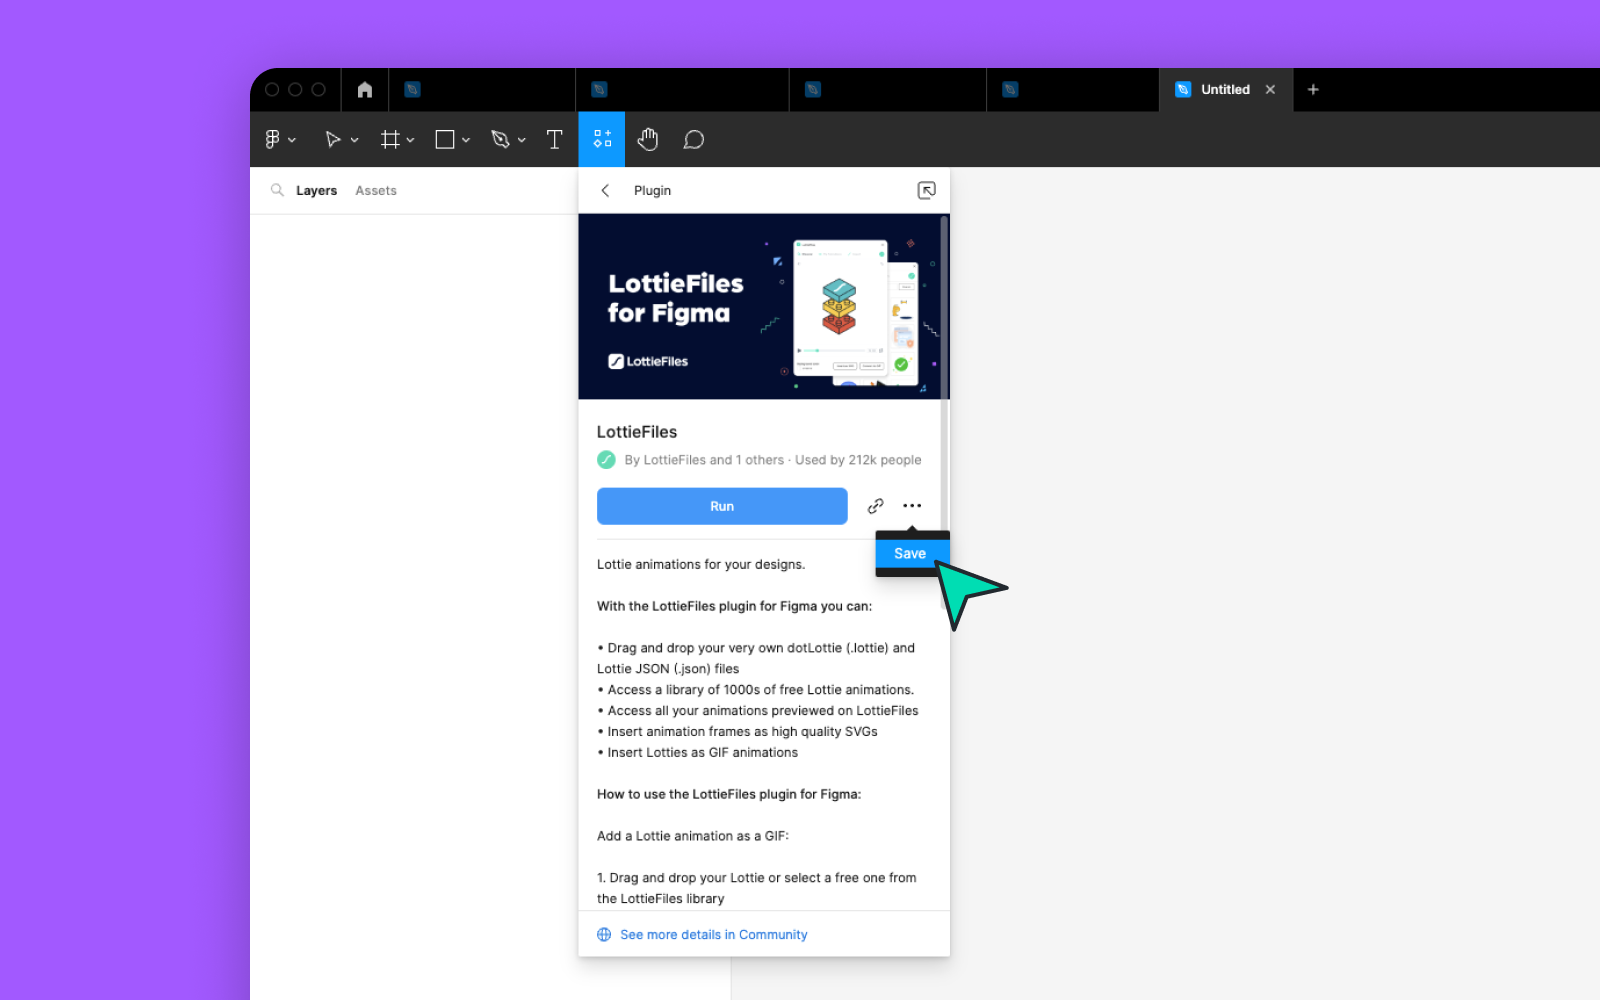
Now, whenever you’d like to access the plugin in Figma, you can right-click > Plugins > LottieFiles.
LottieFiles for Figma plugin features
Here’s what you can do with LottieFiles for Figma:
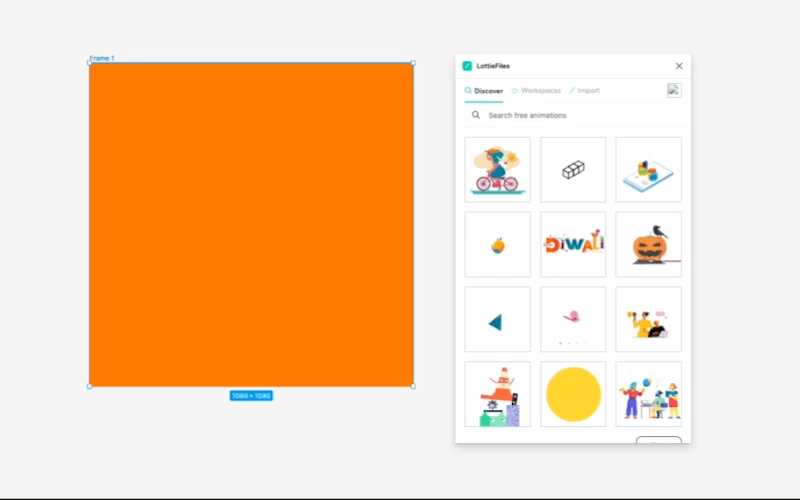
Get free Lottie animations
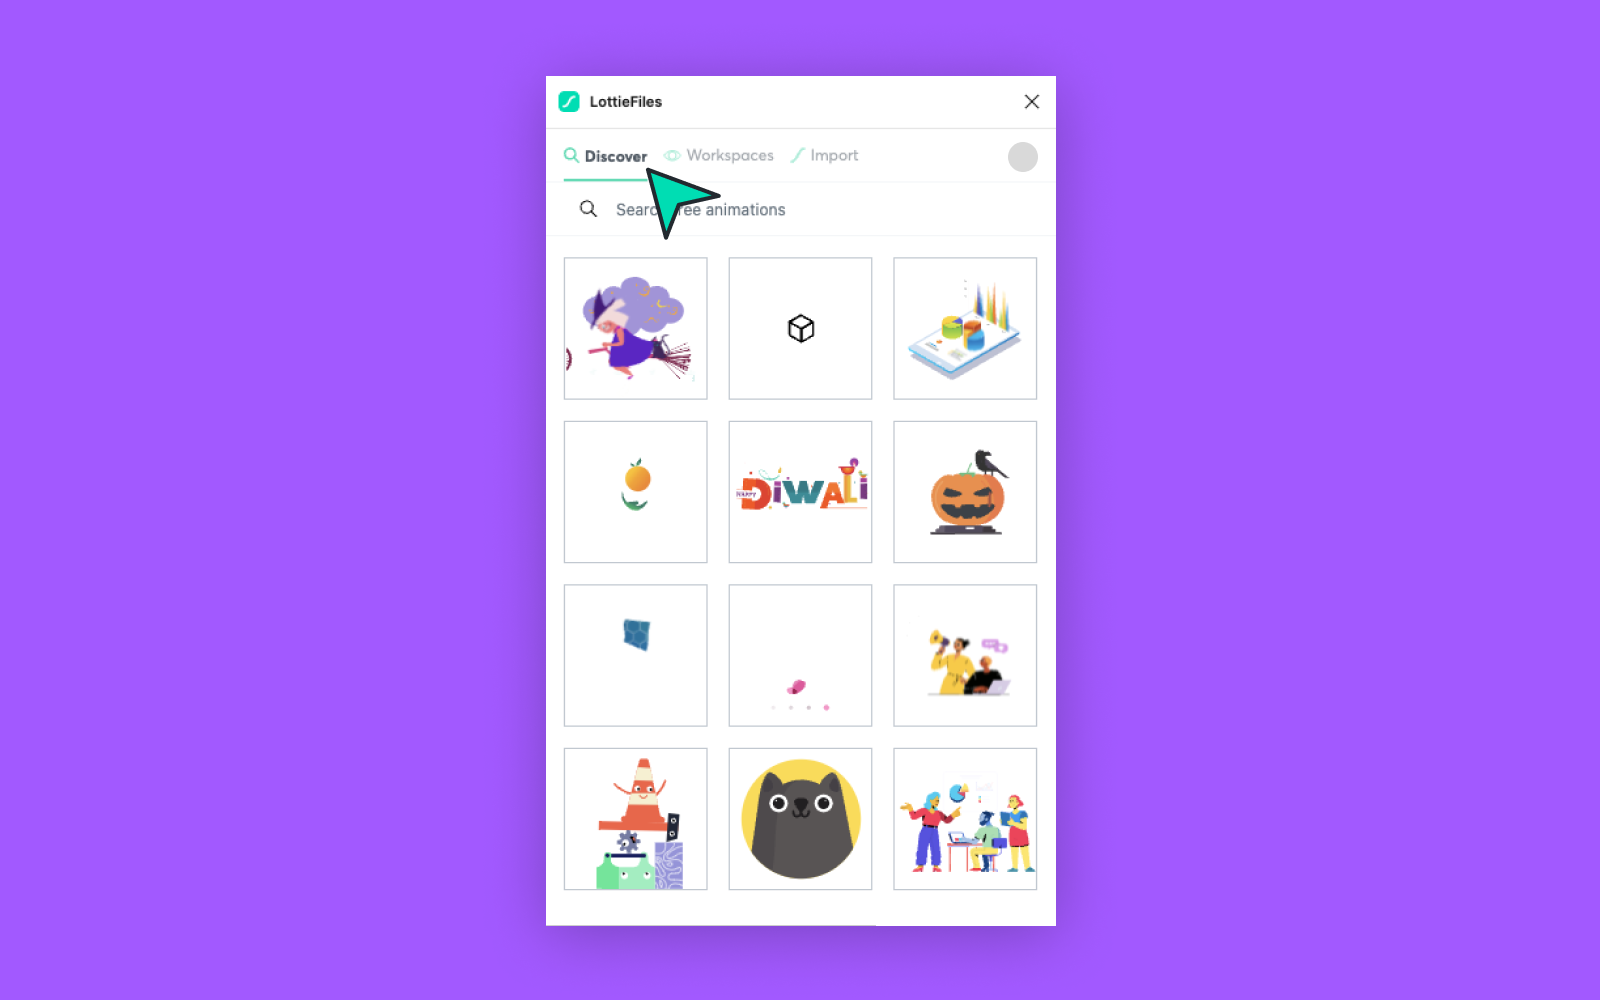
The plugin gives you quick access to thousands of free Lottie animations. Use them in your personal or commercial projects.
Access your private or team’s Lottie animations
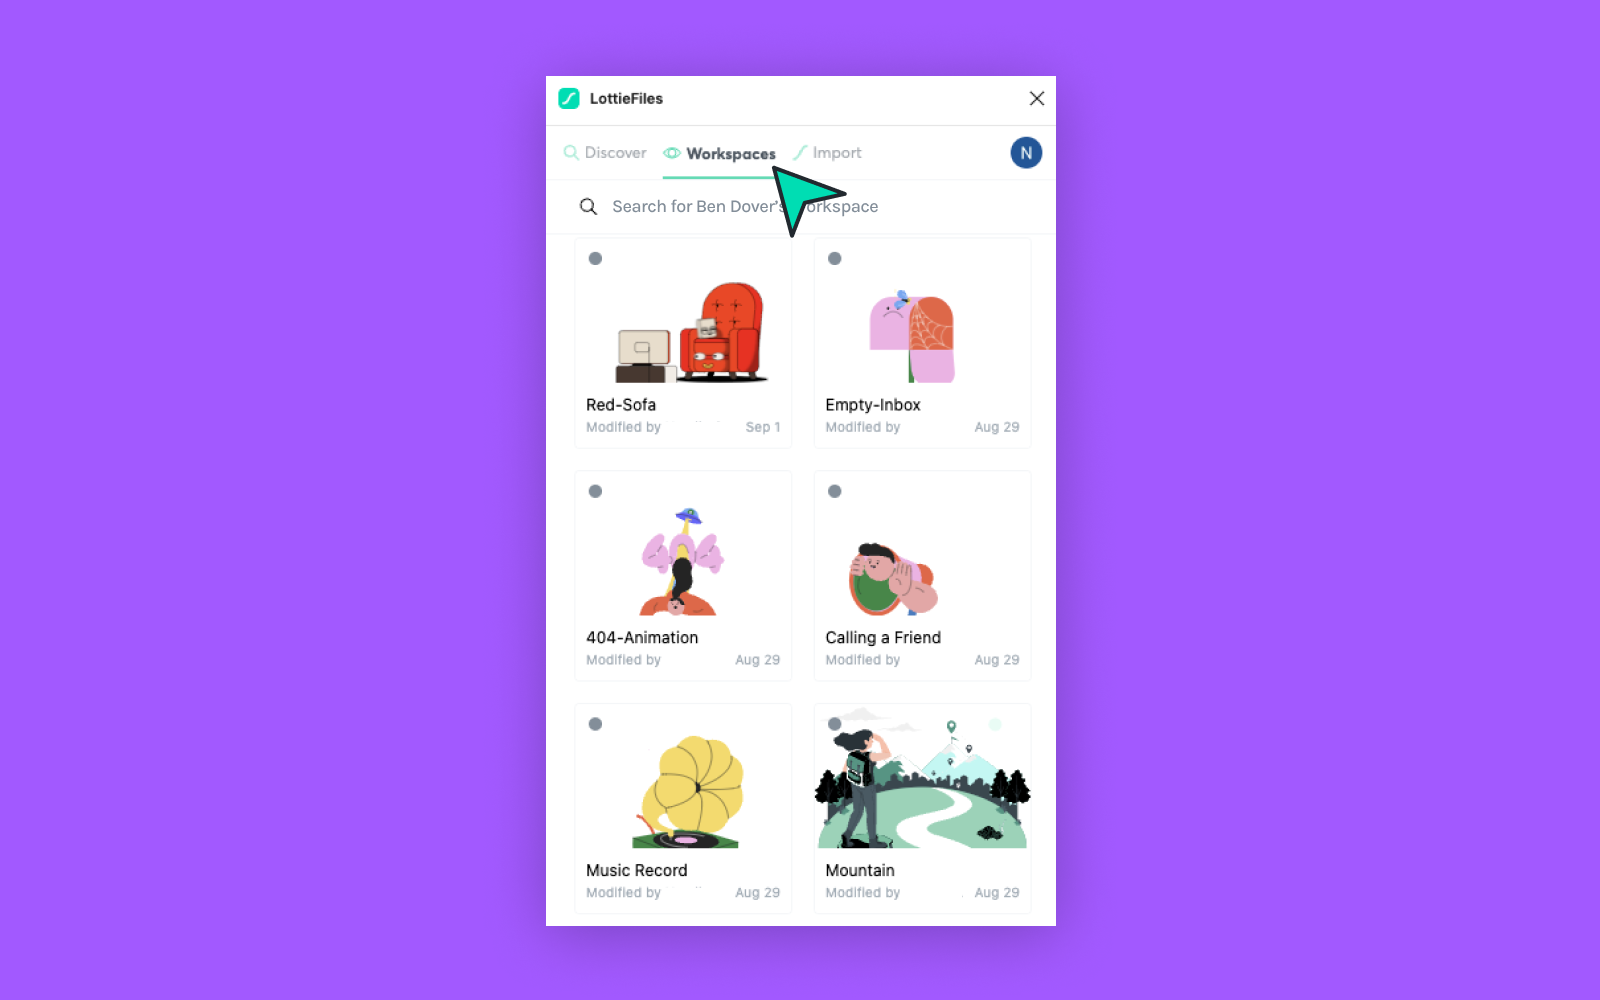
Optimizing your workflow is important to us at LottieFiles. So as we considered the Lottie animation process and where it sits within Figma, it made sense to ensure that you could access all your Lottie animations straight from within the plugin.
This includes any Lottie animations in your team or private workspaces – access animations your team has exported from Adobe After Effects, as well as any public Lottie animation that are saved in your workspaces.
Add Lottie animation frames as static SVGs
Want to insert a Lottie animation as a static image? This can be useful if you need to use a specific frame as an illustration, or if you want to add an animation, but need to set a default static state (more on that later!).
Here’s how to insert a Lottie animation as an SVG:
- Click on any animation in the plugin.
- Choose a specific frame in the seek bar.
- Click Insert as SVG.
Add Lottie animations as GIFs
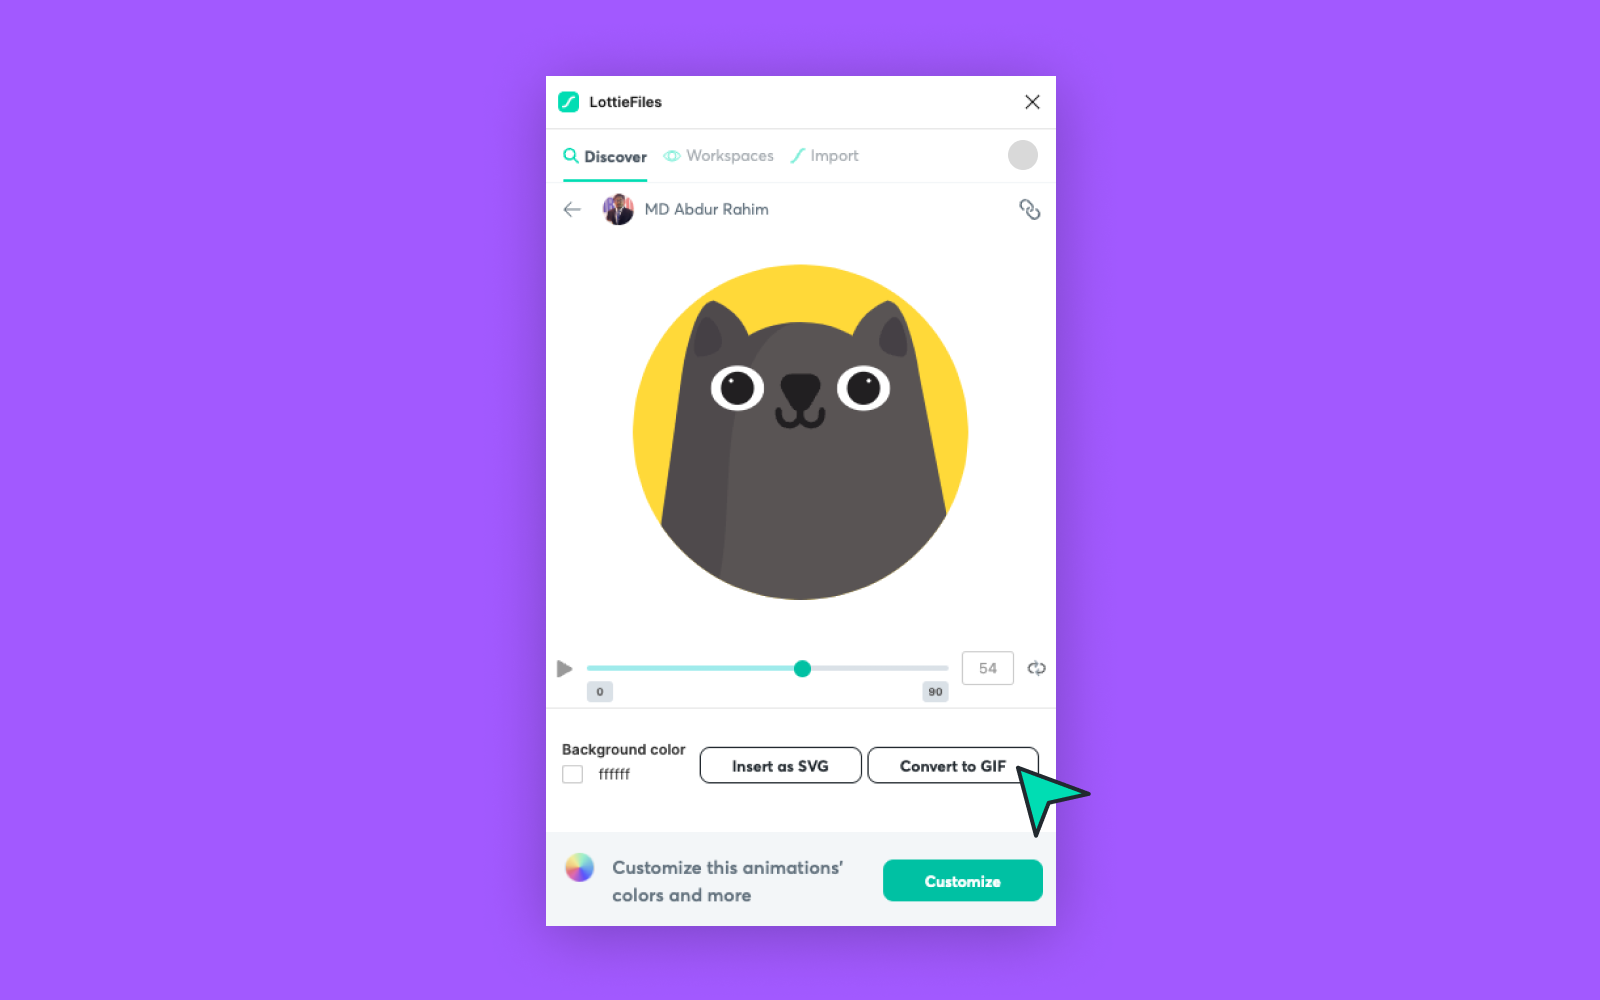
How do you add Lottie animations to Figma? Unlike Adobe XD, Figma doesn’t directly support Lottie animations (yet!). No worries, you can still insert them as GIFs. This can be useful when creating realistic prototypes – instead of telling your stakeholders how your prototypes will look and function, you can directly show them with GIFs.
Here’s how to add Lottie animations as GIFs in Figma:
- Click on any animation in the plugin.
- Click Covert to GIF.
- Click Add to Figma.
Apply new colors in a few clicks
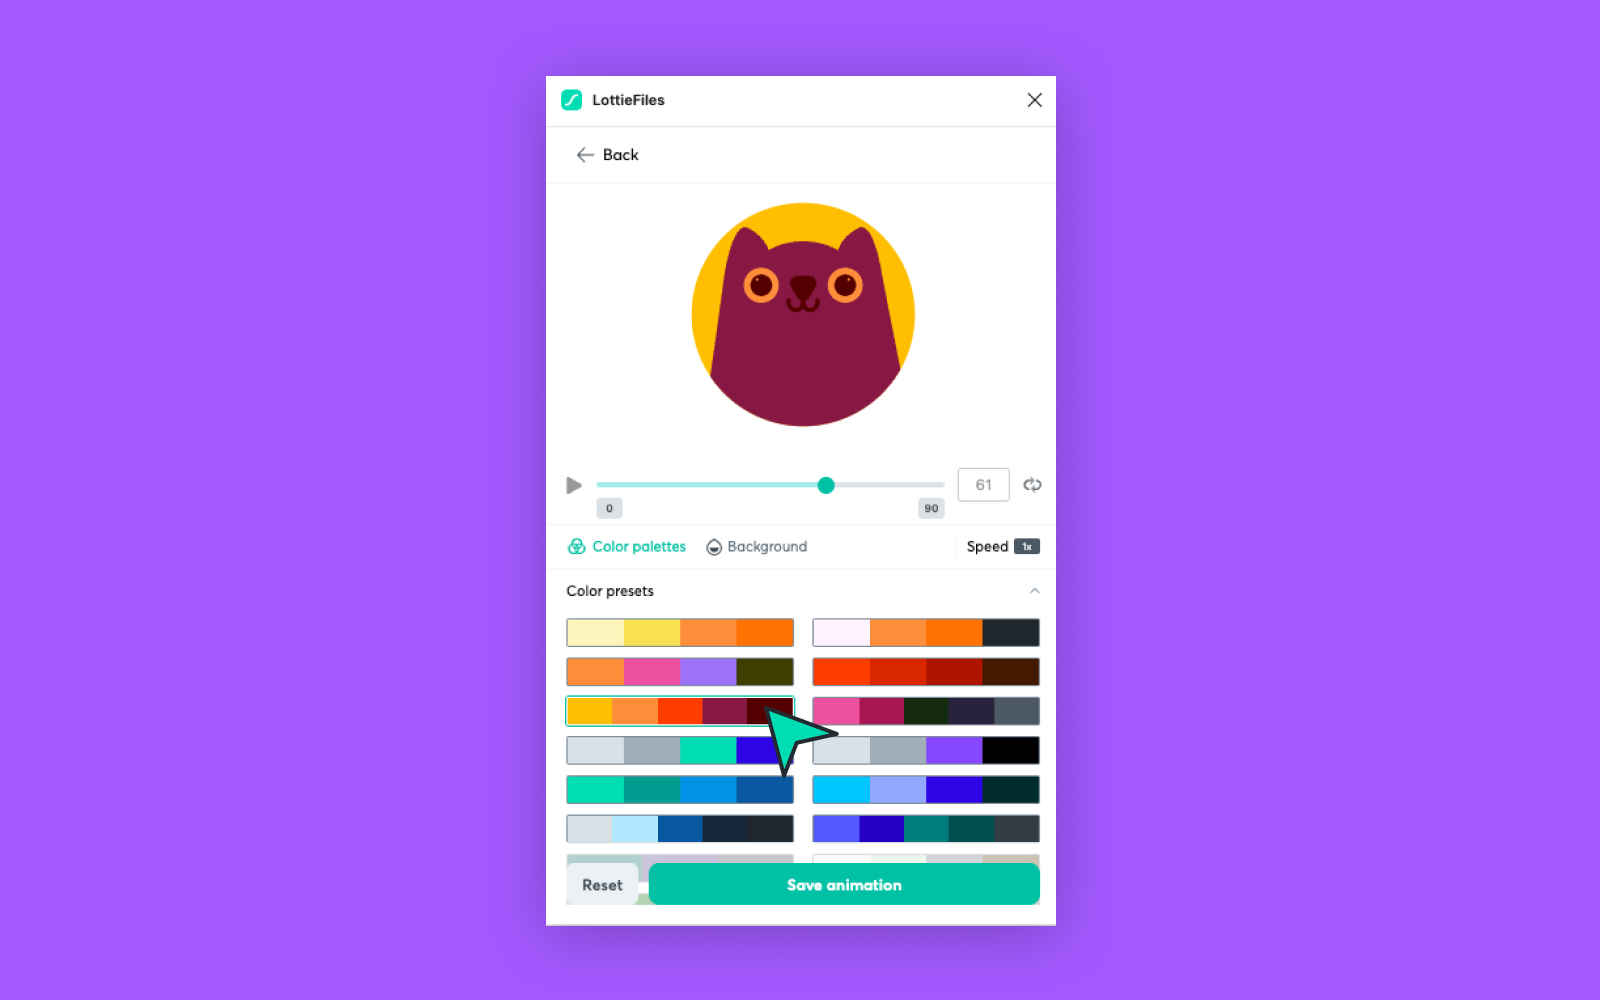
With the LottieFiles for Figma plugin, you can instantly customize an animation’s colors with custom or curated color palettes. Use this feature to apply your brand’s color palette onto animations, or to rapidly experiment with different colors. Here’s how:
- Click on any animation in the plugin.
- Click Customize.
- Click on any curated color preset to instantly change the animation’s colors.
- Alternatively, you can create a new palette or generate one automatically.
- Click Save animation.
- Choose a workspace and folder to save the animation in, then click Save.
- Now you can insert the animation as an SVG or GIF in Figma.
How to create animated prototypes in Figma with the plugin
Can you prototype animations in Figma? Absolutely! With Figma and LottieFiles, you can create realistic prototypes that look and function like the final products (psst, and it’s not that hard!).
For example, here’s how to create an interactive prototype that displays a loading animation when you pull down to refresh the screen. Watch our full live stream below to learn how, as well as discover other animation tips. Follow along by getting the Figma demo file here.
Don’t have time to watch the full live stream? Here’s a quick guide to setting up an animated prototype in Figma.
1. Prepare states of your design
For this prototype, you’ll want to start with two states of your design.
- One state represents the default screen (i.e. the first screen that the user sees)
- The other state represents what the user will see after they pull to refresh the screen (i.e. the final screen that the user sees).
2. Get animations from the LottieFiles for Figma plugin
In this tutorial, we’re going to add a loading animation. You’ll want to add the animation both as a GIF, and a static SVG version of it (you’ll learn why in a bit!).
- Right click > Plugins > LottieFiles to run LottieFiles for Figma.
- Search for a loading animation.
- Choose a specific frame in the seek bar that represents its initial state, then insert it as an SVG.
- Convert to GIF, then add it into Figma.
3. Add the animations into the design
Now we’ll add the loading animation, as well as two more screens to represent the loading states. Follow the instructions below while referring to the screenshot.
- A - In the default screen, copy and paste the SVG version of the animation. Set its Pass through to 100%.
- B - Duplicate your default screen state. This should now be your second screen state. In this screen, move the content downwards, and add the SVG version of the animation.
- C - Duplicate the second screen. This should now be your third screen state. Here, replace the SVG version of the animation with the GIF animation.
- D - No changes needed to your final screen state.
You should now have four states of the screen in total that look like this:

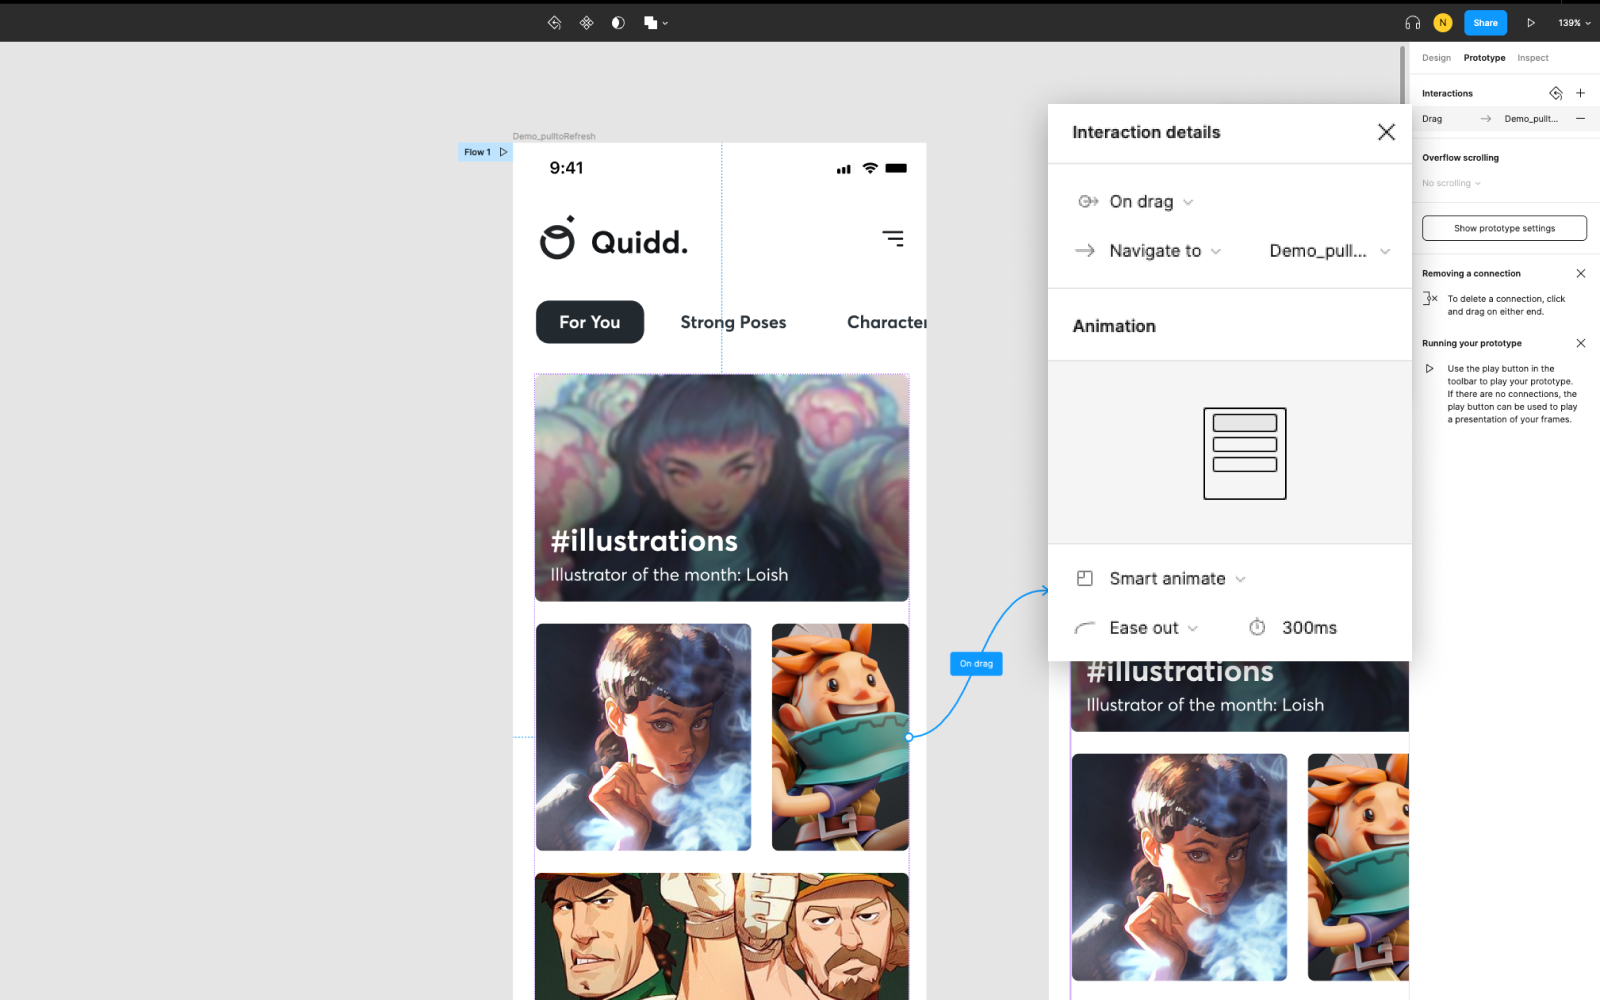
4. Wire up the interactions between screens
With all our screens set up, the only thing left is to stitch them together. For the first three screen states, you’ll want to click on the Prototype tab and add the following interactions:
- From the default screen to the second screen
- On an on drag interaction, navigate to the second screen
- Use smart animate with an ease out of 300ms
- From the second screen to the third screen
- On an after delay interaction of 400ms, navigate to the third screen
- Use smart animate with an ease out of 300ms
- From the third screen to the final screen
- On an on tap interaction, navigate to the final screen
- Use smart animate with an ease out of 300ms
And that’s it! You should now be able to preview your prototype. Go ahead and drag it down to simulate a refresh, and check out that sweet loading animation.

Use Lottie animations in other design tools
We hope this guide makes it easy for you to animate in Figma. But if you don’t use Figma, no worries. LottieFiles integrates with other popular design tools – such as Adobe XD, Protopie and Framer X. Here is LottieFiles’ full list of plugins and extensions. And if you ever feel lost, check out our huge library of Lottie tutorials and courses.