Have a web page you’d like to spruce up?
It’s easy to add engaging animations to your site with Lottie. Lottie animations are super small file formats, so you can add pizzazz without slowing down your site. Plus, they can be scaled up or down without losing quality.
So where do you get Lottie animations? Perhaps you’ve got an animator who has already created a bespoke animation for you, and exported it from Adobe After Effects using the LottieFiles plugin. If you don’t, you can browse thousands of free animations on LottieFiles. Customize them with the Lottie Editor or Color Palette feature to suit your brand or design, then use them in your personal and commercial projects!
There are tons of ways to add Lottie animations to your projects – with code, without code, or through LottieFiles’ integrations with various platforms.
In this article, we’ll go through how to add Lottie animations with (HyperText Markup Language) HTML. You can use this on any web page, blog or platform that allows you to edit HTML. You’ll learn:
- How to add Lottie animations to a web page with HTML
- How to change the background of your Lottie animations
- How to customize the appearance of the Lottie player
1. Add the script tag for the LottieFiles web player component
LottieFiles maintains the <lottie-player> web component that allows you to easily add a Lottie player anywhere on your webpage. To add the web component, you need to grab the script URL to the player and add it to the <head> section of your page HTML (or anywhere on the page).
<script src="https://unpkg.com/@lottiefiles/lottie-player@latest/dist/lottie-player.js"></script>2. Get the URL of the animation
Here are two ways to get the URL of an animation:
- Host it yourself – If you’ve created or downloaded a Lottie animation and would like to host it yourself, upload the Lottie JSON file to your website. Grab the URL pointing to the file.
- Get it from LottieFiles – You can grab a public URL of any Lottie animation on LottieFiles.
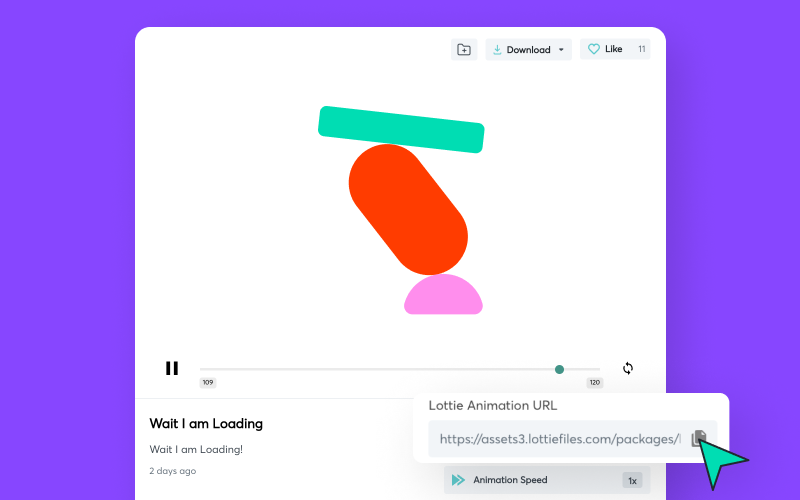
3. Add the <lottie-player> element pointing to the URL of the animation
Once you have the URL, copy and paste the code into your web page’s HTML.
Replace <URL HERE> with the URL to your Lottie file. Make sure the Lottie URL appears inside double quotes as seen in the code below.
<lottie-player src="<URL HERE>" background="transparent" speed="1" style="width: 300px; height: 300px;" loop controls autoplay></lottie-player>That’s it! Save and preview your page to see the animation.
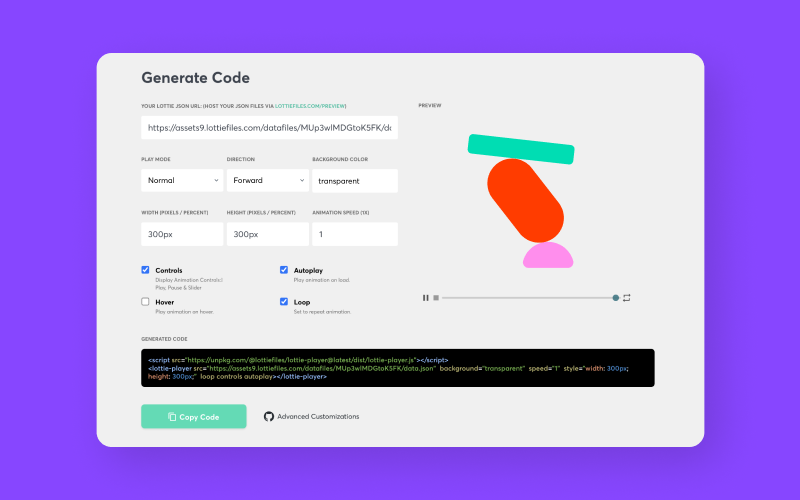
Automatically generate the HTML code
Alternatively, you can use the Lottie Web Player page to quickly generate the code for the player.
Just enter the URL to your Lottie file. You can play around with the options to customize the player or animation. Then copy the code and paste it into your website’s HTML.
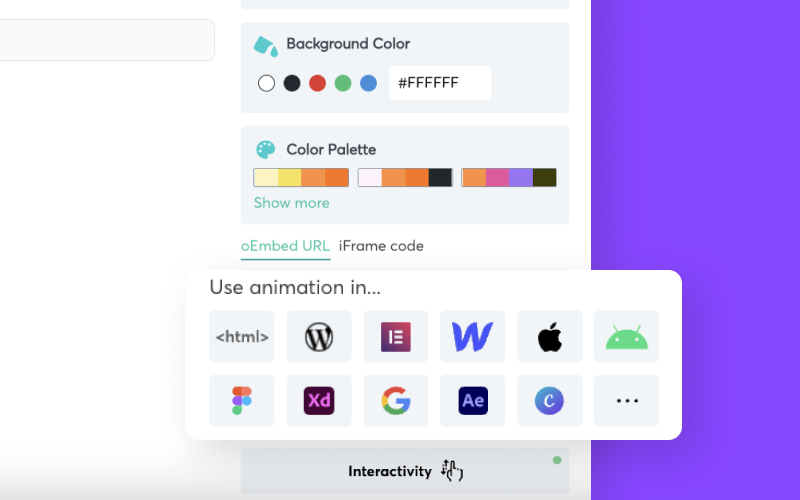
You can also click Use this animation in <html> on any animation page to automatically generate the code.
Read on for more information on how to customize how the animation plays, and how the player looks.
Customize how the animation plays
The <lottie-player> web component provides a bunch of options to control how you would like the animation to appear on your page. Customize them with the following attributes:
Play mode: You can specify a bounce play mode. This means that the animation will play as usual, but will reverse direction when it reaches the last frame. It will continue looping back and forth.
Direction: You can make the animation play forwards or backwards.
Background: Set the background color of the animation. Set it to transparent to let the background of your website show through. You can set the background attribute to a valid HTML color attribute like “white” or a hexadecimal color value like “#FFFFFF” to set the background color.
Speed: Set the playback speed. The default speed is 1. You can have values smaller than 1 to slow it down. For example, a speed value of 0.5 will slow down the animation by half. Values greater than 1 can be used to speed up playback. For example, a value of 2 will play the animation at twice the speed. You can also use fractional values like 0.75 or 1.5 to tune the speed to your liking.
Loop: Adding this attribute makes the animation play forever by looping. Without this attribute, the animation will play once and stop.
Controls: Adding this attribute makes the player show a seeker bar with start, stop and pause controls. If you are using the animation as a design element, you would probably want to disable this attribute.
Hover: If this is checked, the animation will only play if the user hovers their mouse over it.
Autoplay: Adding this attribute makes the animation start playing automatically as soon as it is loaded. If you do not specify this attribute, you will have to use Javascript to trigger the animation to play.
Customizing the appearance of the player
When you use HTML elements, you can use Cascading Style Sheets (CSS) to change how these elements look. Likewise, you can customize the look of the Lottie player to match your website’s style and design using CSS.
In addition to the usual CSS techniques you already use, you can use these custom CSS variables to change specific aspects of the player:
--lottie-player-toolbar-height
This sets the toolbar height. The default value is 35px.
--lottie-player-toolbar-background-color
This sets the toolbar background color. The default value is transparent.
--lottie-player-toolbar-icon-color
This sets the toolbar icon color. The default value is #999.
--lottie-player-toolbar-icon-hover-color
This sets the toolbar icon hover color. The default value is #222.
--lottie-player-toolbar-icon-active-color
This sets the toolbar icon active color. The default value is #555.
--lottie-player-seeker-track-color
This sets the seeker track color. The default value is #CCC.
--lottie-player-seeker-thumb-color
This sets the seeker thumb color. The default value is rgba(0, 107, 120, 0.8).
For example, to change the seeker track and thumb color to orange:
<style>
    lottie-player {
    --lottie-player-seeker-track-color: #e48509;
    --lottie-player-seeker-thumb-color: #ffcc00;
    }
</style>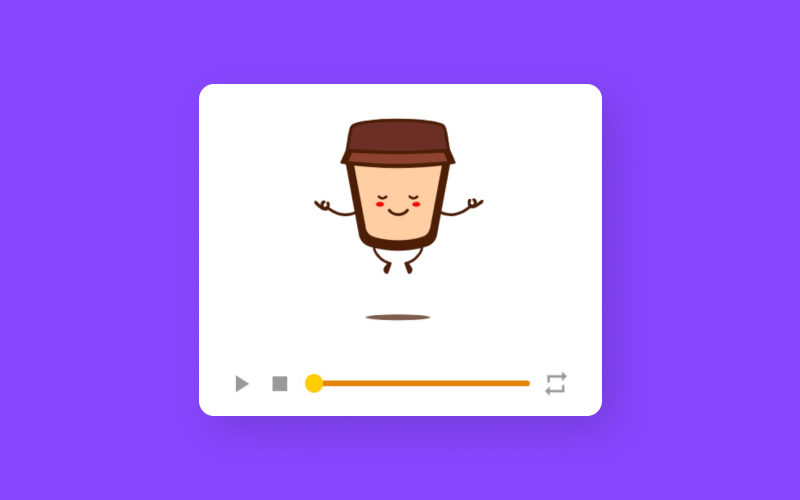
For more advanced features and documentation, check out the Lottie Web-Player GitHub page.
Boost web performance with dotLottie
Boost your web animations' performance with dotLottie. dotLottie is an evolution of the Lottie format created to address some limitations of the original Lottie format. This file format gives developers a more efficient way to implement animations as it uses ZIP tech for compression, which reduces your file size up to 80% more than a standard Lottie. It's essentially a subset of Lottie that can include multiple Lottie animations, images, and other assets all packaged in a single file and still uses the .lottie extension.
As this optimized format compresses multiple animations and bundles them with assets, it results in faster load times and improved page performance. Additionally, with multi-animation support and dynamic theming capabilities, dotLottie makes managing web animations easier than ever. Developers will appreciate the reduced bandwidth requirements and simpler workflows, ensuring animations run smoothly across devices without compromising quality.
It’s easy to add animation to your site
As you can see, adding Lottie animations with HTML is simple – it’s as easy as copying and pasting automatically generated code.
But you don’t have to stop there. There are tons of other stuff you can do with Lottie animations, HTML and a bit of JavaScript. You can interactivity to your animations – for example, make them sync to user scrolling, chain multiple animations or trigger animations after a certain number of clicks. Find out more about setting up interactive animations here, or check out the Lottie Web Player Github page for other advanced customizations.
We can’t wait to see what you create with Lottie!