Mobile apps often require animations that transition seamlessly between different states based on user interactions, app events, or system triggers. With dotLottie State Machines, animation transitions are handled within the dotLottie file itself, eliminating the need for manual coding by defining states and event-driven triggers.
State Machines simplify this by:
- Reducing code complexity: No need to write custom logic for transitions between animations.
- Optimizing performance: dotLottie files are highly compressed and efficient for mobile devices.
- Enhancing interactivity: Define state-based animations that respond to user inputs dynamically. Use UI interactions, gestures, or API responses to switch animation states.
- Supporting multiple states in one file: Instead of handling separate animation files, everything is managed within a single dotLottie file.
- Optimized for mobile: Works efficiently in iOS and Android without bloating app size.
With dotLottie, mobile developers can now enhance animations without sacrificing speed or user experience.
Follow this video tutorial
If you're more of a visual learner, here are the tutorial videos on how to implement dotLottie State Machines on iOS and Android.
How to Implement dotLottie State Machines in iOS and Android
Implementing dotLottie state machines on iOS and Android is simple; just follow the guides below to help you get started.
Implementing State Machines in iOS
- Install dotlottie-ios via spm using the GitHub page url: https://github.com/LottieFiles/dotlottie-ios
2. Import the dotLottie player into your file.
Import DotLottie3. Start the state machine on load.
Here we have an example animation called 'my_animation' and it has a state machine called 'myStateMachine'. You can open your dotLottie file to find the relevant info.
struct AnimationView: View {
    var body: some View {
        DotLottieAnimation(fileName: "my_animation", config: 			           AnimationConfig(stateMachineId: “myStateMachine”)).view()
    }
}
4. Optionally, start the state machine later on.
struct AnimationView: View {
    public var animationInstance: DotLottieAnimation(fileName: "my_animation", config: autoplay: true, loop: true)

    // Call at your leisure
        func loadAndStartStateMachine() {
    animationInstance.stateMachineLoad(“myStateMachine”)
    animationInstance.stateMachineStart()
    }
    // Call at your leisure
    func stopStateMachine() {
        animationInstance.stateMachineStop()
    }
        var body: some View {
            animationInstance.view()
        }
    }
Implementing State Machines in Android
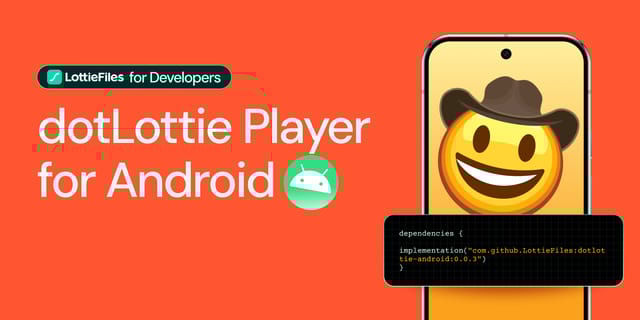
1. Add dotlottie-android to your Gradle file
repositories {
    maven(url = "https://jitpack.io")
}

dependencies {
    implementation("com.github.LottieFiles:dotlottie-android:0.5.0")
}
2. Start the state machine on load with JetPack Compose
import com.lottiefiles.dotlottie.core.compose.ui.DotLottieAnimation
import androidx.compose.ui.graphics.Color
import androidx.compose.ui.Modifier
import com.lottiefiles.dotlottie.core.util.DotLottieSource
import com.dotlottie.dlplayer.Mode

fun ExampleComposeComponent() {
    DotLottieAnimation(
        source = DotLottieSource.Url( "https://my_url.com/my_animation.lottie"),
        stateMachineId= “myStateMachine”,
        modifier = Modifier.background(Color.LightGray)
    )
}
3. Start the state machine via controller
import com.lottiefiles.dotlottie.core.compose.ui.DotLottieAnimation
import com.lottiefiles.dotlottie.core.compose.runtime.DotLottieController
import com.lottiefiles.dotlottie.core.util.DotLottieSource
import com.dotlottie.dlplayer.Mode

fun ExampleComposeComponent() {
    val dotLottieController = remember { DotLottieController() }

    DotLottieAnimation(
        source = DotLottieSource.Url( "https://my_url.com/my_animation.lottie"),
        controller = dotLottieController
    )

        Button(onClick = {
          dotLottieController.stateMachineLoad(“myStateMachine”)
          dotLottieController.stateMachineStart()
        }) { Text("Start state machine!") }
}
And that’s it! Try it in your next mobile project
dotLottie State Machines bring a powerful, efficient, and scalable approach to animation management in mobile apps. Instead of manually handling state transitions in code, you can leverage predefined logic within a dotLottie file to create interactive, smooth, and lightweight animations.
By integrating dotLottie State Machines in your iOS and Android apps, you can significantly reduce development complexity while enhancing user experience.