Managing complex animations efficiently can be a challenge, especially when multiple states and transitions are involved. This is where State Machines come into play.
In this guide, we’ll explore what State Machines are and how you can implement them on the web.
Why use dotLottie State Machines?
Traditionally, web animations rely on CSS keyframes, JavaScript libraries, or frameworks like GSAP. While these are powerful, they often require additional logic to manage animation states and transitions.
State Machines introduce logic-based animation sequencing within dotLottie files. Instead of manually defining when an animation should start, stop, or switch, the state machine automates these transitions based on predefined rules.
State Machines introduce a more structured approach to animation control, offering:
- Interactive animations without code: Build animations that respond to user inputs or data without any coding.
- Multiple states in one file: Store different animation states within a single dotLottie file.
- Visual mapping: Easily map out how animations behave and transition between different states, such as hover effects, button clicks, or loading indicators.
- Node-based animations: Create complex interactions through an intuitive node-based interface.
- Bridges design and development: Enables faster iterations and smarter workflows by reducing the gap between design and development.
- Ready-to-ship components: Build interactive components that are production-ready and can be integrated seamlessly.
- Cross-platform compatibility: Works seamlessly across web and mobile platforms.
- Event-based inputs: Link animations to user interactions, API responses, or system states.
Follow this quick tutorial to create an interactive button with State Machines
Before you get into implementation, here’s a quick tutorial that you can follow to create your first Lottie State Machines in Lottie Creator.
If you don't want to watch the tutorial, no worries. Follow along with us as we guide you through this blog.
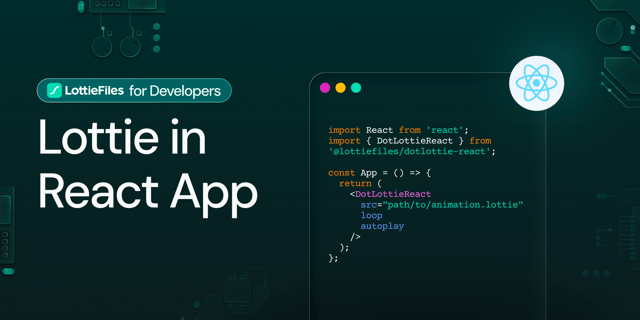
How to Implement dotLottie State Machines on the Web
Let’s use the dotlottie-web web component library:
npm install @lottiefiles/dotlottie-wcAnd import into your Javascript or Typescript module:
import '@lottiefiles/dotlottie-wc';Create an instance of the player using your dotLottie as the src.
<dotlottie-wc src="https://my_url.com/my_animation.lottie"></dotlottie-wc>Now let’s get the state machine running:
<dotlottie-wc src="https://my_url.com/my_animation.lottie" stateMachineId="MyStateMachineId"></dotlottie-wc>Using the ‘stateMachineId’ prop, the state machine will be loaded automatically.
const dotLottieElement = document.querySelector("dotlottie-wc");

  dotLottieElement.dotLottie.addEventListener("load", () => {
  dotLottieElement.dotLottie.stateMachineLoad(“myStateMachine”);
  dotLottieElement.dotLottie.stateMachineStart();
  });
While state machines can automatically detect clicks and mouse movements from the user, you may still want to access the inputs in code for more advanced connections into your project, such as linking up other data or triggers.
Here’s how you can do that:
dotLottieElement.dotLottie.stateMachineSetStringInput(“myStringInput”, "newStringValue");
Make it interactive with dotLottie State Machines
dotLottie State Machines simplify animation workflows, making it easier to create interactive, high-performance animations without the complexity of manual state management. By leveraging this approach, developers can create dynamic, responsive experiences with minimal effort.
If you're looking to enhance your web animations while keeping them lightweight and scalable, dotLottie State Machines are worth exploring. Try integrating them into your next project and experience the difference!
Read more:
- Implement State Machines on iOS & Android Apps: A Guide
- State Machines Are Finally Here
- Prompt to State Machines: AI for Interactive Animations
- dotLottie State Machines Tutorial: How to Bring Your Animations From Idle to Action
- State Machines Tutorial: How Number Inputs Work with Star Rating Example